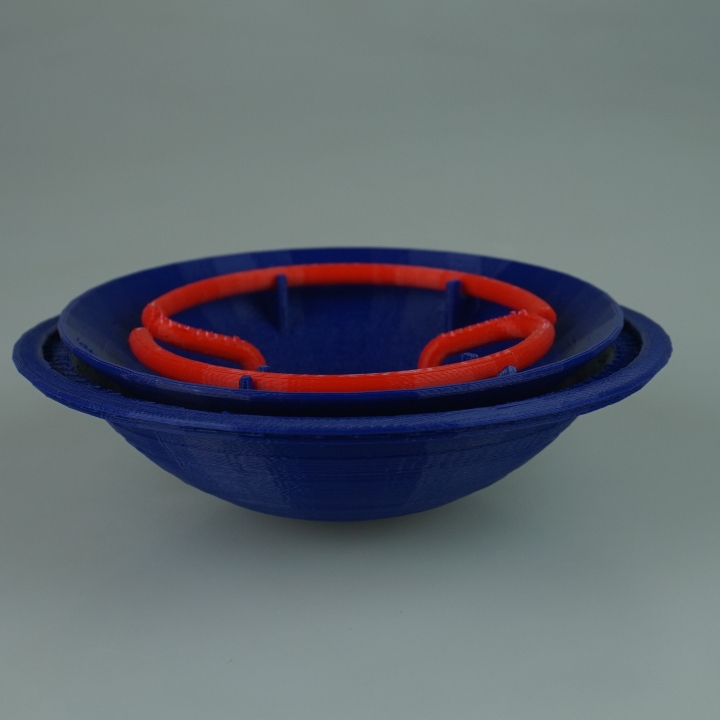
Rear Tail light with light guide
myminifactory
This entry is for the Rear Light Challenge. A stylish rear lamp built using 3D printing technology will provide an advantage in it. Instruction for Assembly: Rear light consisting of the following parts: Housing - 01 qty (PC + ABS material) Lens - 01 qty (PC clear material) Light guide Lower - 01 qty (PC red material) Light guide Upper - 01 qty (PC red material) Reflector - 01 qty (hard plastic with metallic finish material) Screw - 04 qty (hard plastic) Back cover - 01 qty (soft plastic) First, assemble the reflector into the housing. Next, attach the light guides to the reflector. Then, secure the LED assembly to the reflector using screws. Cover the housing with the back cover from the rear side. Assemble the LED light into the housing packaging area. Finally, install the lens into the housing and it's all done - your rear light guide tail light is ready. Cheers!
With this file you will be able to print Rear Tail light with light guide with your 3D printer. Click on the button and save the file on your computer to work, edit or customize your design. You can also find more 3D designs for printers on Rear Tail light with light guide.
