
Rear CR 10S Pro (and V2) fan noise dampener
thingiverse
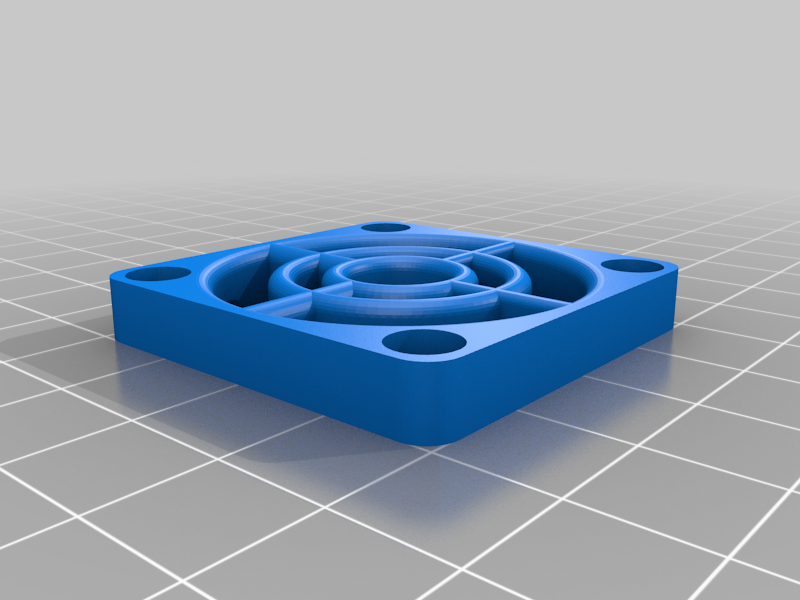
The CR10S Pro and V2's rear fan features a substantial gap between it and the casing. This results in turbulent airflow as air exits the machine. This build fills this gap with a gasket, thereby minimizing turbulence and noise levels. To install, simply open the printer's bottom panel, remove the rear left fan, position the gasket on top of the round nuts where the fan was situated, then reassemble the printer. No additional hardware is needed for this modification.
With this file you will be able to print Rear CR 10S Pro (and V2) fan noise dampener with your 3D printer. Click on the button and save the file on your computer to work, edit or customize your design. You can also find more 3D designs for printers on Rear CR 10S Pro (and V2) fan noise dampener.