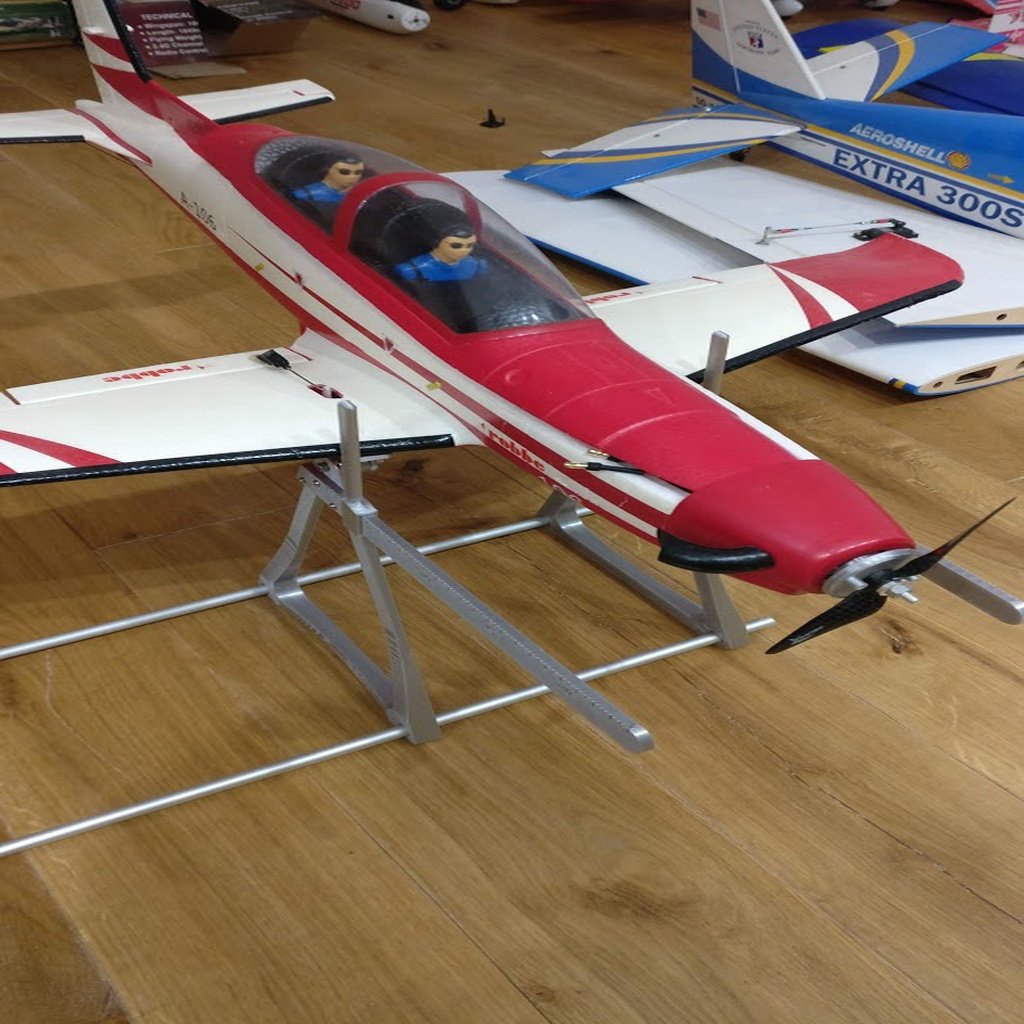
RC plane balancer
thingiverse
I modified an RC plane balancer made by HampOp. I found his design too small, so I created a new one based on his work. ###What to Print: - The base twice - Hinge parts two times - Pad parts four times - Ruler Left part once - Ruler Left part once - RulerStop parts two times ###What You Need: - 6 M3 screws, each 14mm long - 6 M3 nuts - 2 M4 screws, each 14mm long - 4 M4 screws, each 18mm long - 6 M4 self-locking nuts - 10mm tubing (you can use a larger tube and drill a bigger hole, but be aware that the piece may break) ###Assembly Instructions: - Attach the ruler to the base using M3 screws and nuts. Rotate it by 180 degrees if you want to use metric or imperial units. - Mount the hinge on the base with M4 screws and self-locking nuts. Do not tighten the plastic parts yet, as this part should be free of movement. The self-locking nut will prevent unscrewing. - Connect the pad to the hinge using M4 screws and self-locking nuts. Again, do not tighten the plastic parts yet, as this part must also be free of movement. The self-locking nut will prevent unscrewing. - Slide the two assemblies onto the guiding tube. ###About: You can modify this design using the .f3d file in Fusion 360.
With this file you will be able to print RC plane balancer with your 3D printer. Click on the button and save the file on your computer to work, edit or customize your design. You can also find more 3D designs for printers on RC plane balancer.
