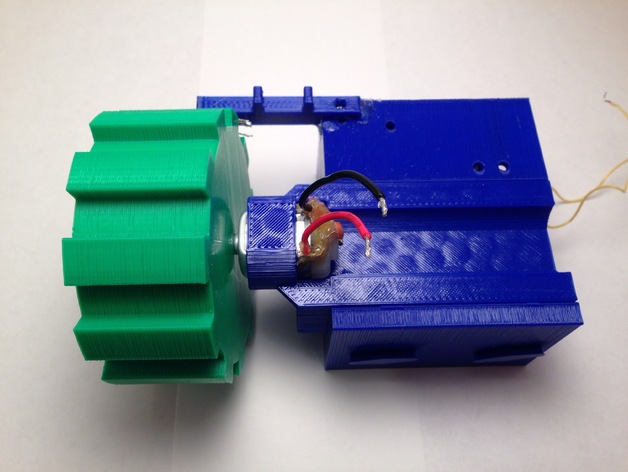
RC Motor Dyno V.1
thingiverse
After several weeks of meticulous troubleshooting and diagnostic efforts, I've finally completed my initial iteration of the RC Motor Dyno! I'm confident that this is merely the beginning, as I've already begun compiling a list of potential improvements to implement in future iterations. To access comprehensive instructions, along with the arduino code and Excel calculations workbook, please refer to my Instructable. Additionally, feel free to watch the accompanying video for an engaging visual representation of how the dyno operates and serves as a valuable reference for utilizing the spreadsheet. Visit: http://www.instructables.com/id/RC-Motor-Dynamometer-V10/ Printing the necessary components shouldn't pose any significant challenges due to their straightforward geometry. However, I've included images detailing my approach to orienting the base and locking pins to optimize print quality on my machine. Enjoy! Print Settings: Printer: MakerFarm Pegasus Rafts: Doesn't Matter Supports: Yes Resolution: .2mm Infill: 15% Notes: I strongly recommend printing both locking pins simultaneously, allowing each layer sufficient time to cool and enhance the overall appearance.
With this file you will be able to print RC Motor Dyno V.1 with your 3D printer. Click on the button and save the file on your computer to work, edit or customize your design. You can also find more 3D designs for printers on RC Motor Dyno V.1.
