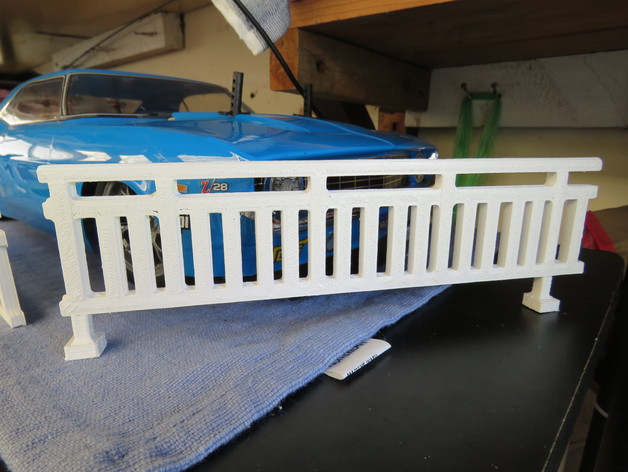
RC Garage Railing
thingiverse
I've designed this railing for my RC Garage top floor, and it can be used as a barrier arm, ladder - just cut the top off if you want to use it that way! The possibilities are endless when it comes to what you can do with this design. The dimensions I came up with are 20cm long (200mm) and 4.5cm high (45mm). Take a look at the picture for some inspiration - that's where I got my ideas from! Keep in mind, this is not perfect as I'm still learning, but it should give you a good starting point. You may need to do some sanding or drilling out holes to get it just right. I designed it so it will work with 3mm screws for the feet - you can also use glue, double-sided tape, or whatever else you like. The choice is yours! I recently added V2 Legs, which come in singles or groups of five. These new legs have a 6mm hole at the base that lets the screw sit flat when you're done. Note that I only printed up the first ones with this design, so there's room for improvement. My railing was printed in white and then painted using Tamiya spray paints to give it some extra color. Here are my print settings: * Printer: XYZ DaVinci 1.0 * Rafts: no rafts needed * Supports: none required * Notes: these are the settings I used for this print * Material: ABS plastic * Infill type: rectilinear * Density: low (10%) * Layer height: 0.3mm * Shells: normal * Speed: standard * Support density: low * Brim: 10 I'm still experimenting with my designs, so be sure to check back for updates!
With this file you will be able to print RC Garage Railing with your 3D printer. Click on the button and save the file on your computer to work, edit or customize your design. You can also find more 3D designs for printers on RC Garage Railing.
