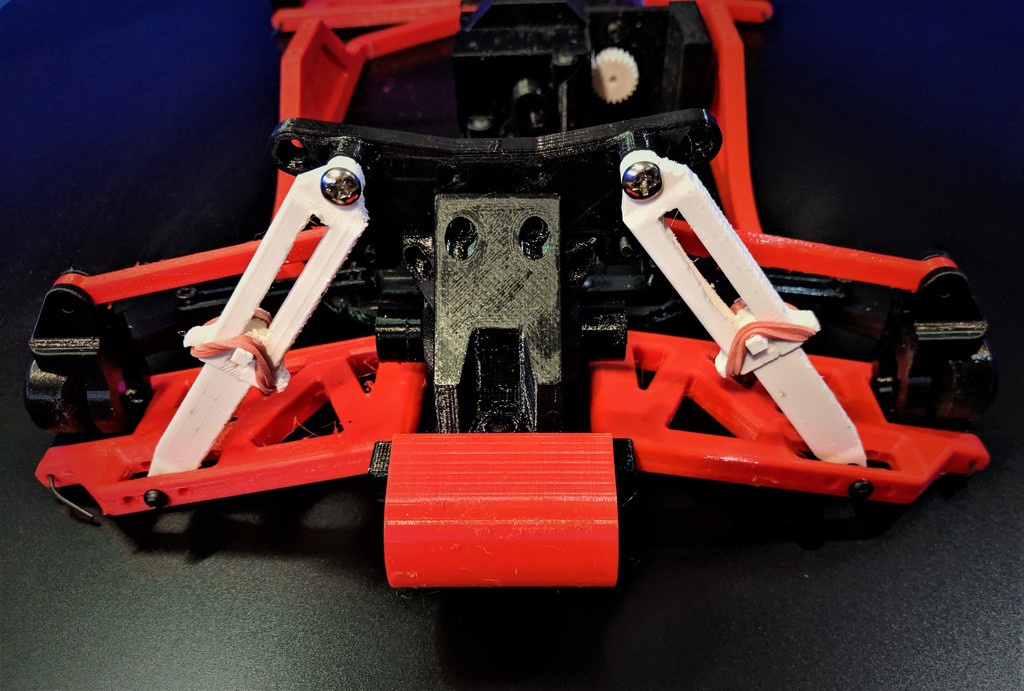
RC Elastic Shock
thingiverse
This shock is compatible with OpenRC 1:10 4WD Truggy Concept RC Car available on Thingiverse. Specification: Use an elastic band with adjustable tension, select the right one for your needs. How to use: 1. Place the elastic band all around the shock and secure it on the hooks.  2. In released mode, the shock should be fully extended; when pushing the piston, you should feel resistance from the elastic band. Once released, the shock should return to its full extended position.  How to print: To prevent piston sticking, set the support with these settings: Support Z Distance: 0.2mm Source: OnShape - RC Elastic Shock is available at [https://cad.onshape.com/documents/48a8d4acd2da14a035a3901e/w/c7d85d1d0207905a5ee794f3/e/80f7ac148da854ee578d5257](https://cad.onshape.com/documents/48a8d4acd2da14a035a3901e/w/c7d85d1d0207905a5ee794f3/e/80f7ac148da854ee578d5257) OnShape Usage: Variables: Length: Distance between the two screw holes. PartOffset: Space between the piston and the main part. Release Notes: 2019-07-23 Added RC_Elastic_Shock_v1.0_-_95mm.stl file.
With this file you will be able to print RC Elastic Shock with your 3D printer. Click on the button and save the file on your computer to work, edit or customize your design. You can also find more 3D designs for printers on RC Elastic Shock.
