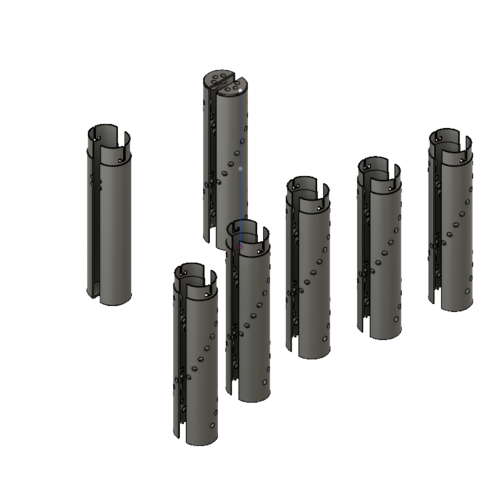
Rave_Stick
cults3d
I was at a festival and my friend had this stick with nice lights attached using tape. I thought it looked kind of rough, so I decided to create something better - the Rave Stick. It took about 30 hours to make, but it's worth it. The stick has multiple parts in the middle, each with its own plug for LEDs. These plugs get their signal from a handpiece containing an AT Mega 328 microcontroller programmed using Arduino. The last part is a flashlight that can be separated. Each LED has its own positive and negative connections within every plug, which means you'll need to build two separate connectors for the middle sections. This design uses bayonet nut connectors that only work with specific O-rings - they might look fragile but are actually quite stable. The Rave Stick is surprisingly easy to assemble, making it perfect for carrying in your backpack due to its convenient plug-and-play functionality. If you'd like more information, feel free to get in touch.
With this file you will be able to print Rave_Stick with your 3D printer. Click on the button and save the file on your computer to work, edit or customize your design. You can also find more 3D designs for printers on Rave_Stick.
