Ratrig rollers 300 - 500
prusaprinters
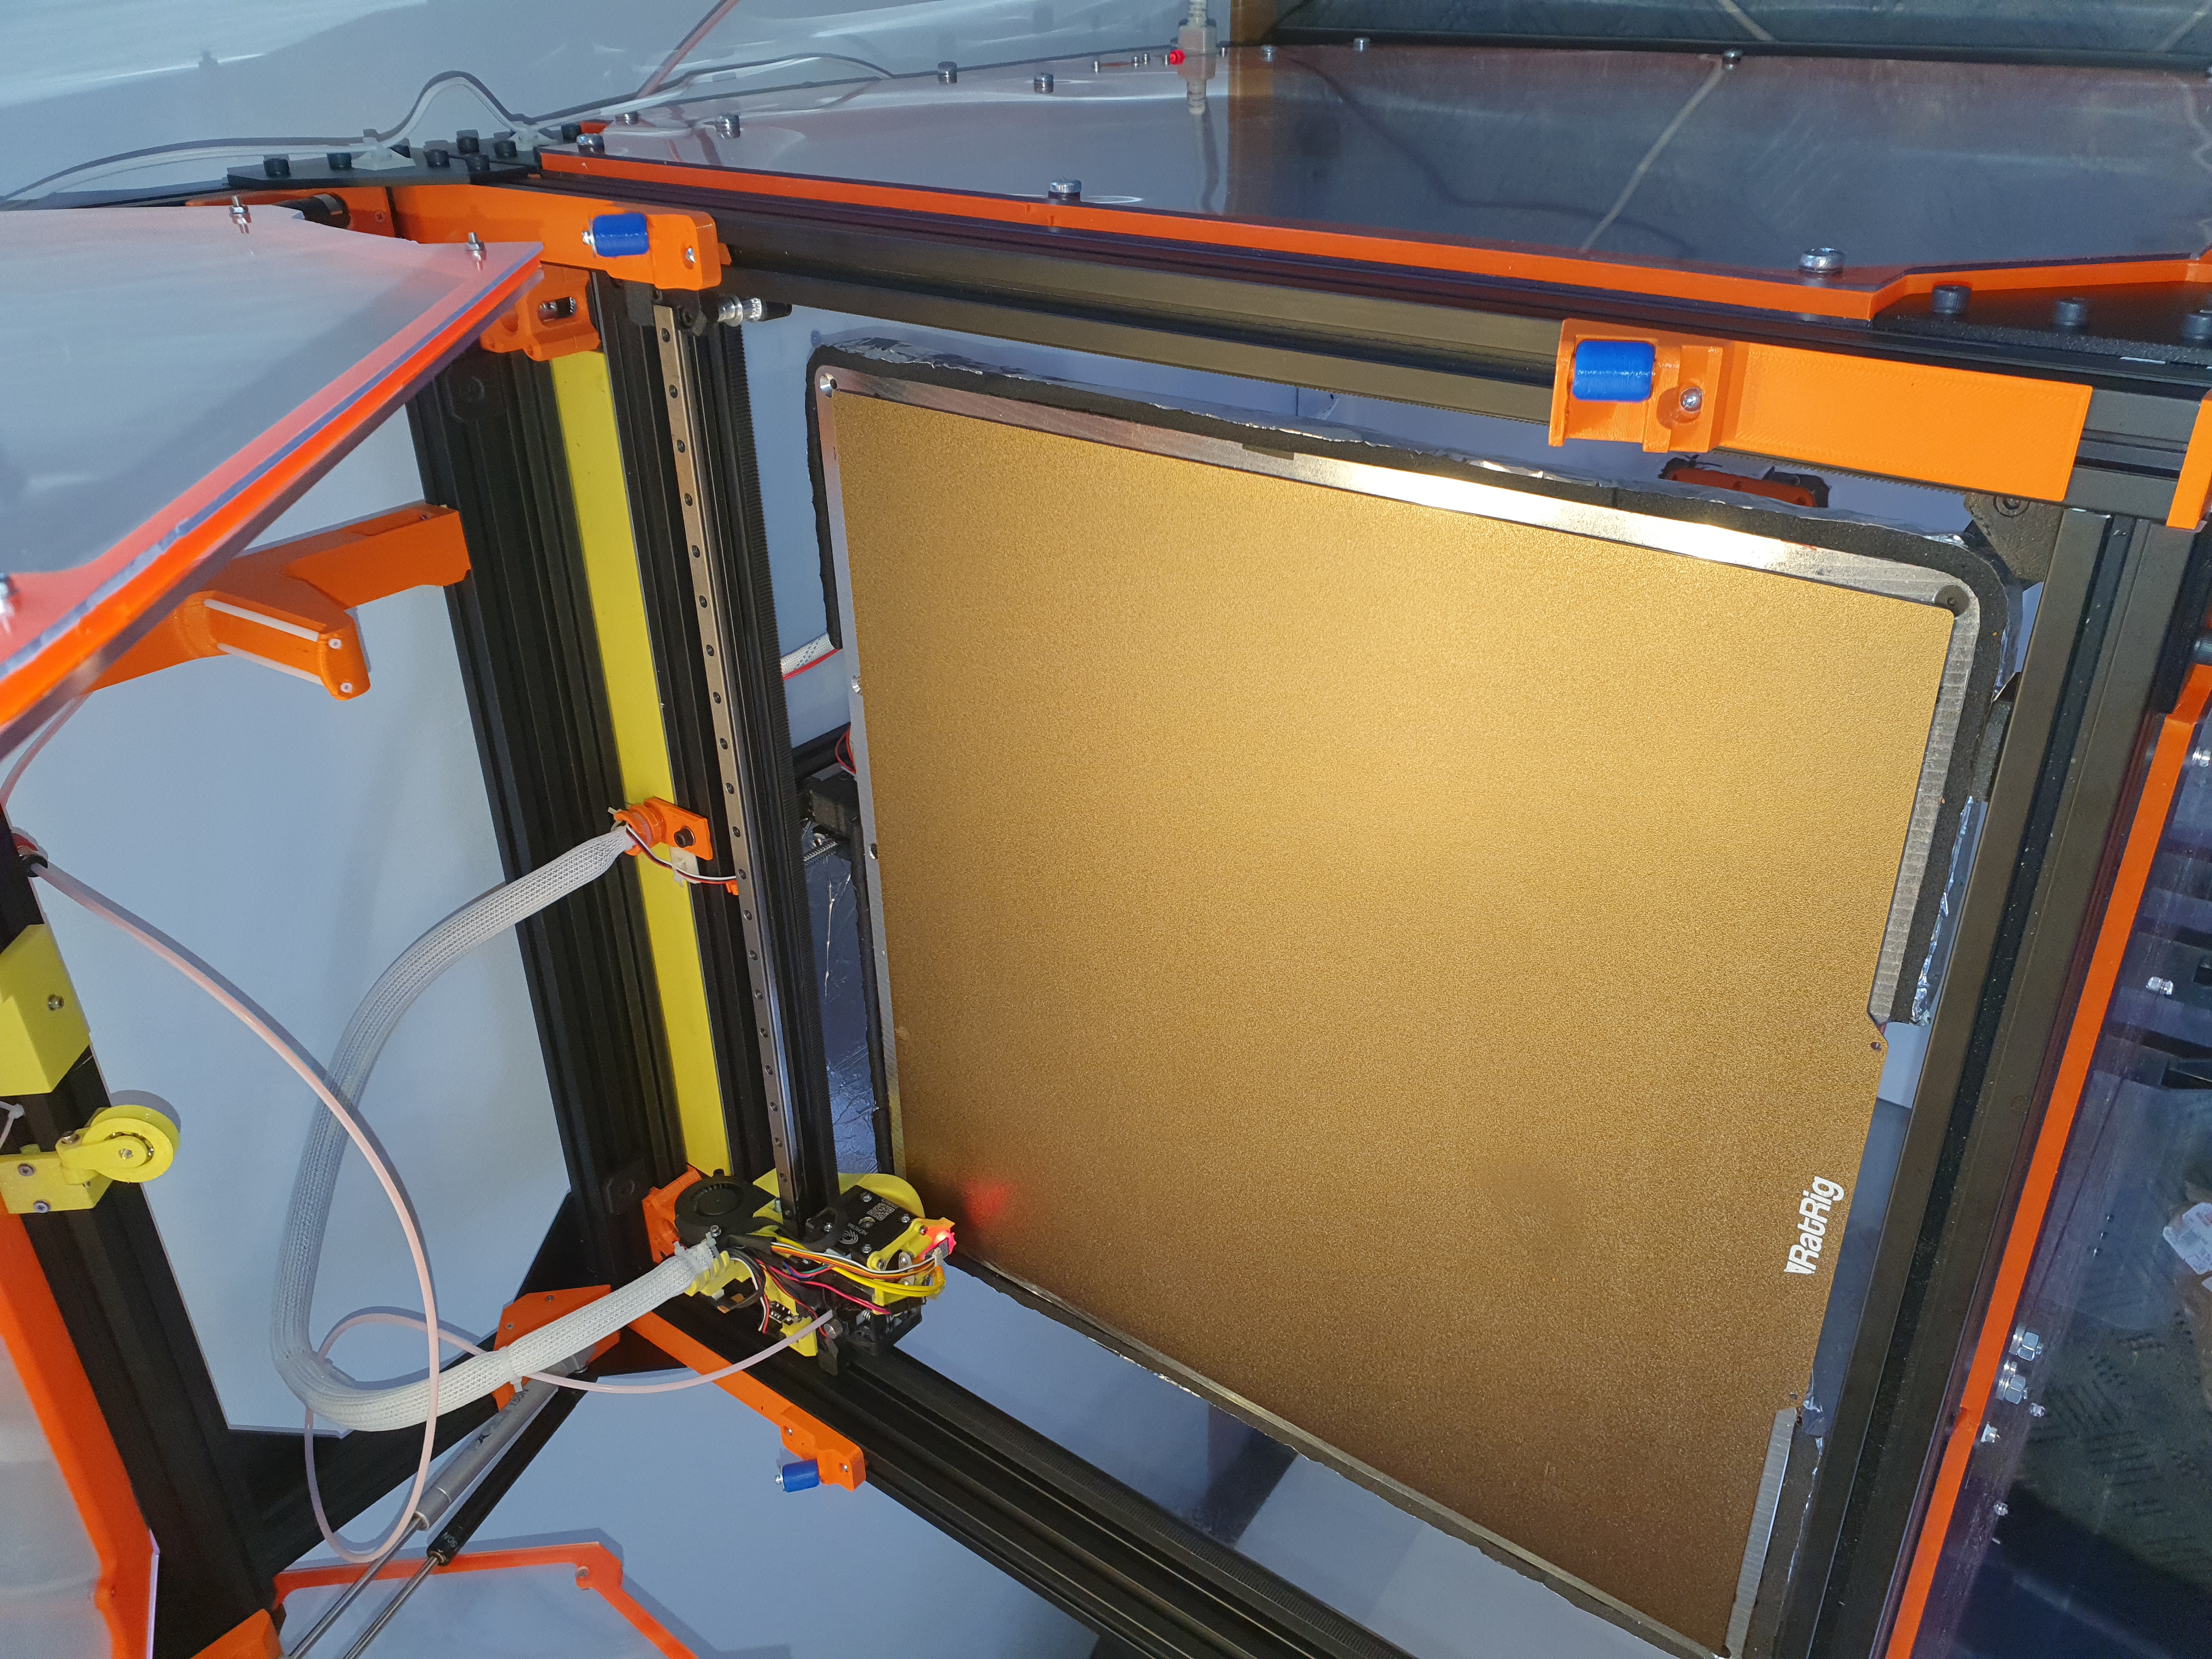
<p>A set of rollers that will prevent the panels from colliding with the frame.</p><p>=> Roller and axle need to be made from 2 different materials, preferrably PET for the axle/Base and</p><p>=> Only 1 axle is needed. Prepare the print by printing 1 axle, starting with the largest inner diameter 85, and work through the 82, 80, 77 and 75 variant in PA until the roller is freely rolling on the axle with minimal fit. If the roller is not bulging sligtly over the rim of the holders take a smaller diameter and expand it in the slicer.</p><p>=> Print the puffer in PA and press it into the lid 3030 profile for buffering.</p><p> </p><p>BOM:</p><p>General:</p><p>12 M3 Nut for 400 and 500; 6 M3 Nuts for 300</p><p>8 M3 rotation Nuts for 400 and 500; 4 M3 rotation Nuts for 300</p><p>4 squash head or imbus M3 * 30 screws for 400 and 500; 2 squash head or imbus M3 * 30 screws for 300;</p><p>2 Washers 3.3 * 8 or 4.3 * 15</p><p>12 Washers 3.2 * 7</p><p>4 squash head or imbus M3 * 16 screws for 400 and 500; 2 squash head or imbus M3 * 16 screws for 300;</p><p> </p><p>300:</p><p>2 Rolle (determine correct tolerances) printed in PA</p><p>1 roller_300_400_500_back printed in PET</p><p>1 roller_300_400_500_back, mirrored and printed in PET</p><p>Back: 2 Times:</p><p>The spacer flap needs to be aligned against the back 3030 profiles for proper positioning. The Part should be flush with the outer part of the frame, the rolle should be slightly wider. Fix the rolle via the M3*30 screw and the large 4.3 * 15 washer</p><p> </p><p>400:</p><p>4 Rolle (determine correct tolerances) printed in PA</p><p>1 roller_300_400_500_back printed in PET</p><p>1 roller_300_400_500_back, mirrored and printed in PET</p><p>1 roller_400_front printed in PET</p><p>1 roller_400_front, mirrored and printed in PET</p><p>Back: 2 Times:</p><p>The spacer flap needs to be aligned against the back 3030 profiles for proper positioning. The Part should be flush with the outer part of the frame, the rolle should be slightly wider. Fix the rolle via the M3*30 screw and the large 4.3 * 15 washer</p><p>Front: 2 Times:</p><p>The parts need to be aligned against the front 3030 profile of the lid for proper positioning. No gap required since the part rotates outwards. The Part should be flush with the outer part of the frame, the rolle should be slightly wider than the frame. Put the rolle on the axle and insert the axle into the cavity. Fix the axle with the M3 * 30 screw.</p><p> </p><p>500:</p><p>4 Rolle (determine correct tolerances) printed in PA</p><p>1 roller_300_400_500_back printed in PET</p><p>1 roller_300_400_500_back, mirrored and printed in PET</p><p>1 roller_500_front printed in PET</p><p>1 roller_500_front, mirrored and printed in PET</p><p>Back: 2 Times:</p><p>The spacer flap needs to be aligned against the back 3030 profiles for proper positioning. The Part should be flush with the outer part of the frame, the rolle should be slightly wider. Fix the rolle via the M3*30 screw and the large 4.3 * 15 washer</p><p>Front: 2 Times:</p><p>The spacer flap to be aligned against the inner side of the front 3030 profile of the lid for proper positioning. No gap required since the part rotates outwards. The Part should be flush with the outer part of the frame, the rolle should be slightly wider than the frame. Put the rolle on the axle and insert the axle into the cavity. Fix the axle with the M3 * 30 screw.</p><p> </p>
With this file you will be able to print Ratrig rollers 300 - 500 with your 3D printer. Click on the button and save the file on your computer to work, edit or customize your design. You can also find more 3D designs for printers on Ratrig rollers 300 - 500.