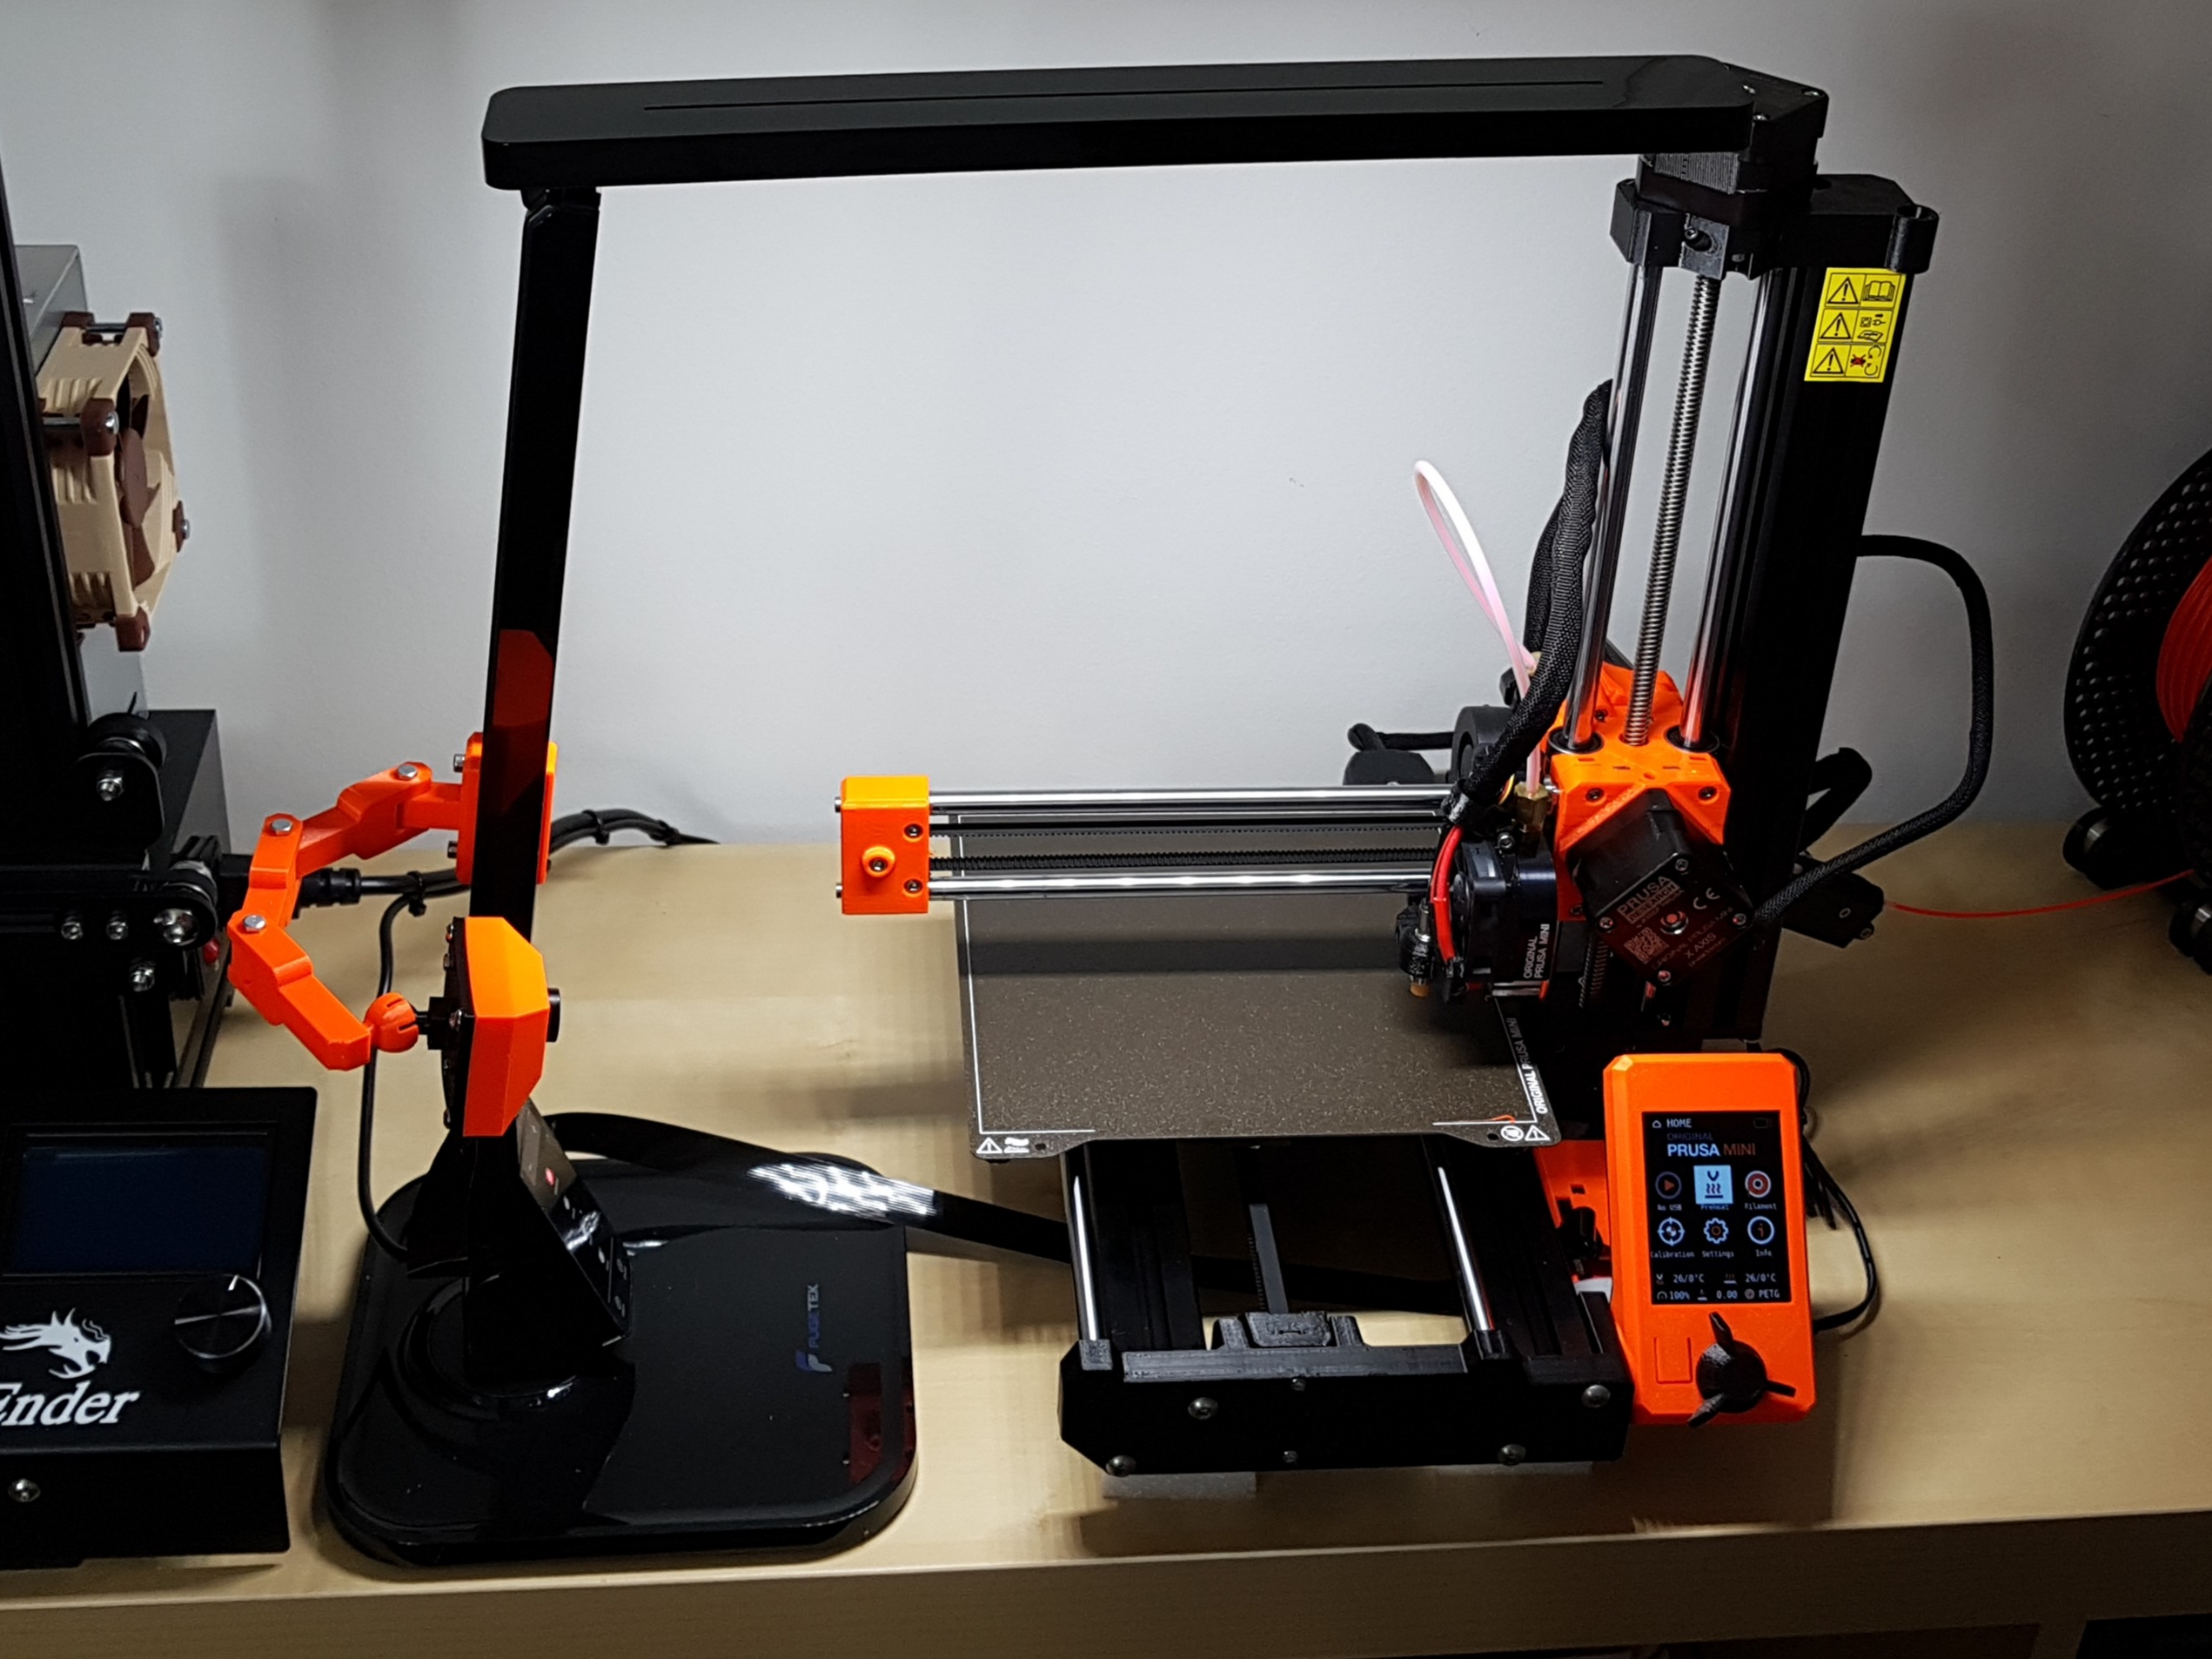
Raspi Camera for PrusaMini with articulated arm and ball joint adjuster
prusaprinters
<p>This is a housing for the RaspberryPi night-and-day cameras that typically come with two IR lights. Also part of this publication is an articulated arm with ball joint to fine adjust the camera angle.</p> <p>In my case the articulated arm is mounted to a slotted desk lamp arm with the included counter plate, but it can also be used to mount the camera to a aluminum frame with the fitting T-nuts. (See link below) Simply print as many of the arm pieces as you need to mount the camera where you want it.</p> <p>The IR LEDs are not used, instead their mounting holes on the camera PCB are used to mount the camera to the back wall of the housing with M2 screws and nuts.</p> <p>The cool thing is that the brightness sensor happens to work within the housing, which in my case is printed in orange PETG. I don't really need the IR functionality, but I had the camera available, so I used it.</p> <p>Links:</p> <p>How to use the mounting plate to attach the articulated arm to a printed frame (in this case carrying a C270 webcam)<br/> <a href="https://www.prusaprinters.org/prints/33457-logitec-c270-articulated-arm-to-ender-3-adapter">https://www.prusaprinters.org/prints/33457-logitec-c270-articulated-arm-to-ender-3-adapter</a></p> <p>The mounting mechanism towards the desk lamp can be used generically of course:<br/> <a href="https://www.prusaprinters.org/prints/36416-articulated-camera-arm-to-table-lamp-adapter">https://www.prusaprinters.org/prints/36416-articulated-camera-arm-to-table-lamp-adapter</a></p> <p>In case you like the ball joint and would like to use it remixes or as-is, here is a collection of different ball joint parts<br/> <a href="https://www.prusaprinters.org/prints/36557-generic-ball-joints-for-camera-mounts-and-other-ad">https://www.prusaprinters.org/prints/36557-generic-ball-joints-for-camera-mounts-and-other-ad</a></p> <p>Here is one more part that fits to the articulated arm, an adapter piece to a nice tripod which was published on Thingiverse<br/> (As of today, I recommend to use the arm pieces that are published as part of this publication here, not the parts that I refer to in the linked publication. My own design gives much cleaner print results, as I have used only 45° angles and not a radius that starts with a very flat overhang.)<br/> <a href="https://www.prusaprinters.org/prints/15888-logitech-c270-camera-holder-on-tripod-adapter">https://www.prusaprinters.org/prints/15888-logitech-c270-camera-holder-on-tripod-adapter</a></p> <p>Link to the camera on Amazon that I have used<br/> <a href="https://www.amazon.de/gp/product/B07XTBQ1BN">https://www.amazon.de/gp/product/B07XTBQ1BN</a></p> <p>Update 15.09.2020: After using this part for a while, I realized that a 12mm ball joint, without a means of clamping it tight, is not so well suited for a relatively heavy camera. Therefore I have created an alternative part for the last piece of the arm that contains the ball socket. This new part can be tightened at the ball joint with a M3x25mm screw, just like all the other joints.</p> <p>Have fun working with these versatile parts and please be so kind to share photos of your projects.</p> <h3>Print instructions</h3><p>I propose to print all parts in PETG, especially the ball joint. I am not sure if the ball joint will withstand to be clicked together when printed in PLA. (Let me know if you tried successfully).</p> <p>The arm pieces can be printed without brim or supports, as they have no overhangs that are steeper than 45°.</p> <p>The camera backside must be printed on the flat side, while the ball of the balljoint must be printed upright. I recommend to used 0.15mm layer height or less, to get a nicely working ball joint. Then both parts must be glued together. Use whatever glue works for you on PETG. I have made extremely good experiences with YUKI MODEL superglue, which gives me basically unbreakable connections between PETG parts.</p> <p>The mounting plate and the counter plate are very simple to print on their flat sides.</p>
With this file you will be able to print Raspi Camera for PrusaMini with articulated arm and ball joint adjuster with your 3D printer. Click on the button and save the file on your computer to work, edit or customize your design. You can also find more 3D designs for printers on Raspi Camera for PrusaMini with articulated arm and ball joint adjuster.
