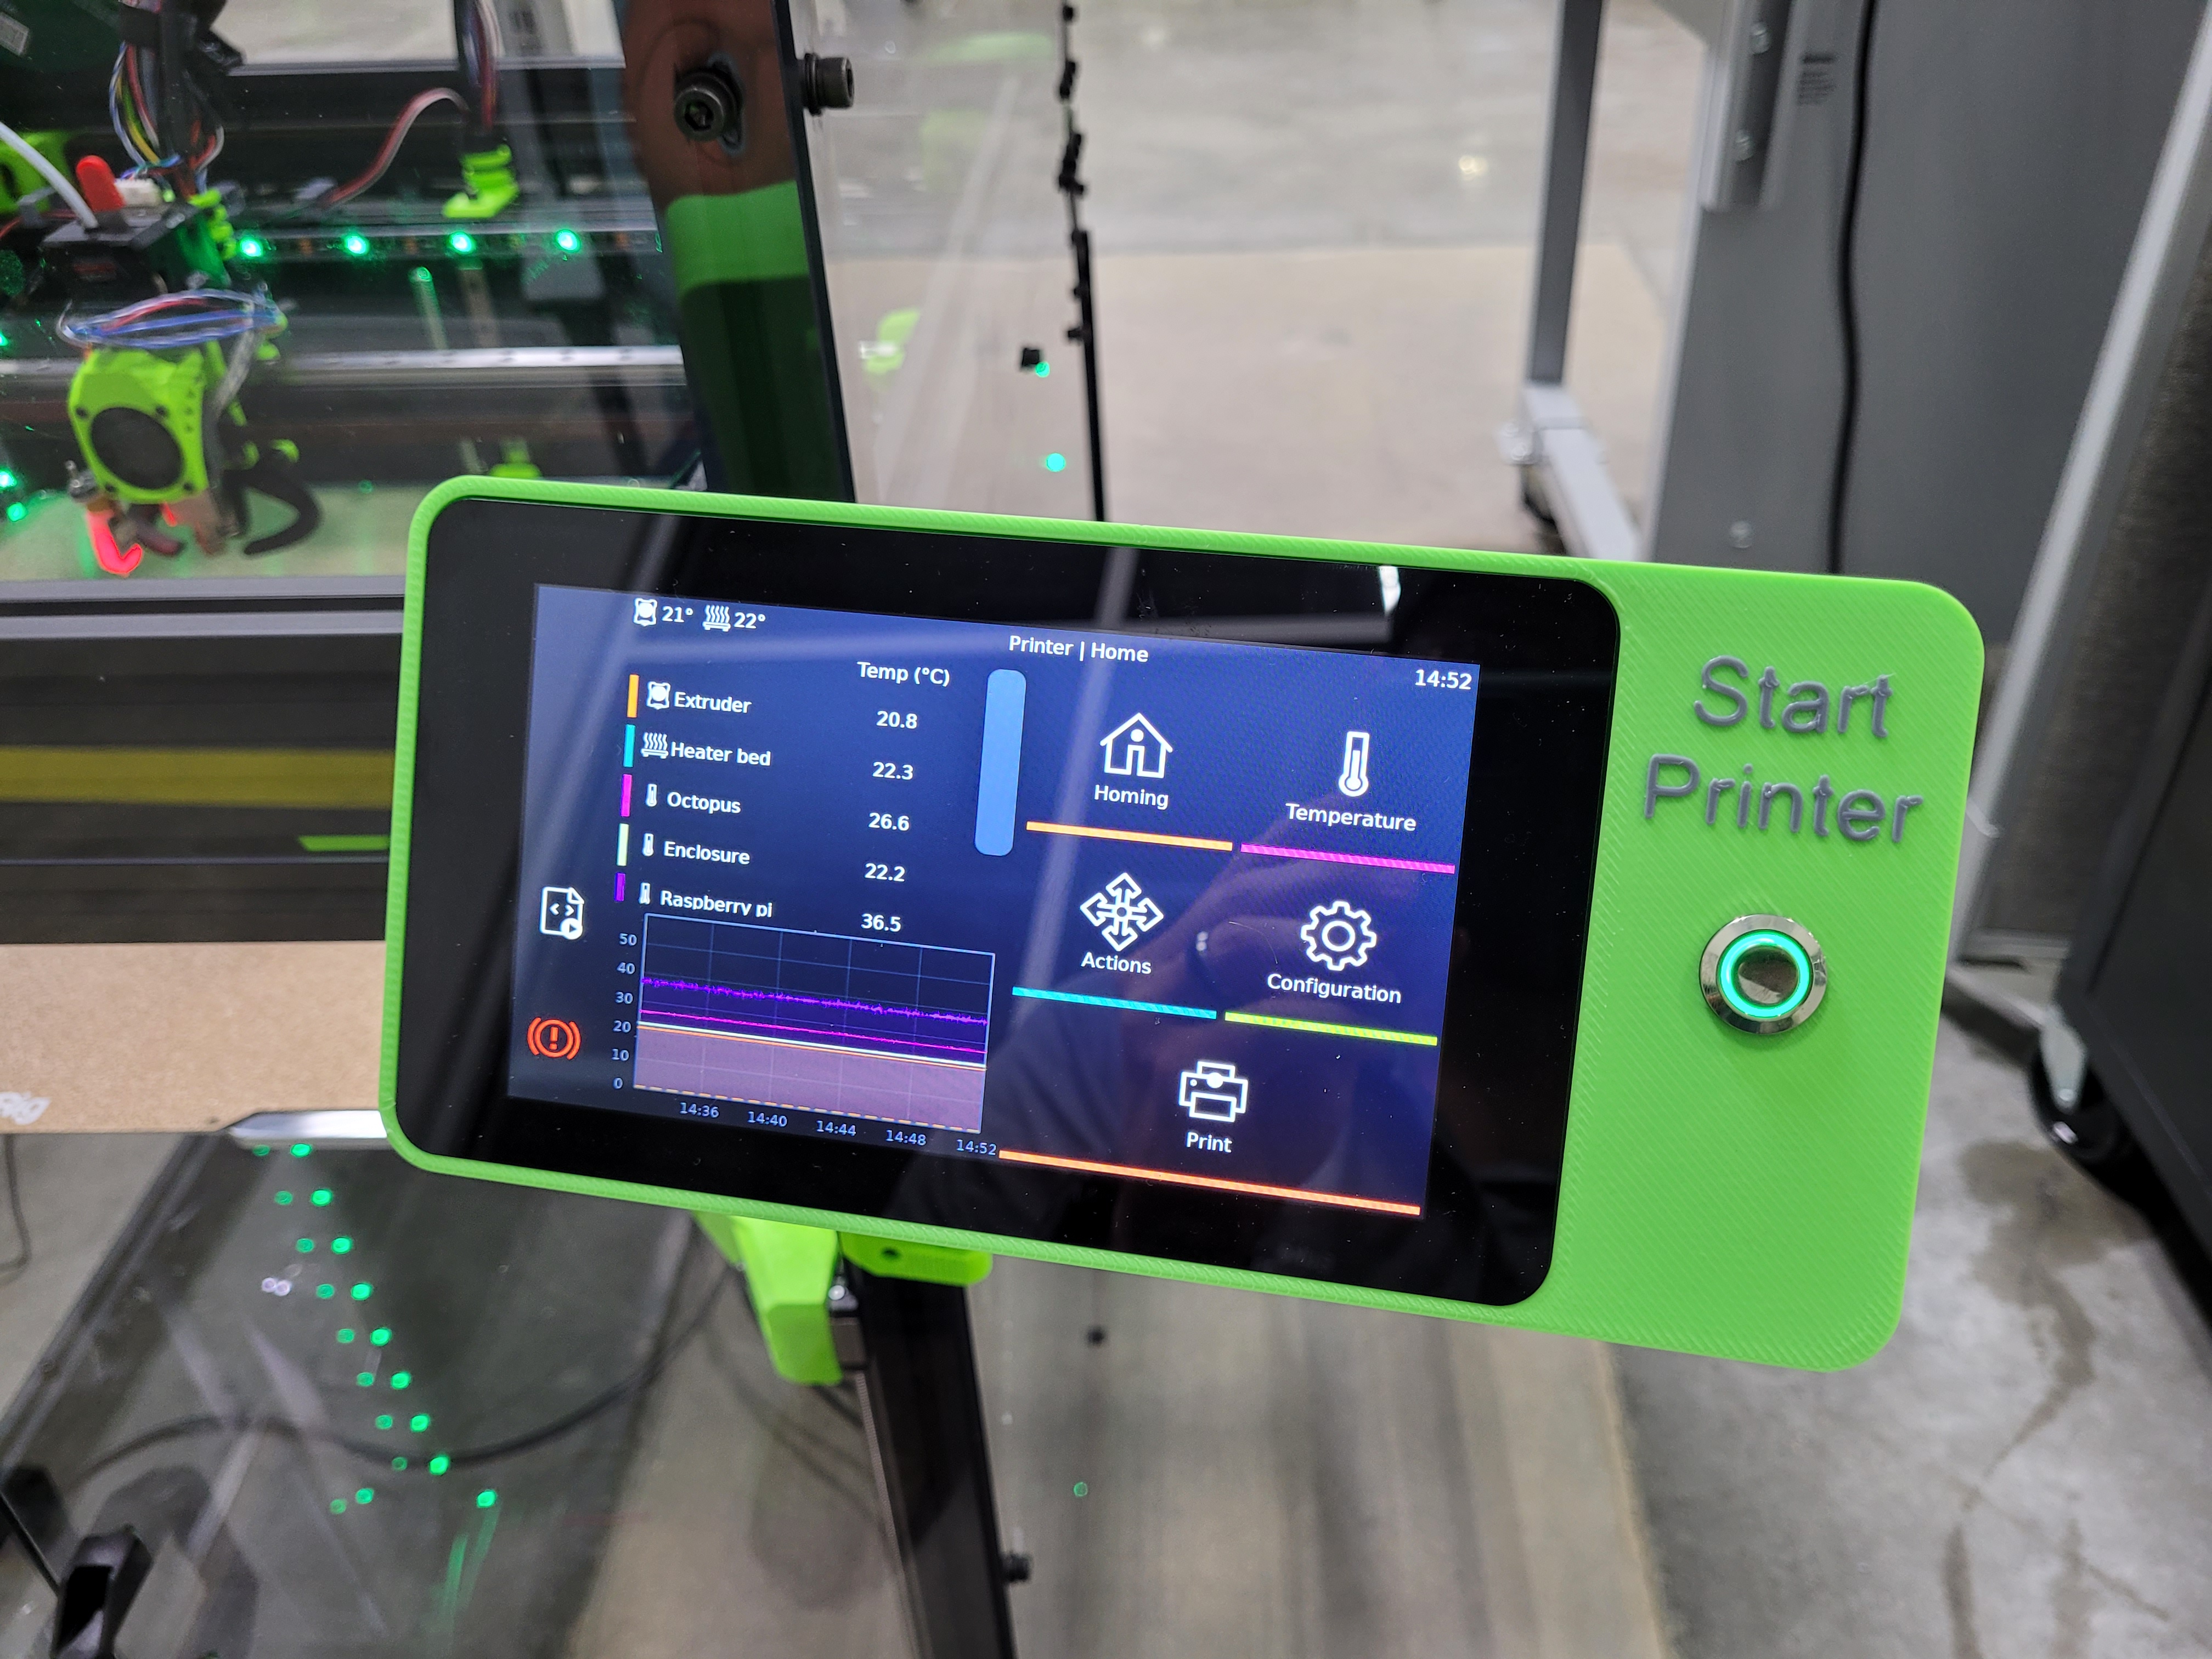
RasPi 7" Touch Screen Case and Mount for 3030 Bracket (RatRig V-Core3)
prusaprinters
<p>I designed this case and mount for a Raspberry Pi 7" Touch Screen running KlipperScreen on my RatRig V-Core 3 500. The mount attaches through and on top of the 3030 Corner Bracket on the side of the printer. This design is 100% 3D printed except for the M3 SHCS that fasten the RasPi screen to the case.</p><p>I also added a mounting location for a button that fires a macro to prevent starting a print via the WebGUI remotely. When “Print Start” is selected from the RatOS WebGUI or the KlipperScreen the LED on the button will flash and the print will not start until the physical button at the printer is pressed. This feature was added for safety to prevent accidently starting the printer remotely when something was on the bed.</p><p>The case for the Raspberry Pi was based on this part → <a href="https://www.printables.com/model/44218-7-touchscreen-case-for-raspberry-pi-4-internal-fan">https://www.printables.com/model/44218-7-touchscreen-case-for-raspberry-pi-4-internal-fan</a> It's an excellent model that I modified. I removed the hole in the back and made the enclosure deeper. Since the Raspberry Pi on the RatRig is located remotely, it won't be mounted on the back of the screen as is typical.</p><h4>Hardware Required:</h4><p>1 x Raspberry Pi 7" Touch Screen (https://www.raspberrypi.com/products/raspberry-pi-touch-display/)</p><p>1 x DSI Ribbon Cable, Length Dependent on Printer (https://www.adafruit.com/product/2144)</p><p>4 x M3x30mm SHCS (to mount the screen to case)</p><p>4 x M3 Washers</p><p>3 x M6x20mm SHCS (to replace the stock 3030 SHCS)</p><p>3 x M6 Washers</p><p>1 x Rugged Metal Pushbutton with LED Ring - 16mm, Optional (https://www.adafruit.com/product/560)</p><h4>Print BOM:</h4><p>1 x 3030 Bottom Mount</p><p>1 x Arm</p><p>1 x Arm Screw</p><p>1 x Vertical Pivot</p><p>1 x Screen Mount</p><p>1 x Tension Screw</p><p>1 x Tension Nut</p><p>1 x 7Inch RPi Touchscreen Case <strong>OR </strong>7Inch RPi Touchscreen Case, with Button</p><h4>Print Parameters:</h4><p>Material: PLA, PETG, ABS, etc.</p><p><strong>Recommended Settings: </strong></p><p>Arm Screw and Tension Screw - 0.4 mm Nozzle, 0.2 mm Slice Height, 5 Bottom, Top and External Perimeters, <strong>100% infill</strong>.</p><p>All Other Parts - 0.4 mm Nozzle, 0.2 mm Slice Height, 5 Bottom, Top and External Perimeters, 30% or greater infill.</p><p>Secondary Settings:</p><p>Arm Screw and Tension Screw - 0.6 mm Nozzle, 0.3 mm Slice Height, 5 Bottom, Top, and External Perimeters, <strong>100% infill</strong>.</p><p>All Other Parts - 0.6 mm Nozzle, 0.3 mm Slice Height, 5 Bottom, Top, and External Perimeters, 30% or greater infill.</p><p>I have successfully printed these files using a 0.6 mm nozzle and 0.3 mm slice height, but some of the threads needed to be cleaned up. With the recommended settings all parts should assemble easily.</p><p>Supports: None</p><p>If you print in the below orientation there should be no need for supports.</p><figure class="image"><img src="https://media.printables.com/media/prints/225259/rich_content/93511483-8234-48aa-b348-99492b575c45/components-print-orientation.png#%7B%22uuid%22%3A%22d5626956-0abc-423d-9709-e3ec5345549a%22%2C%22w%22%3A1125%2C%22h%22%3A702%7D"></figure><figure class="image"><img src="https://media.printables.com/media/prints/225259/rich_content/b01551e2-84a8-48df-a66d-9378d1f5e9df/case-orientation.png#%7B%22uuid%22%3A%229fae4802-c0d2-4d67-89ec-54bf9653342b%22%2C%22w%22%3A901%2C%22h%22%3A633%7D"></figure><p>Multicolor Print: You can manually add a filament change if you would like the “Start Print” text to be in a contrasting color. That will vary by slicer.</p><h4>Code for Button:</h4><p>If you would like the code for the delay start on the button I can post it, but for now I think there will be limited interest in it so I will not.</p><p><strong>****UPDATE****</strong></p><p>The code is now posted. There are two files. The first contains the custom code to be pasted in your printer.cfg file. This code modifies the standard “Start” code to insert a macro called “WAIT” which in turns executes a shell command called “WAIT_SHELL”. The second file is the .sh file required to be placed in your default Klipper Scripts folder. This shell script will then flash the button on and off at 0.5s intervals until the button is pressed and held for 1s. Once the button is pressed and held for 1s the shell script will return to the regular start sequence.</p><p>The button switch will need to be wired to the RasPi's GPIO pin 23 and ground. The button LED will need to be wired to the RasPi's GPIO pin 24 and ground.</p><p>NOTE: You may also need to SSH into the RasPi and make the wait-for-start-button.sh executable. Use the CLI to navigate to the Klipper Script folder and run “<code>chmod u+x wait-for-start-button.sh</code>”.</p><p> </p><p>If you do want to put your own Macro button to do a specific task (Home, Unload Filament, etc.) visit the official Klipper Configuration page (https://www.klipper3d.org/Config_Reference.html) and follow the instructions for [gcode_button].</p>
With this file you will be able to print RasPi 7" Touch Screen Case and Mount for 3030 Bracket (RatRig V-Core3) with your 3D printer. Click on the button and save the file on your computer to work, edit or customize your design. You can also find more 3D designs for printers on RasPi 7" Touch Screen Case and Mount for 3030 Bracket (RatRig V-Core3).
