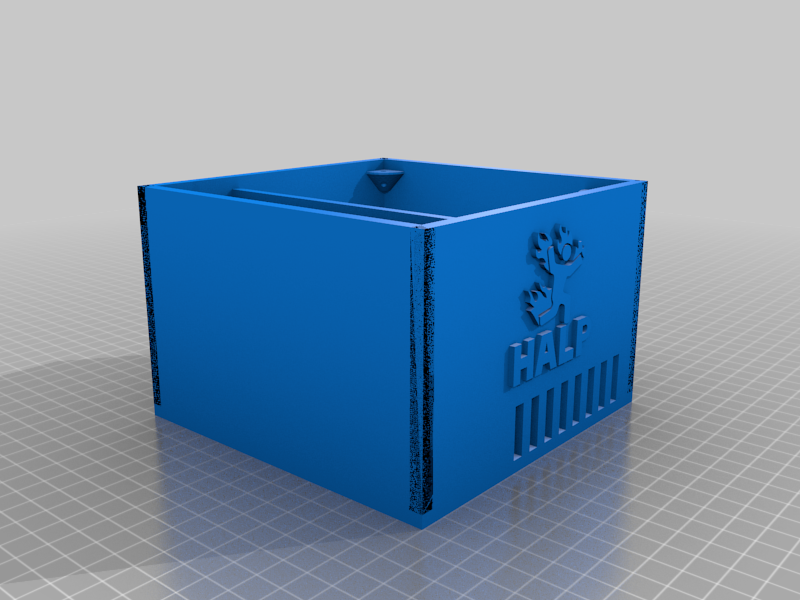
RaspberryPi Universal 2 bays case
thingiverse
Eng: I designed this case to hold a Raspberry Pi 4 and two external SSD drives but it can be used for older Raspberries as the holes for the ports are just big squares (intended for designing custom plates to cover the squared holes and surround the ports). It also has a space and screw places for a 6-8 cm diameter fan. I included the FreeCad files so you can customize it to your needs. The external SSD bays are 8,3cm x 2cm x 13 cm. There are two holes to connect the USB cables to them, you need to verify they are in the right place and if not, use the FreeCad files included to move them around, same thing with the walls for the SSDs. I used random screws I had laying around, so i can't give exact directions about them. I put them in place with a screwdriver and then applied some heat with a solder to make sure they stay in their place. I used pointy screws for the fan, so I just put them in place without hassle. No supports or brims required (supports for the port holes are included, you must remove them with pliers). ESP: He diseñado esta caja para una Raspbery Pi 4 (sirve para modelos anteriores también), un ventilador y dos discos externos (en mi caso SSDs). Los agujeros para los puertos son cuadrados, por eso es universal, la idea es que los usuarios puedan diseñar las placas a su medida para tapar el agujero y dejar los puertos expuestos de manera más bonita. También tiene espacio para atornillar un ventilador de entre 6 y 8 cm de diámetro. He incluido los ficheros de Freecad para que puedas editarlo a tu medida. Los espacios para los SSD son de 8,3cm x 2cm x 13 cm. Hay dos agujeros en las bahías para poder conectar los discos a los puertos USB, tienes que verificar que le sirvan a tus discos, si no, tendrás que editar el fichero de Freecad que incluí. Si tus discos no caben, también puedes editar las bahías para que quepan. Usé tornillos que tenía por ahí tirados, así que no puedo dar indicaciones de cuáles puedes usar. Yo atornillé la Raspberry y le di calor a los tornillos con un soldador para que se quedaran bien fijados. Para el ventilador usé unos tornillos con punta (los del mismo ventilador) así que simplemente los atornille directamente. No se necesitan soportes ni placas de adhesión, los agujeros de los puertos ya traen soportes, vas a tener que quitarlos con unos alicates.
With this file you will be able to print RaspberryPi Universal 2 bays case with your 3D printer. Click on the button and save the file on your computer to work, edit or customize your design. You can also find more 3D designs for printers on RaspberryPi Universal 2 bays case.
