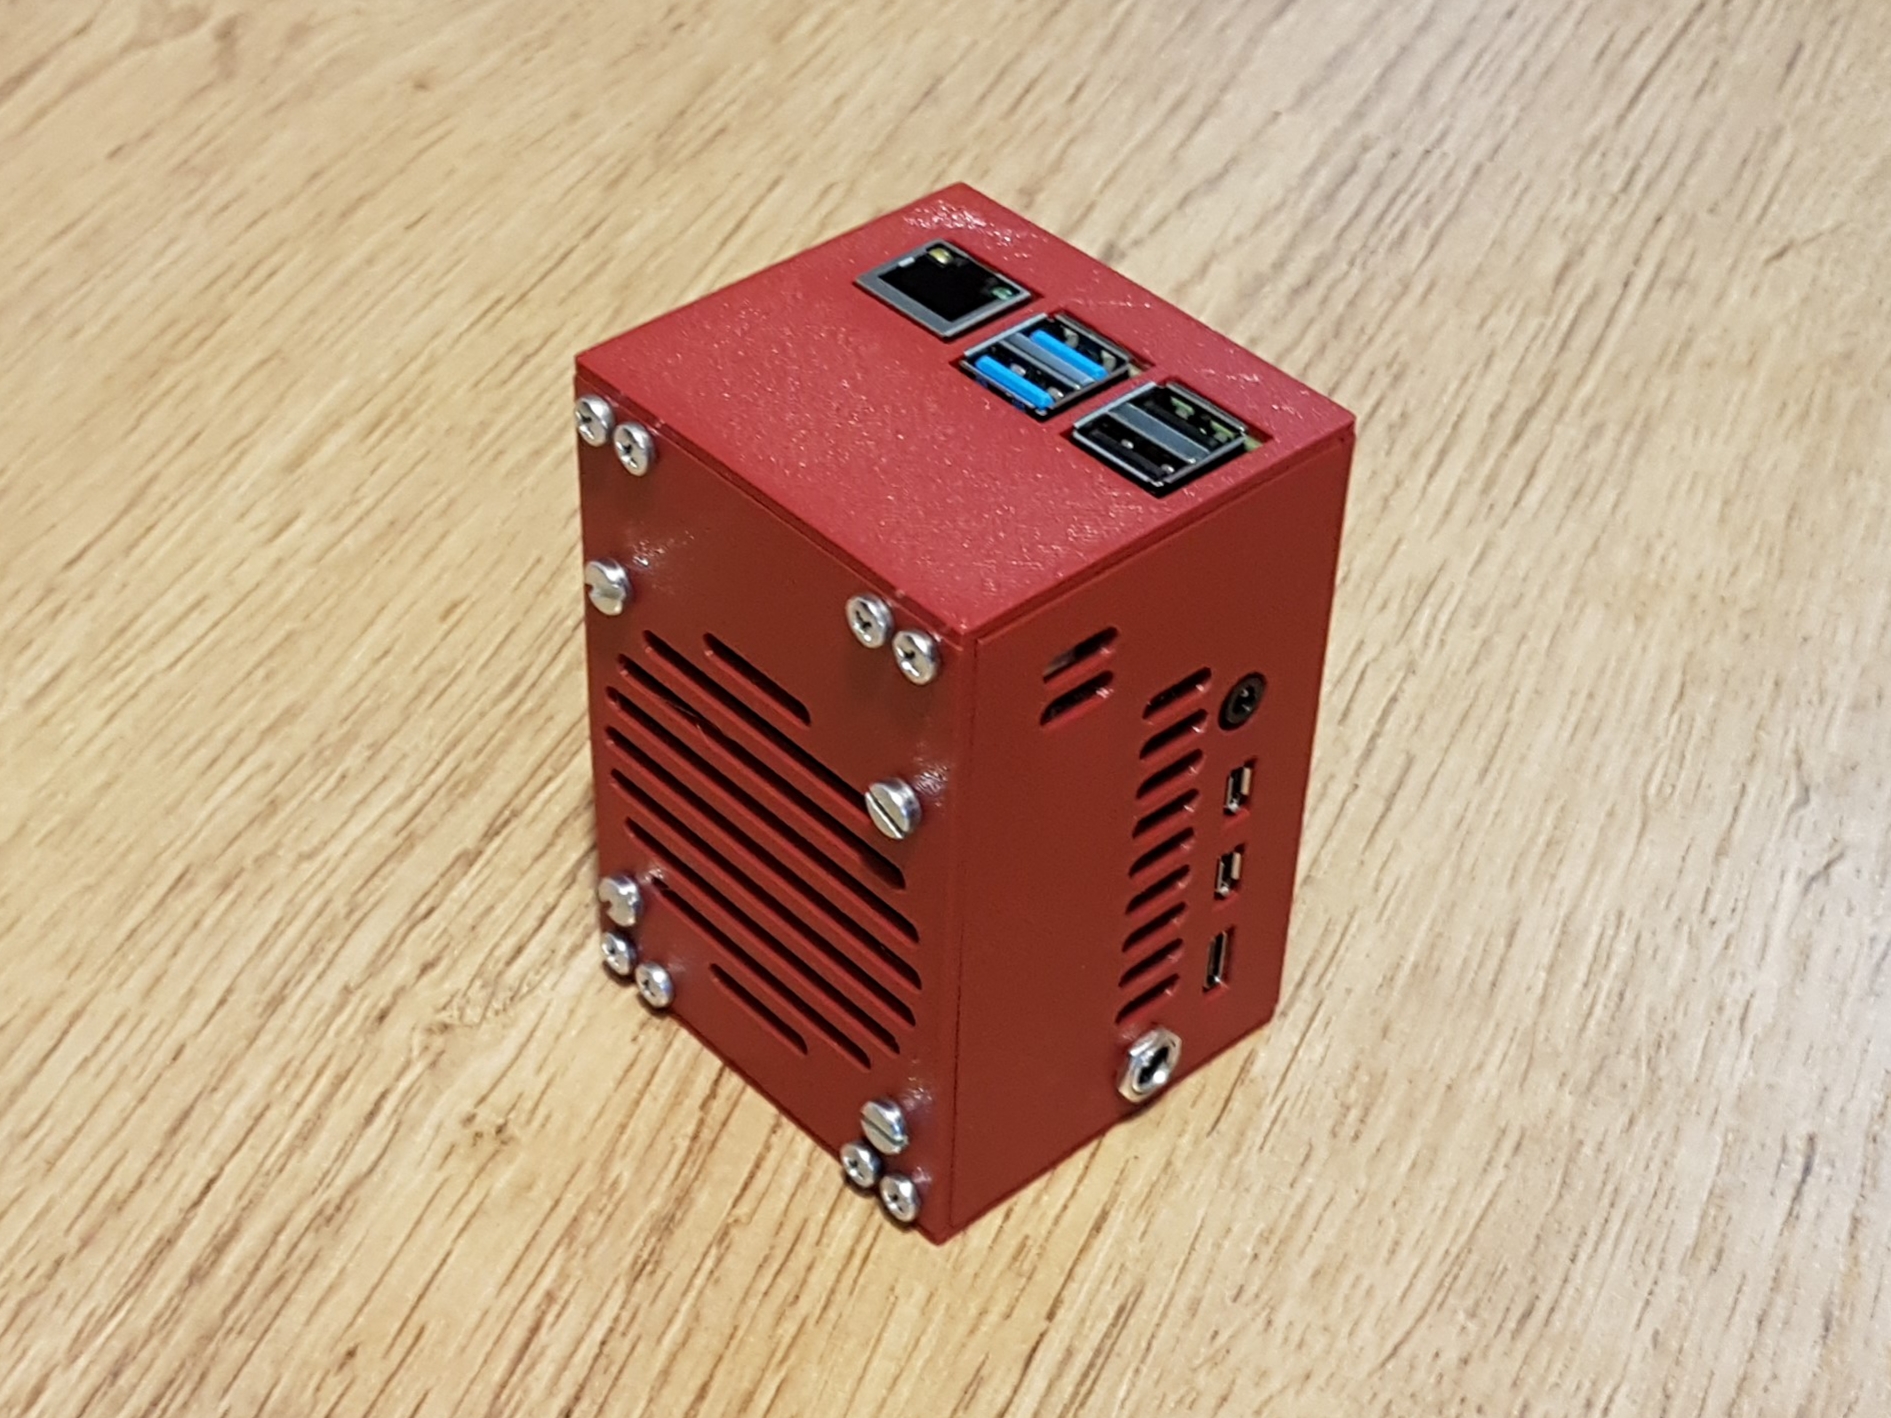
RaspberryPi 4 ultra performance housing
prusaprinters
<p>This strongly cooled housing is made for a multimedia center application and allows the RaspberryPi 4 to stay cool even at extensive load, like when playing 4k video.</p> <p>It is made to hold the RaspberryPi 4 itself, a 5V DC-DC buck converter and a 12V, 60mm fan for the cooling.</p> <p>Without the fan running, the CPUburn benchmark gets the temperature of the CPU just into the range where the Raspi throttles back from 1.5GHz clock to 1.0GHz clock (around 82°C) to protect itself from overheating. With the fan running full speed, the temperature reaches a mild 49°C at the same extreme load conditions. But the noise from a 60mm fan at full speed is of course quite noticeable, or lets rather say annoying. That is why I run mine with 30% pwm (pulse width modulation rate), which keeps is almost unnoticeable silent and still keeps the CPU temperature at only 59°C under full load.</p> <p>So if you intend to put a big burden on your RaspberryPi 4 by using it for watching 4k videos or use it for whatever enduring number crunching calculations, this housing is for you.</p> <p>If you just like the looks of the housing, and don't plan to run it at 100% load for extensive periods, you can simply skip the fan and the internal 5V DC-DC converter and use this as a normal, nicely sized RaspberryPi housing. The upright orientation of the board and the cooling air slots on the right and the back side will help significantly to keep it cool, even without a fan. When the CPU is in idle mode, it settles at 51°C with no fan running at all.</p> <p>The USB connectors on the top make it ideal for quickly plugging USB memory sticks that hold your multimedia content.</p> <p>For those of you that intend to design your own RaspberryPi 4 housing, I have also published the model of the board that I had made as a reference for this project:<br/> <a href="https://www.prusaprinters.org/prints/42241-raspberrypi-4-reference-model-for-housing-designs">https://www.prusaprinters.org/prints/42241-raspberrypi-4-reference-model-for-housing-designs</a></p> <h3>Print instructions</h3><p>I have printed all parts from DasFilament.de PETG at 100% infill on a Prusa i3 Mk3S. The use of PETG is recommended, as PLA will be less tolerant to the M2.5 mounting screws for the board simply being forced in.</p> <p>Assembly instructions:</p> <p>Print all parts on a printer which gives rather precise hole diameters. My Pursa i3 Mk3S and my Pursa Mini definitely do that, while I have troubles frequently with the diameter of small holes on my Ender3Pro.</p> <p>The RaspberryPi 4 board shall be mounted to the left side by using 4 screws M2.5x6, which can be driven directly into the holes on the screw domes.</p> <p>All sides are held together by a total of 16 screws M3x6. Also these could simply be forced into the provide holes, but to avoid the risk of cracks and to get really well fitting and well lined up parts, I recommend to use a thread cutter and prepare all parts with M3 threads before adding the screws. Also some mild sanding on the screw hole legs of the parts can help them to align even more precisely.</p>
With this file you will be able to print RaspberryPi 4 ultra performance housing with your 3D printer. Click on the button and save the file on your computer to work, edit or customize your design. You can also find more 3D designs for printers on RaspberryPi 4 ultra performance housing.
