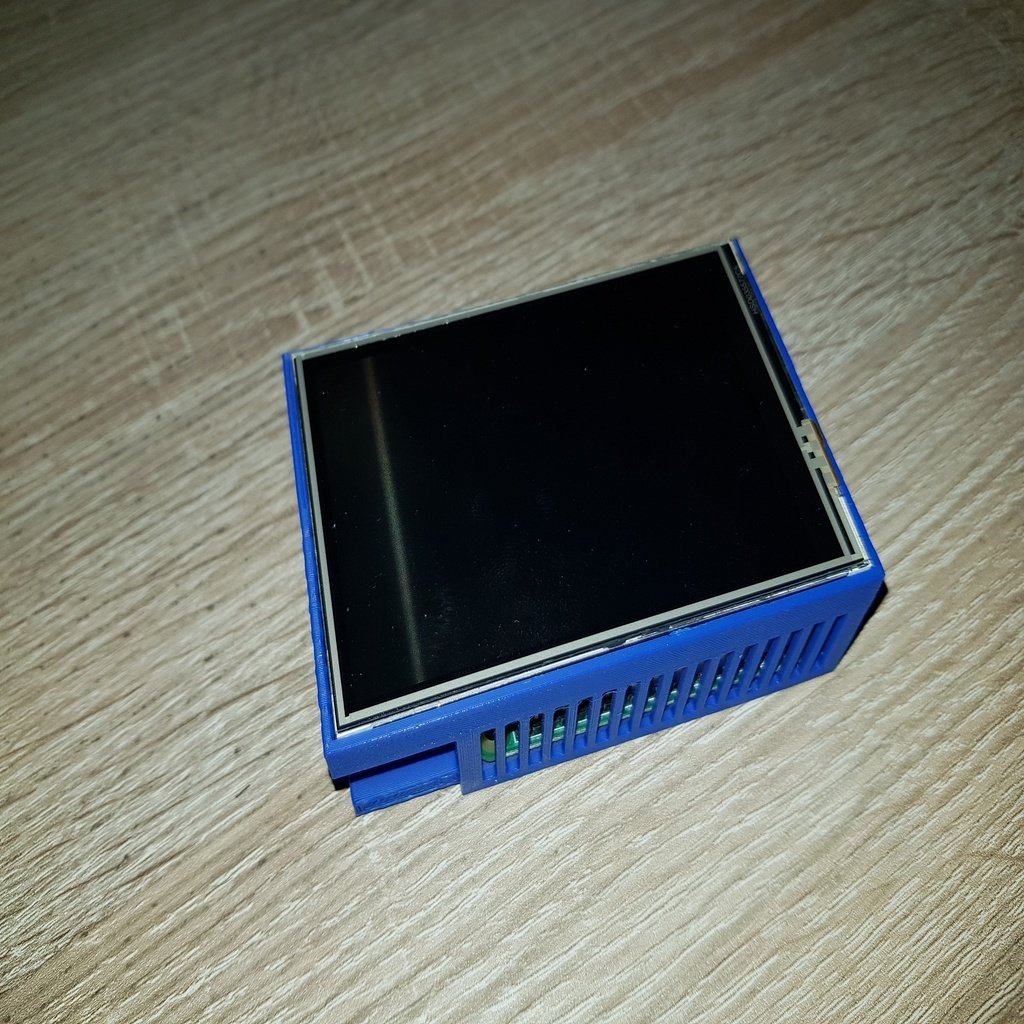
Raspberry Pi Zero Waveshare 3.5 inch LCD case
thingiverse
The Simple Case for a Raspberry Pi Zero with a Waveshare 3.5-Inch LCD In this tutorial, you'll learn how to set up a basic system using the Raspberry Pi Zero and a Waveshare 3.5-inch LCD display. This project is perfect for beginners looking to get started with DIY electronics and programming. The first step is to gather all the necessary components. You will need: * A Raspberry Pi Zero * A Waveshare 3.5-inch LCD display * A USB power supply * A microSD card (at least 4GB) * A case for the Raspberry Pi Zero Once you have all your parts, it's time to start building. Begin by inserting the microSD card into the Raspberry Pi Zero. Next, connect the Waveshare LCD display to the GPIO pins on the board. Now, plug in the power supply and wait for the system to boot up. Once everything is running smoothly, you can install the necessary software to get started with programming your new device. With this simple case, you'll be able to create all sorts of projects using the Raspberry Pi Zero and Waveshare LCD display. From home automation systems to media centers, the possibilities are endless!
With this file you will be able to print Raspberry Pi Zero Waveshare 3.5 inch LCD case with your 3D printer. Click on the button and save the file on your computer to work, edit or customize your design. You can also find more 3D designs for printers on Raspberry Pi Zero Waveshare 3.5 inch LCD case.
