Raspberry Pi Zero Swivel Case Top(with LOGO!)
thingiverse
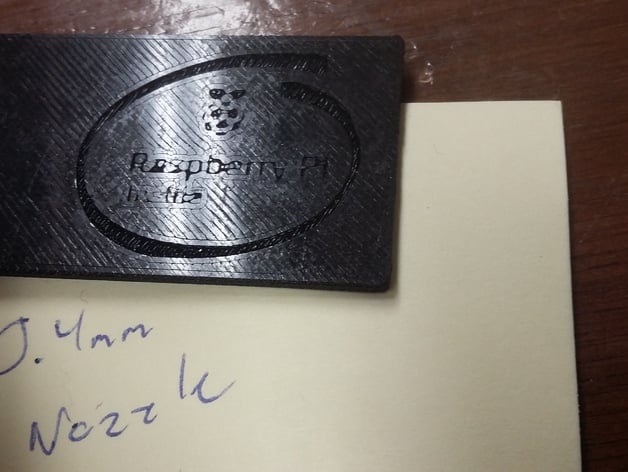
This is my first entry for the #RemixChallenge and I wanted to keep things simple, so I went with a classic design inspired by Intel's Raspberry Pi logo. Now I've got the chance to put it on a Zero! "Raspi Inside" files are all about that top-notch quality. Just the raspi logo files are all about being top-notch too - logo. Ver2 has the logo oriented so it's slightly larger, which helps with details because this thing is teeny-tiny! In fact, I don't think the details will come out unless you have a 0.2mm nozzle or even smaller! I've tried on a 0.4mm nozzle and everything comes out noticeable except the 'inside' text. Print Settings: Printer Brand: MakerBot Printer: MakerBot Replicator Mini Rafts: Doesn't Matter Supports: No Resolution: 0.1mm Notes: Must be printed at 0.1mm (high quality). The logo is recessed into the lid by only 0.5mm, so you really need to print it at 0.1mm to have it be nice and visible. How I Designed This: Simple subtracting with TinkerCAD! First, I thought about what I wanted - something simple to show how remixing can be easy and simple. I noticed the raspi zero swivel case as one of the options and thought that would make a great tutorial. Then I had to think about how it would print in real life. A logo that was protruding from the top of the case would have to printed with support, whether it was face down or up, and that would require support removal and the case would lose some of its aesthetic appeal. So I decided on a recessed logo because I could keep the printing orientation of the case the same and it should still not require supports. Plus, removing material from the design saves time and filament! I started off by getting on TinkerCAD and starting a new design. Then I used the Import function to import the raspilogo.stl and the casetop.stl (actual names may vary). If you import an .stl and it looks like your object, or part of it, is jumbled, there are probably some mesh errors and it would be a good idea to run your file through NetFabb first to fix any of those. Next I had to rotate the logo upside down to place it on the top case. Why did we have to rotate it upside down? Because we are printing the case with the top facing the bed, so we rotate the logo so that it doesn't print backwards! If you are having a hard time visualizing this, just try to print one without rotating it and you'll see first hand! After you place the logo where you'd like it, you want to apply the 'Hole' setting to it by clicking the 'Hole' button in the inspector window. After that, you can 'Group' the two objects together and that will cause the hole part to be removed from the solid object!
With this file you will be able to print Raspberry Pi Zero Swivel Case Top(with LOGO!) with your 3D printer. Click on the button and save the file on your computer to work, edit or customize your design. You can also find more 3D designs for printers on Raspberry Pi Zero Swivel Case Top(with LOGO!).