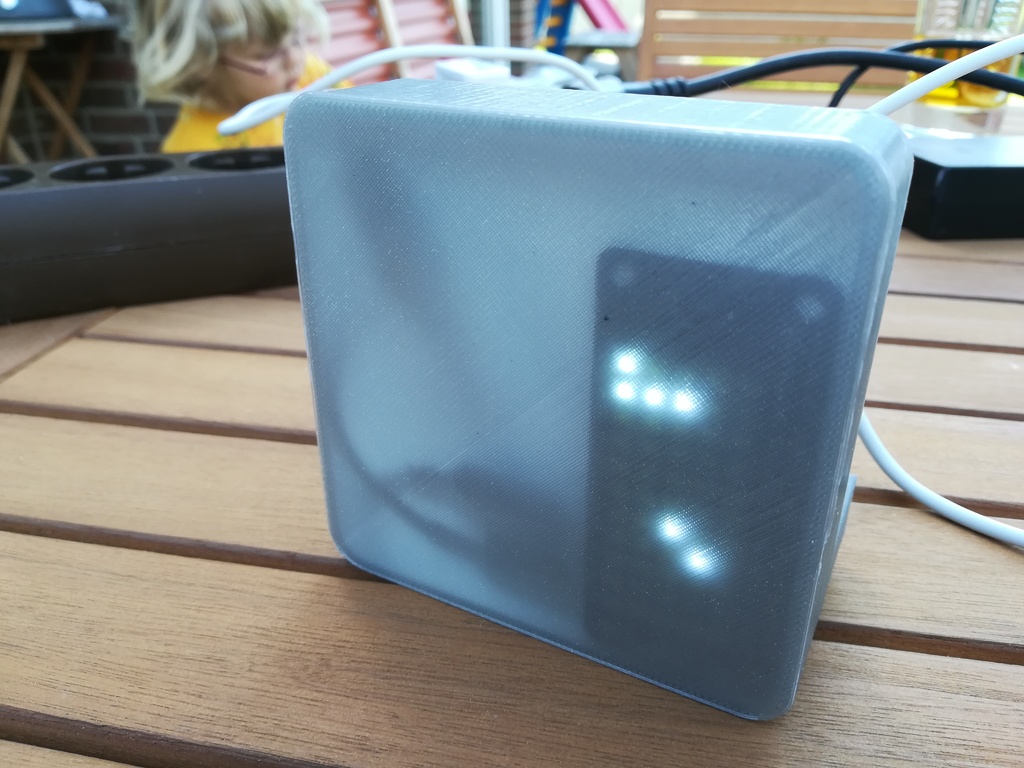
Raspberry PI Zero Case for Pimoroni ScrollpHAT
thingiverse
The Rudimentary Setup Guide for Raspberry Pi Zero Users and Pimoroni Scroll pHAT Enthusiasts. For starters, this guide is designed to help beginners set up a basic configuration for their Raspberry Pi Zero paired with the versatile Pimoroni Scroll pHAT display board. While not exhaustive, it provides a solid foundation for users who want to get started quickly without delving into advanced topics. The focus here is on installing the necessary software and configuring the environment to run the Scroll pHAT display, along with some basic setup and testing procedures. This guide assumes you have your Raspberry Pi Zero and Pimoroni Scroll pHAT ready, as well as a computer for downloading and transferring files. **Required Components** * Raspberry Pi Zero (Model A or B) * Pimoroni Scroll pHAT display board * Micro SD card with minimum 8GB storage space * USB power supply (Micro-USB cable recommended) * Internet connection for software downloads **Step 1: Preparing Your Micro SD Card** Insert your micro SD card into your computer and format it to be visible on your Raspberry Pi Zero. You can use the built-in formatting tool in your computer's operating system or a dedicated application like Rufus (for Windows) or Etcher (for macOS or Windows). **Step 2: Downloading the Necessary Software** Visit the official Raspberry Pi website and download the latest version of Raspbian OS, which is specifically designed for the Raspberry Pi series. This will be your operating system for this project. Also, you'll need to install the Pimoroni Scroll pHAT library using pip, a package manager for Python. Open a terminal or command prompt on your computer and run the following command: ```bash sudo apt-get update && sudo apt-get install python3-pip pip3 install pillow ``` This will download and install the necessary packages. **Step 3: Configuring Your Pimoroni Scroll pHAT Display** Insert your micro SD card into your Raspberry Pi Zero, connect it to a power supply, and boot up your device. Once booted, you'll be presented with the Raspbian OS desktop interface. Open a terminal by clicking on the terminal icon in the taskbar or using the keyboard shortcut Ctrl + Alt + T. Navigate to the Pimoroni Scroll pHAT library directory by running the following command: ```bash cd /home/pi/Desktop/Scroll-phat ``` Run the following commands to install and configure the library: ```bash sudo apt-get update && sudo apt-get install python3-pip pip3 install pillow python3 -m pip install scrollphathd ``` This will download and install the necessary packages. **Step 4: Testing Your Pimoroni Scroll pHAT Display** To test your display, run the following command: ```bash scrollphathd test ``` This will display a series of scrolling messages on your Pimoroni Scroll pHAT display. If everything is working correctly, you should see the messages scroll across the screen. **Conclusion** In this guide, we've covered the basic setup and configuration for using the Raspberry Pi Zero with the versatile Pimoroni Scroll pHAT display board. With this rudimentary setup in place, you can start experimenting with more advanced projects and take your Raspberry Pi Zero experience to the next level.
With this file you will be able to print Raspberry PI Zero Case for Pimoroni ScrollpHAT with your 3D printer. Click on the button and save the file on your computer to work, edit or customize your design. You can also find more 3D designs for printers on Raspberry PI Zero Case for Pimoroni ScrollpHAT.
