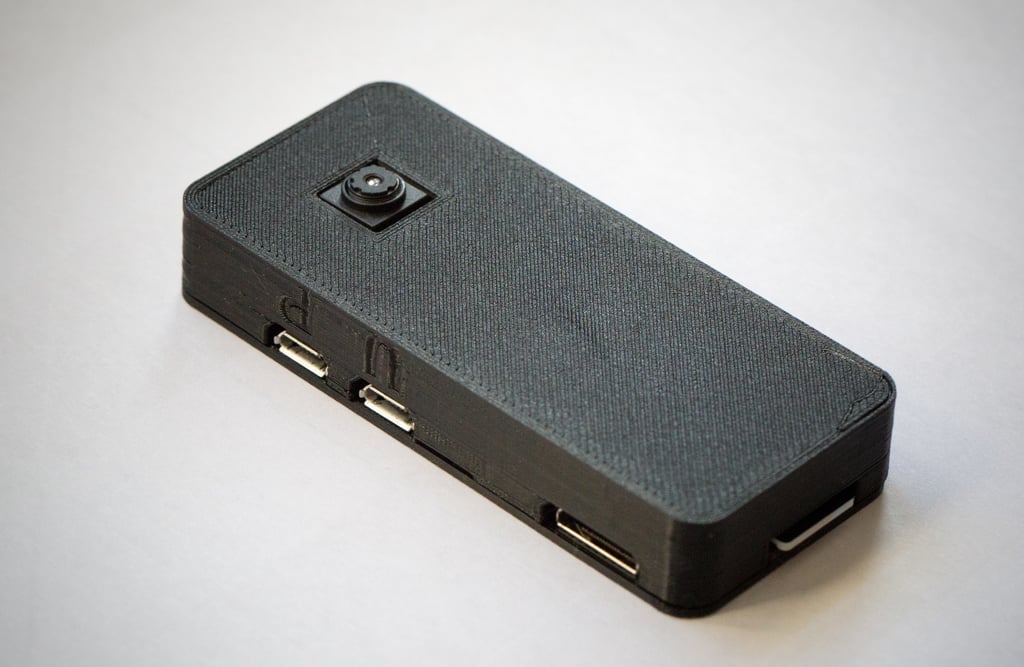
Raspberry Pi Zero Camera Case
thingiverse
Goals ===== * Achieve a minimalist design * Securely hold Raspberry Pi and Camera Module v1.3 or v2.0 * Eliminate the need for fasteners * Ensure simple assembly and easy access to contents * Provide access to power, USB, and microSD card ports The case was designed using Fusion 360. You can download the design file and make changes as needed: [Fusion 360 Design](https://a360.co/2KVs1cC). Printing and Assembly ===================== Print the board without support, as it is designed to print on the flat sides of the case and lid. This simple Raspberry Pi Zero camera case requires no fasteners or additional tools for assembly. Simply print it, and the snaps will secure the Raspberry Pi and Camera Module in place. Begin by placing the camera module under the top lip of the box. Next, fold the flex cable at the bottom of the box, taking care not to damage it. Insert the Raspberry Pi board under the side of the box opposite all connectors, pressing it into place under the snap-in clip next to the connector openings. There are two snap lips; push the board under the lower one, ensuring it lies flat in the box with all connectors in place. Finally, insert the lid similarly and clip it in place. The Raspberry Pi and lid should fit snugly, but take care not to force them, as this may damage the retaining clips.
With this file you will be able to print Raspberry Pi Zero Camera Case with your 3D printer. Click on the button and save the file on your computer to work, edit or customize your design. You can also find more 3D designs for printers on Raspberry Pi Zero Camera Case.
