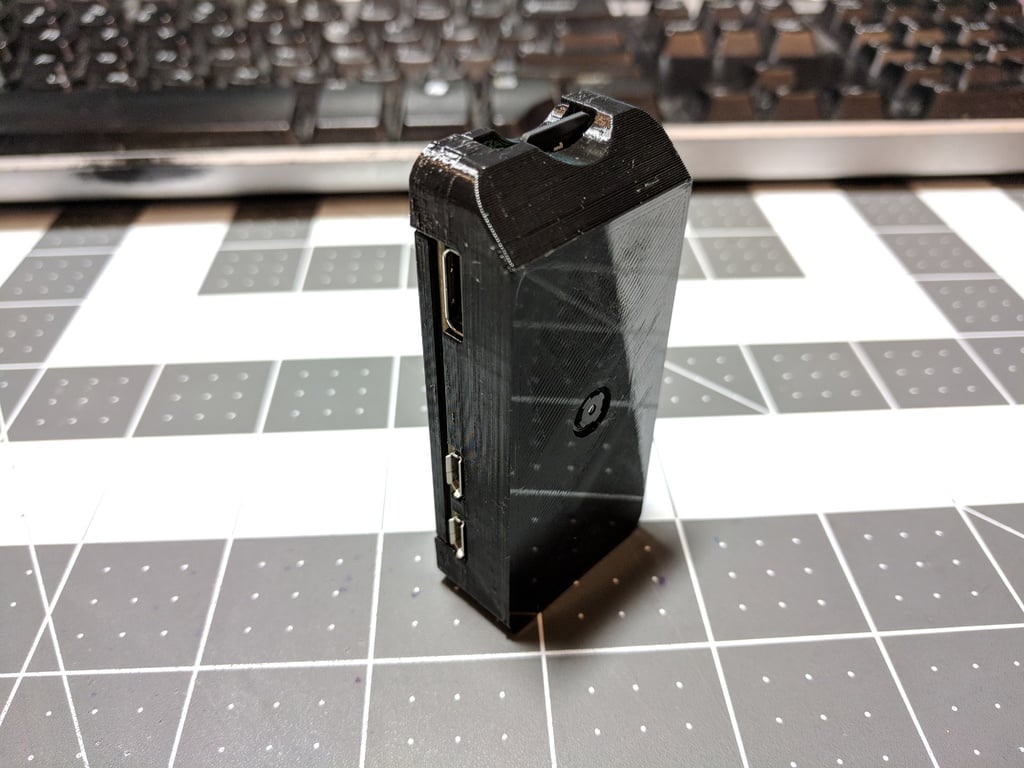
Raspberry Pi Zero Camera Case
thingiverse
If you appreciate the creative work on display here, consider showing your gratitude with a generous tip. A custom Raspberry Pi Zero camera housing featuring a detachable back plate. This design was specifically created as part of an OctoPrint project for the Felix 3D printer. Instructions: 1. Insert the Pi camera into the case and attach the back plate, as demonstrated in the accompanying image below. <img src="https://cdn.thingiverse.com/renders/b9/1c/8b/dd/ea/016955c4c150d4e8379b14988590d42e_preview_featured.jpg"> 2. Ensure the camera is fully seated, making sure the lens passes through its hole and the board is securely held by all four clips. You may need to push the clips aside to facilitate this process. <img src="https://cdn.thingiverse.com/renders/72/cc/45/a8/ec/941eec0bf3feba42a8da410ad58267af_preview_featured.jpg"> 3. Next, connect the 38mm camera ribbon cable. <img src="https://cdn.thingiverse.com/renders/c4/56/42/1d/f6/599ebed4f5e3da5673dc660d3647da3d_preview_featured.jpg"> 4. Place the Raspberry Pi in the case and secure it with the snap-in back plate, as shown in the images below. <img src="https://cdn.thingiverse.com/renders/8e/0a/6d/2e/e6/837b7f6f8e735eee366eb6f8830bbddd_preview_featured.jpg"> <img src="https://cdn.thingiverse.com/renders/f2/49/76/6a/ee/edd40e1861548cb4b926dad1bf59a80e_preview_featured.jpg">
With this file you will be able to print Raspberry Pi Zero Camera Case with your 3D printer. Click on the button and save the file on your computer to work, edit or customize your design. You can also find more 3D designs for printers on Raspberry Pi Zero Camera Case.
