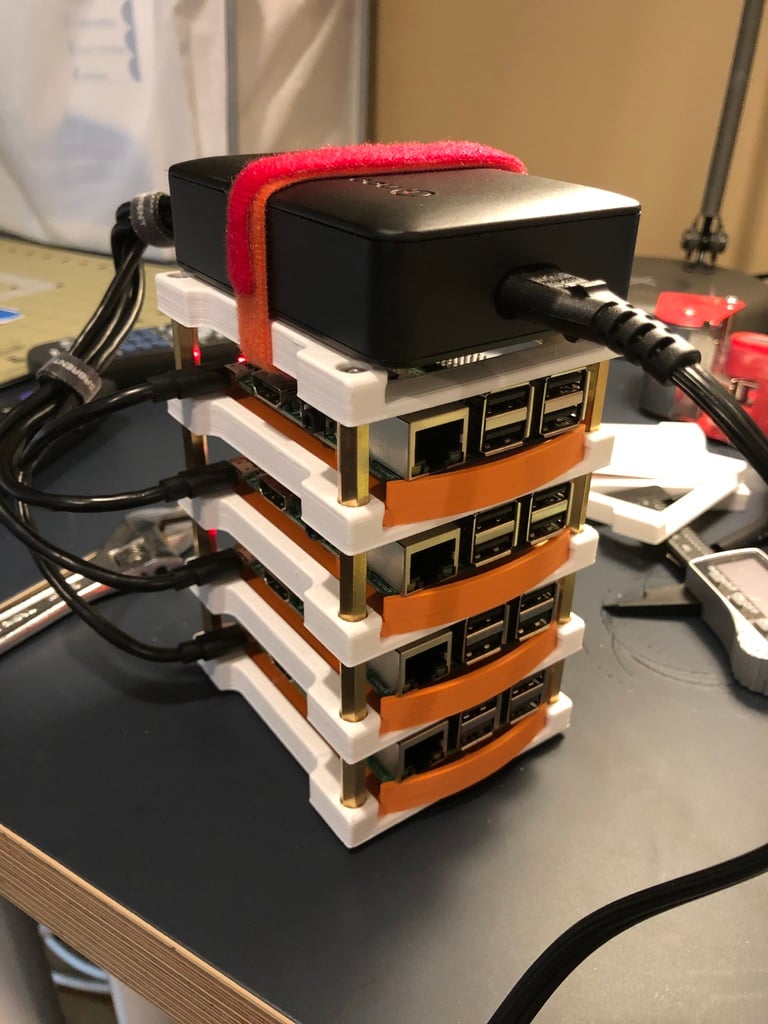
Raspberry Pi Rack
thingiverse
I made a straightforward adjustment to the original middle section of [yooodaha's](https://www.thingiverse.com/yooodaha) design. I aimed to utilize standard 25mm+6mm standoffs, so I recessed the holes slightly, allowing the standoffs to screw into the standoff below it. This thing is just the middle section. You can use this with the original top and bottom sections, or I simply used the middle sections for all of them, as I prefer the increased air flow of the middle section. Use the **cart** from the [original design](https://www.thingiverse.com/thing:2795195) It's best to assemble this from the bottom up. I employed the following hardware: M4 25mm + 6mm standoffs (just search for this on amazon) M4x6mm screws for the top. M3x4mm screws to attach raspberry pi to cart. M4 nuts for the bottom.
With this file you will be able to print Raspberry Pi Rack with your 3D printer. Click on the button and save the file on your computer to work, edit or customize your design. You can also find more 3D designs for printers on Raspberry Pi Rack.
