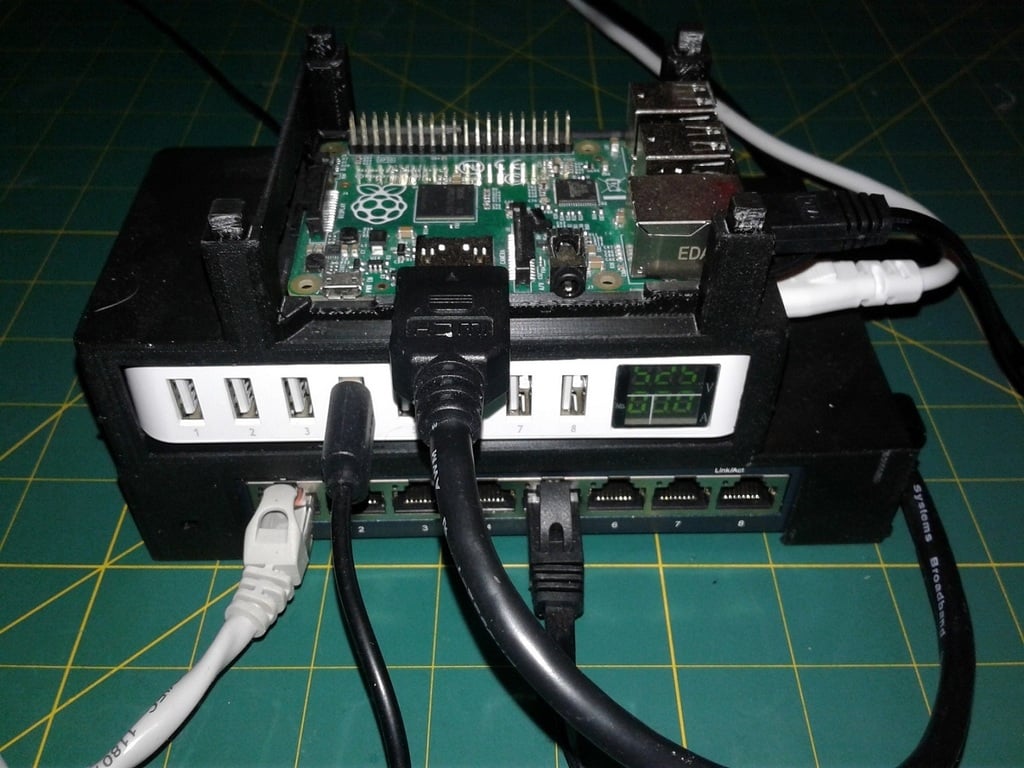
Raspberry Pi Power Network Tower
thingiverse
When working on a Raspberry Pi project, I always seem to need the same configuration, where I need one or more Pi computers, power and network connections. I made a remix of https://www.thingiverse.com/thing:1289829 for a Pi tower, and seriously modified Network box holder from https://www.thingiverse.com/thing:3255018 . I added my own power supply holder and smunched the 3 pieces together into this one model. The power supply is one my favorites, which displays voltage and amperage. It can be found at https://www.amazon.com/gp/product/B07G8X5XSX/ and the TP-Link TL-SG108 network switch is at https://www.amazon.com/Ethernet-Splitter-Optimization-Unmanaged-TL-SG108/dp/B00A121WN6/ . I also have an old old Netgear FS105 5 port device which also fits the network box slot without modification. This is an ancient switch that is not available any more as a new device. I like the tower because I have a crazy assortment of Pi models from the first 26 pin Model B up to the (current) latest Pi 4B, and this tower holds them all properly (except the computer modules and Pi 0 etc). The power, USB, HDMI and network connectors are in different places on the various Pi's but this tower accommodates all variations. With this tower, you can hold multiple Pi devices together in one place with power and network without cable movement on the work table doing bad things. I also printed a second one for my "production" stack for devices that don't get moved. Everything is nice and compact. The SD card side of the stack allows for a label identifying which Pi resides in the slot. I use short USB power cables and 18 inch Ethernet cables. The included NetworkPowerStack file includes the first tower section for one Raspberry Pi. If you want to stack two or more Pi's, then print the RaspberryPiTowerSled for each additional Pi. The sled is just duplicated from https://www.thingiverse.com/thing:1289829 and there is also a top piece there that you can add for a "lid". I printed this on its face with supports turned on. This uglifies the front panel a bit. You might get different results if you perhaps print on the left side. Supports will be needed in any orientation. I used PLA with 15% infill, supports enabled. Everything else pretty much stock settings.
With this file you will be able to print Raspberry Pi Power Network Tower with your 3D printer. Click on the button and save the file on your computer to work, edit or customize your design. You can also find more 3D designs for printers on Raspberry Pi Power Network Tower.
