Raspberry Pi PC
thingiverse
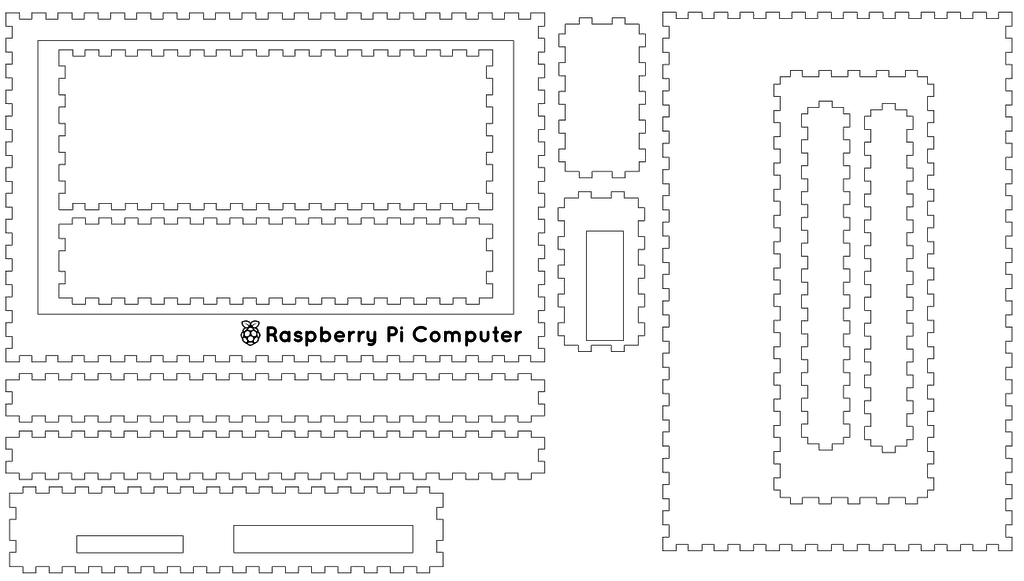
I Needed a Basic Computer to Control My DIY CNC.\r\n\r\nAll the parts fit inside a 50x30cm 3mm plywood sheet.\r\n\r\nTo secure my electronics, I attached a little standoff that allows me to place them perfectly. First, attach the standoffs to the electronics; then apply glue to the other side and finally place the electronics in their final position. Later, you can easily unscrew the electronics for any necessary adjustments.\r\n\r\nI'm still building it and plan to eventually complete this project.\r\n\r\nAttached are the SVG files for lasercutting and STL files for 3D printing (print 8).\r\n\r\nYou'll also find the source files attached.\r\n\r\nThis design was created using a tabbed box extension for Inkscape, along with some creative problem-solving to fit one box inside another.\r\n\r\nTo assemble this project, you'll need M3 x 6mm bolts (the Raspberry Pi has 2.5mm holes that can be enlarged with a drill bit), or you can edit the STL file to use 2.5mm bolts instead.\r\n\r\nThe screen I'm using is a 10.1" LCD, model LP101WH1.
With this file you will be able to print Raspberry Pi PC with your 3D printer. Click on the button and save the file on your computer to work, edit or customize your design. You can also find more 3D designs for printers on Raspberry Pi PC.
