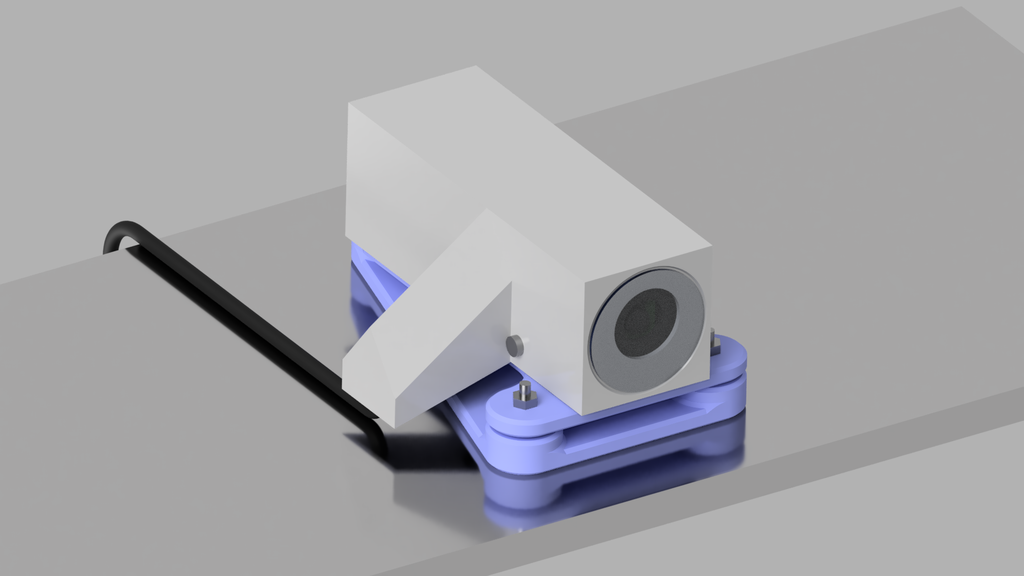
raspberry pi outdoor webcam
thingiverse
This is a project that requires a Raspberry Pi Zero W and a Raspberry Pi Camera v2.1. I use it as an outdoor webcam that automatically captures images and uploads them to the internet at regular intervals. The design is water-resistant, so I can leave it outside in the rain without worrying about damage. To make it even more resistant, I glued a transparent plastic window with a diameter of 35 mm onto the top cover piece. Instructions: - Attach the window to the top cover - Assemble the inner case and top carrier by gluing them together - Insert three M3 bolts into the bottom carrier - Use waterproof double-sided adhesive to attach the bottom carrier to a flat surface - Place the Raspberry Pi Zero and camera inside the inner case - Position the top carrier - inner case assembly onto the bottom carrier and secure it with M3 nuts. If the camera is not level, place washers under the top carrier for stability. - Connect the micro USB cable to the Raspberry Pi - Place the top cover over the inner case and fasten it with short M3 bolts - Run your preferred webcam software or create something yourself Additional information can be found at: http://www.muellerr.ch/raspberry-pi-webcam/ Update May 8th, 2020: During extended periods of rain, I experienced issues with water vapor inside the case. This caused the window to fog up frequently. To address this problem, I created new versions (v3) of the inner case and top cover with improved ventilation slots.
With this file you will be able to print raspberry pi outdoor webcam with your 3D printer. Click on the button and save the file on your computer to work, edit or customize your design. You can also find more 3D designs for printers on raspberry pi outdoor webcam.
