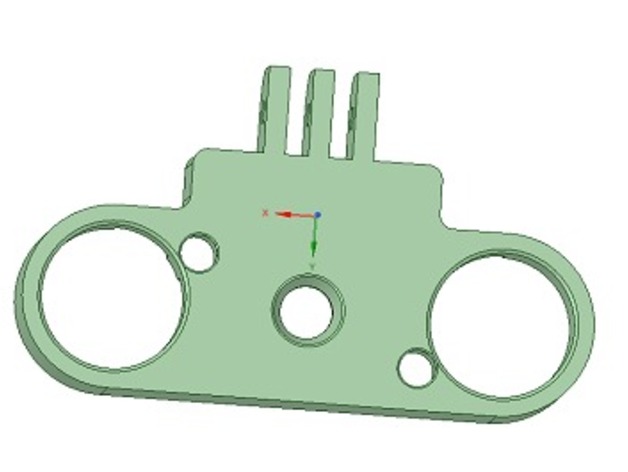
Raspberry Pi NOIR camera housing
thingiverse
This was designed specifically for the Raspberry Pi NOIR camera, paired with 2 Infra-Red lights. I purchased the unit from http://www.aliexpress.com/item/Raspberry-Pi-2-model-B-NoIR-Night-camera-With-free-2-IR-light/32391489437.html . The model I printed in black ABS material using 0.2mm layers for optimal quality. This item is released under a Creative Commons Attribution-NonCommercial-ShareAlike 4.0 International License, which can be found at http://creativecommons.org/licenses/by-nc-sa/4.0/ . Print Settings: Rafts: Not required Supports: None necessary Resolution: Set to 0.2mm for best results Infill: Not applicable Notes: ABS was used in the production process, but PLA can also be employed as an alternative material. Post-Printing Instructions: To assemble this unit, some disassembly and reassembling is required. Carefully remove the rubber boots covering the opt-resistor light sensors on each IR LED board, being cautious not to lose the tiny lenses. Next, use a 5mm drill bit to clear the holes in the housing, then insert the lenses into the housing (if they were press-fitted, no glue is needed). Finally, place the camera board inside, with the two LED boards behind it, and secure all three components together using four small screws.
With this file you will be able to print Raspberry Pi NOIR camera housing with your 3D printer. Click on the button and save the file on your computer to work, edit or customize your design. You can also find more 3D designs for printers on Raspberry Pi NOIR camera housing.
