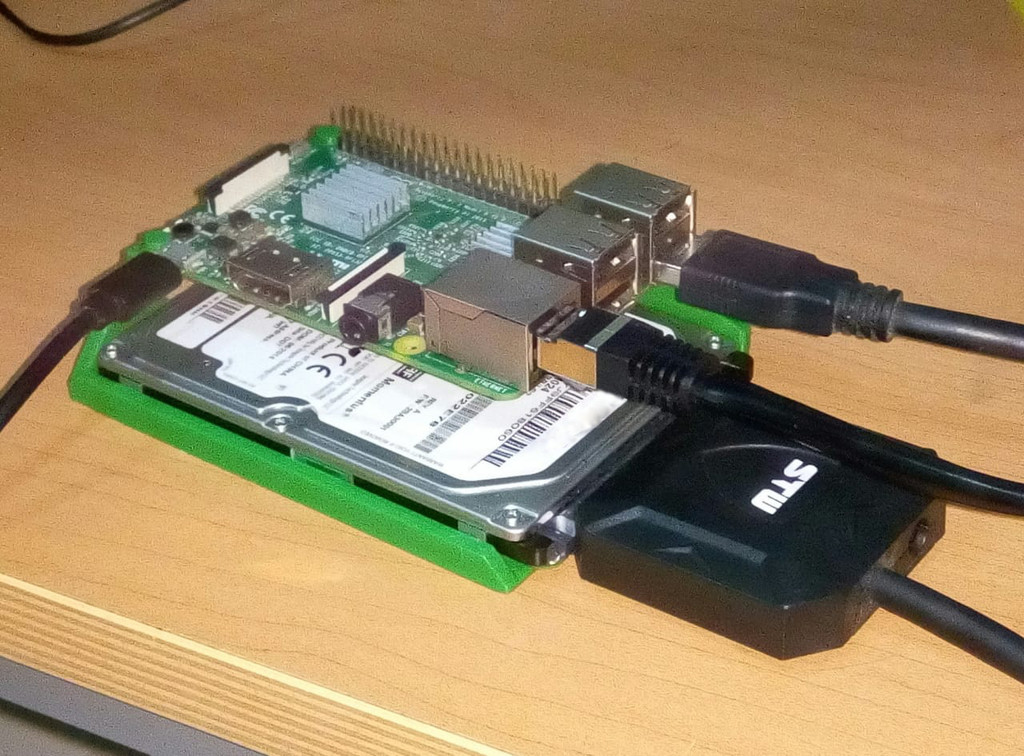
Raspberry PI NAS Tray with Hard Drive Caddy
thingiverse
Raspberry PI 2, 3, 3B & 3B+ NAS tray with Hard Drive Caddy. To build your own Raspberry PI NAS tray, follow these easy steps: Step 1: Print the custom tray design Step 2: Cut away the latch support as shown in the image below Step 3: Install your hard drive by pulling out the side latches and fitting it snugly inside Step 4: Place the Raspberry PI on top and secure it with screws or use the three plastic pins provided for a more rugged hold Step 5: Turn on your device and start enjoying your new NAS storage solution Step 6: Consider supporting the creator by tipping them if you find this project useful, as they will need the funds to buy more coffee to stay awake and create even more innovative designs.
With this file you will be able to print Raspberry PI NAS Tray with Hard Drive Caddy with your 3D printer. Click on the button and save the file on your computer to work, edit or customize your design. You can also find more 3D designs for printers on Raspberry PI NAS Tray with Hard Drive Caddy.
