Raspberry Pi GPIO Connector
thingiverse
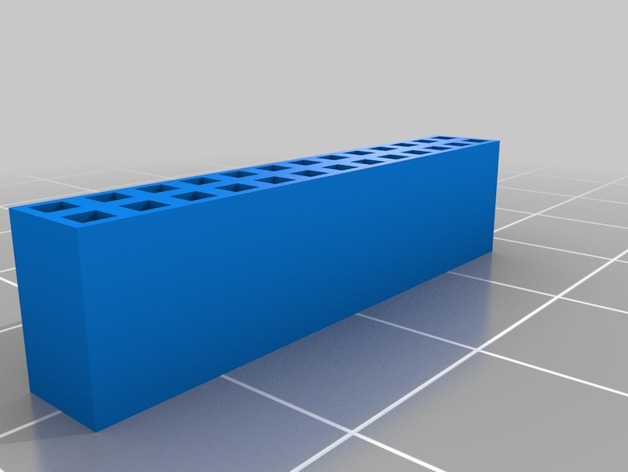
To connect wires to your Raspberry Pi's GPIO, consider various options like hoping for a loose wire not damaging your RPi, using inexpensive but often loose jumper cables, or opting for costlier but nicer floppy disk ribbon cables or GPIO ribbon cables from eBay. A more budget-friendly and nice option is to print your own female-to-female GPIO connector. To do this, first print the connector design (approximately 11 minutes on a solidoodle 2), then attach wires to the connector's correct positions, secure with hot glue, and finally place the connector with attached wires onto your RPi. This DIY approach will make you awesome! The STL file is provided for use, and the blend file from Blender is included if you wish to improve the design. Additionally, a gcode file is provided for those using a solidoodle 2, but use it at your own risk. The file uses Slic3r with 0.3mm details.
With this file you will be able to print Raspberry Pi GPIO Connector with your 3D printer. Click on the button and save the file on your computer to work, edit or customize your design. You can also find more 3D designs for printers on Raspberry Pi GPIO Connector.