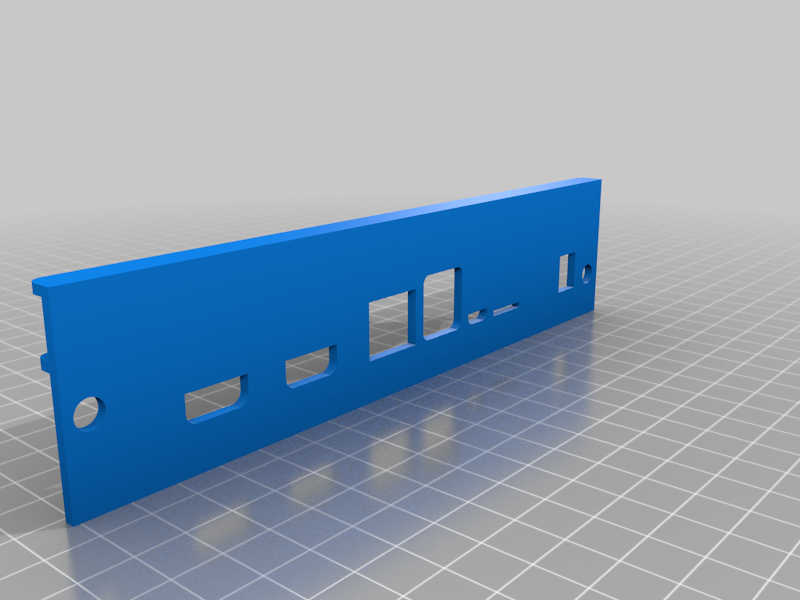
Raspberry Pi Compute Module 4 1U Rackmount Enclosure
thingiverse
# Raspberry Pi Compute Module 4 1U Rackmount Enclosure # Introduction This project consists of a [Mini-ITX](https://en.wikipedia.org/wiki/Mini-ITX) adapter and I/O plate to mount the [Raspberry Pi Compute Module 4 I/O board](https://www.raspberrypi.com/products/compute-module-4-io-board/) into the [iStarUSA D-118V2-ITX-DT 1U rackmount enclosure](https://www.monoprice.com/product?p_id=41762). Neither the I/O plate nor the adapter are strictly ITX-compliant; however they are a good fit for the iStarUSA enclosure. The I/O plate includes openings for all CM4 I/O board connectors; however, the user may wish to remove the 12VDC barrel connector and/or the MicroSD card opening, depending on the use case. The design requires four M2.5 screws and four M2.5 by 5mm long hex standoffs, with the threded portion extending 3mm. These are used to mount the [FreeCAD 0.20](https://www.freecad.org/) FCstd files are provided on the [rpi-cm4-1u-rack GitHub page](https://github.com/hharte/rpi-cm4-1u-rack) for easy modification. # Required * Four M2.5 screws. * Four Female-Male M2.5 hex standoffs, 5 mm in length, with threads protruding 3 mm. * M2.5 tap (alternatively, you can drill the four holes for the M2.5 standoffs slightly for an interference fit with the standoffs.) Standard motherboard screws are used to attach the I/O plate to the iStarUSA chassis.
With this file you will be able to print Raspberry Pi Compute Module 4 1U Rackmount Enclosure with your 3D printer. Click on the button and save the file on your computer to work, edit or customize your design. You can also find more 3D designs for printers on Raspberry Pi Compute Module 4 1U Rackmount Enclosure.
