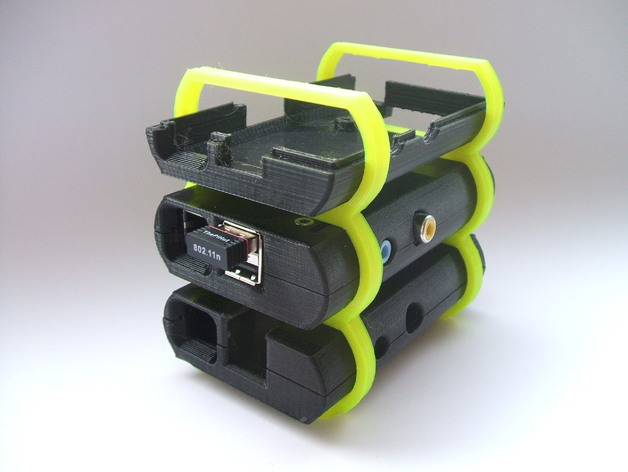
Raspberry Pi Case Stackable
thingiverse
For one person, a single slice of pie should suffice; however, if you've eaten all the slices, here's some help. Check out these case options on Thingiverse: [link 1](https://www.thingiverse.com/thing:2808762), [link 2](https://www.thingiverse.com/thing:682673), [link 3](https://www.thingiverse.com/thing:289712), and [link 4](https://www.thingiverse.com/thing:288365). You can find the cases available on 3Dagogo: [link 1](https://www.3dagogo.com/3dagogo/designs/natkoPI2modBplusCase), [link 2](https://www.3dagogo.com/3dagogo/designs/natkoPI2modBcase), and [link 3](https://www.3dagogo.com/3dagogo/designs/natkoPI3modBplusCase). To print, assemble the base plate and end plate for two pie slices. If you're greedy, print the link plates to accommodate more slices. Assemble the pieces before sliding in the case, which should lock them together. Print settings include no support, 2 walls, 30% infill, 0.3 layer, and a 0.46 nozzle on your printer. Be cautious of key way curling; slowing down the print or using a touch of filing and super glue can help. The pictures shown are straight from the printer without any touch-ups.
With this file you will be able to print Raspberry Pi Case Stackable with your 3D printer. Click on the button and save the file on your computer to work, edit or customize your design. You can also find more 3D designs for printers on Raspberry Pi Case Stackable.
