Raspberry Pi Car Mount
thingiverse
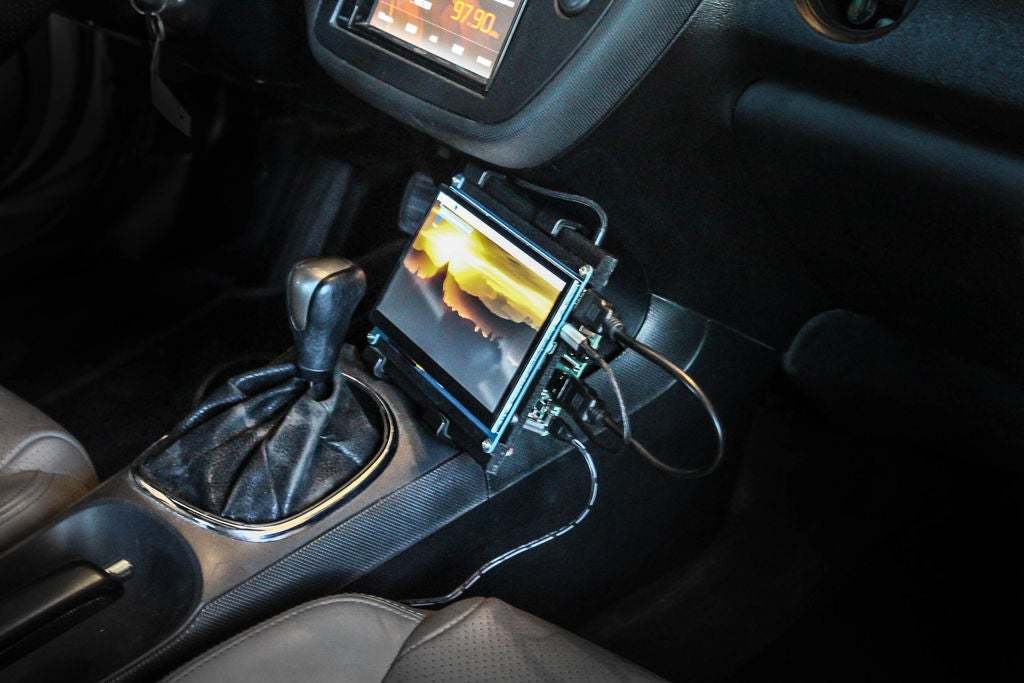
Here are the step-by-step build instructions to create a Raspberry Pi car mount: 1. Gather all necessary parts from the list below: * 2 x M3 screws * 2 x M3 nuts * 1 x Raspberry Pi case * 1 x USB cable * 1 x Power adapter 2. Begin by mounting the Raspberry Pi to the car mount using the provided screws and nuts. 3. Connect the USB cable to the Raspberry Pi and plug in the power adapter. 4. Mount the car mount to your vehicle's dashboard or console. 5. Place the Raspberry Pi in its case and attach it to the car mount. 6. Turn on the power and test the system. Parts List: * 2 x M3 screws * 2 x M3 nuts * 1 x Raspberry Pi case * 1 x USB cable * 1 x Power adapter
With this file you will be able to print Raspberry Pi Car Mount with your 3D printer. Click on the button and save the file on your computer to work, edit or customize your design. You can also find more 3D designs for printers on Raspberry Pi Car Mount.