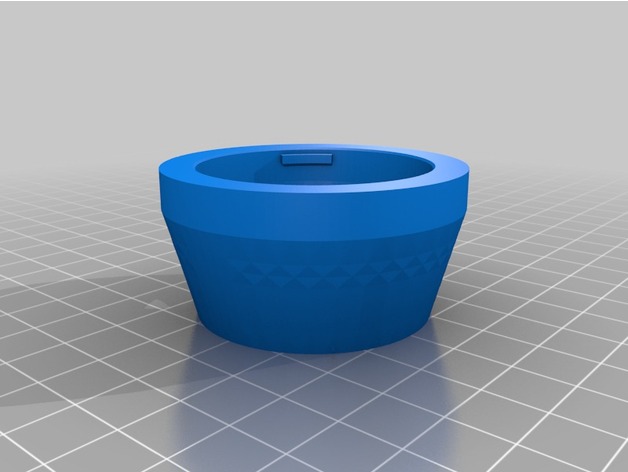
Raspberry Pi Camera Module Adapter for Micro Four Thirds Mount.
thingiverse
Adapter for Raspberry Pi Camera Module with M43 Mount CAUTION: This modification may result in damage or destruction of your Raspberry Pi camera module. Proceed at your own risk! What you need: Raspberry Pi Camera Module v2 (v1 may also work, but this has not been tested). A lens or telescope that utilizes a Micro Four Thirds mount. The M43 Mount adapter is attached to the camera module by screw. To remove the existing lens, turn the lens module counterclockwise and then release it. How to use it 3D Print this adapter and follow these steps: 1. Detach the Lens from Raspi Camera The camera module lens is secured with a screw. Loosen the lens by turning it counterclockwise, then remove it. It's recommended that you reattach the lens loosely so that it can be easily removed later. 2. Attach the camera Install your Raspberry Pi camera module as shown in the images below. 3. Attach M43 Lens The focal length of the lens may not be adjustable using the focus ring feature. In this case, try zooming in and out or modify the adapter to suit your needs. In my setup, I attached it to my telescope with a T-adapter. So far so good. If you have a Pibow case, use the second STL file "Raspberry-Pi-Camera-Module-M43-w-Pibow.stl" to attach the Raspberry Pi to this module. How I Designed This
With this file you will be able to print Raspberry Pi Camera Module Adapter for Micro Four Thirds Mount. with your 3D printer. Click on the button and save the file on your computer to work, edit or customize your design. You can also find more 3D designs for printers on Raspberry Pi Camera Module Adapter for Micro Four Thirds Mount..
