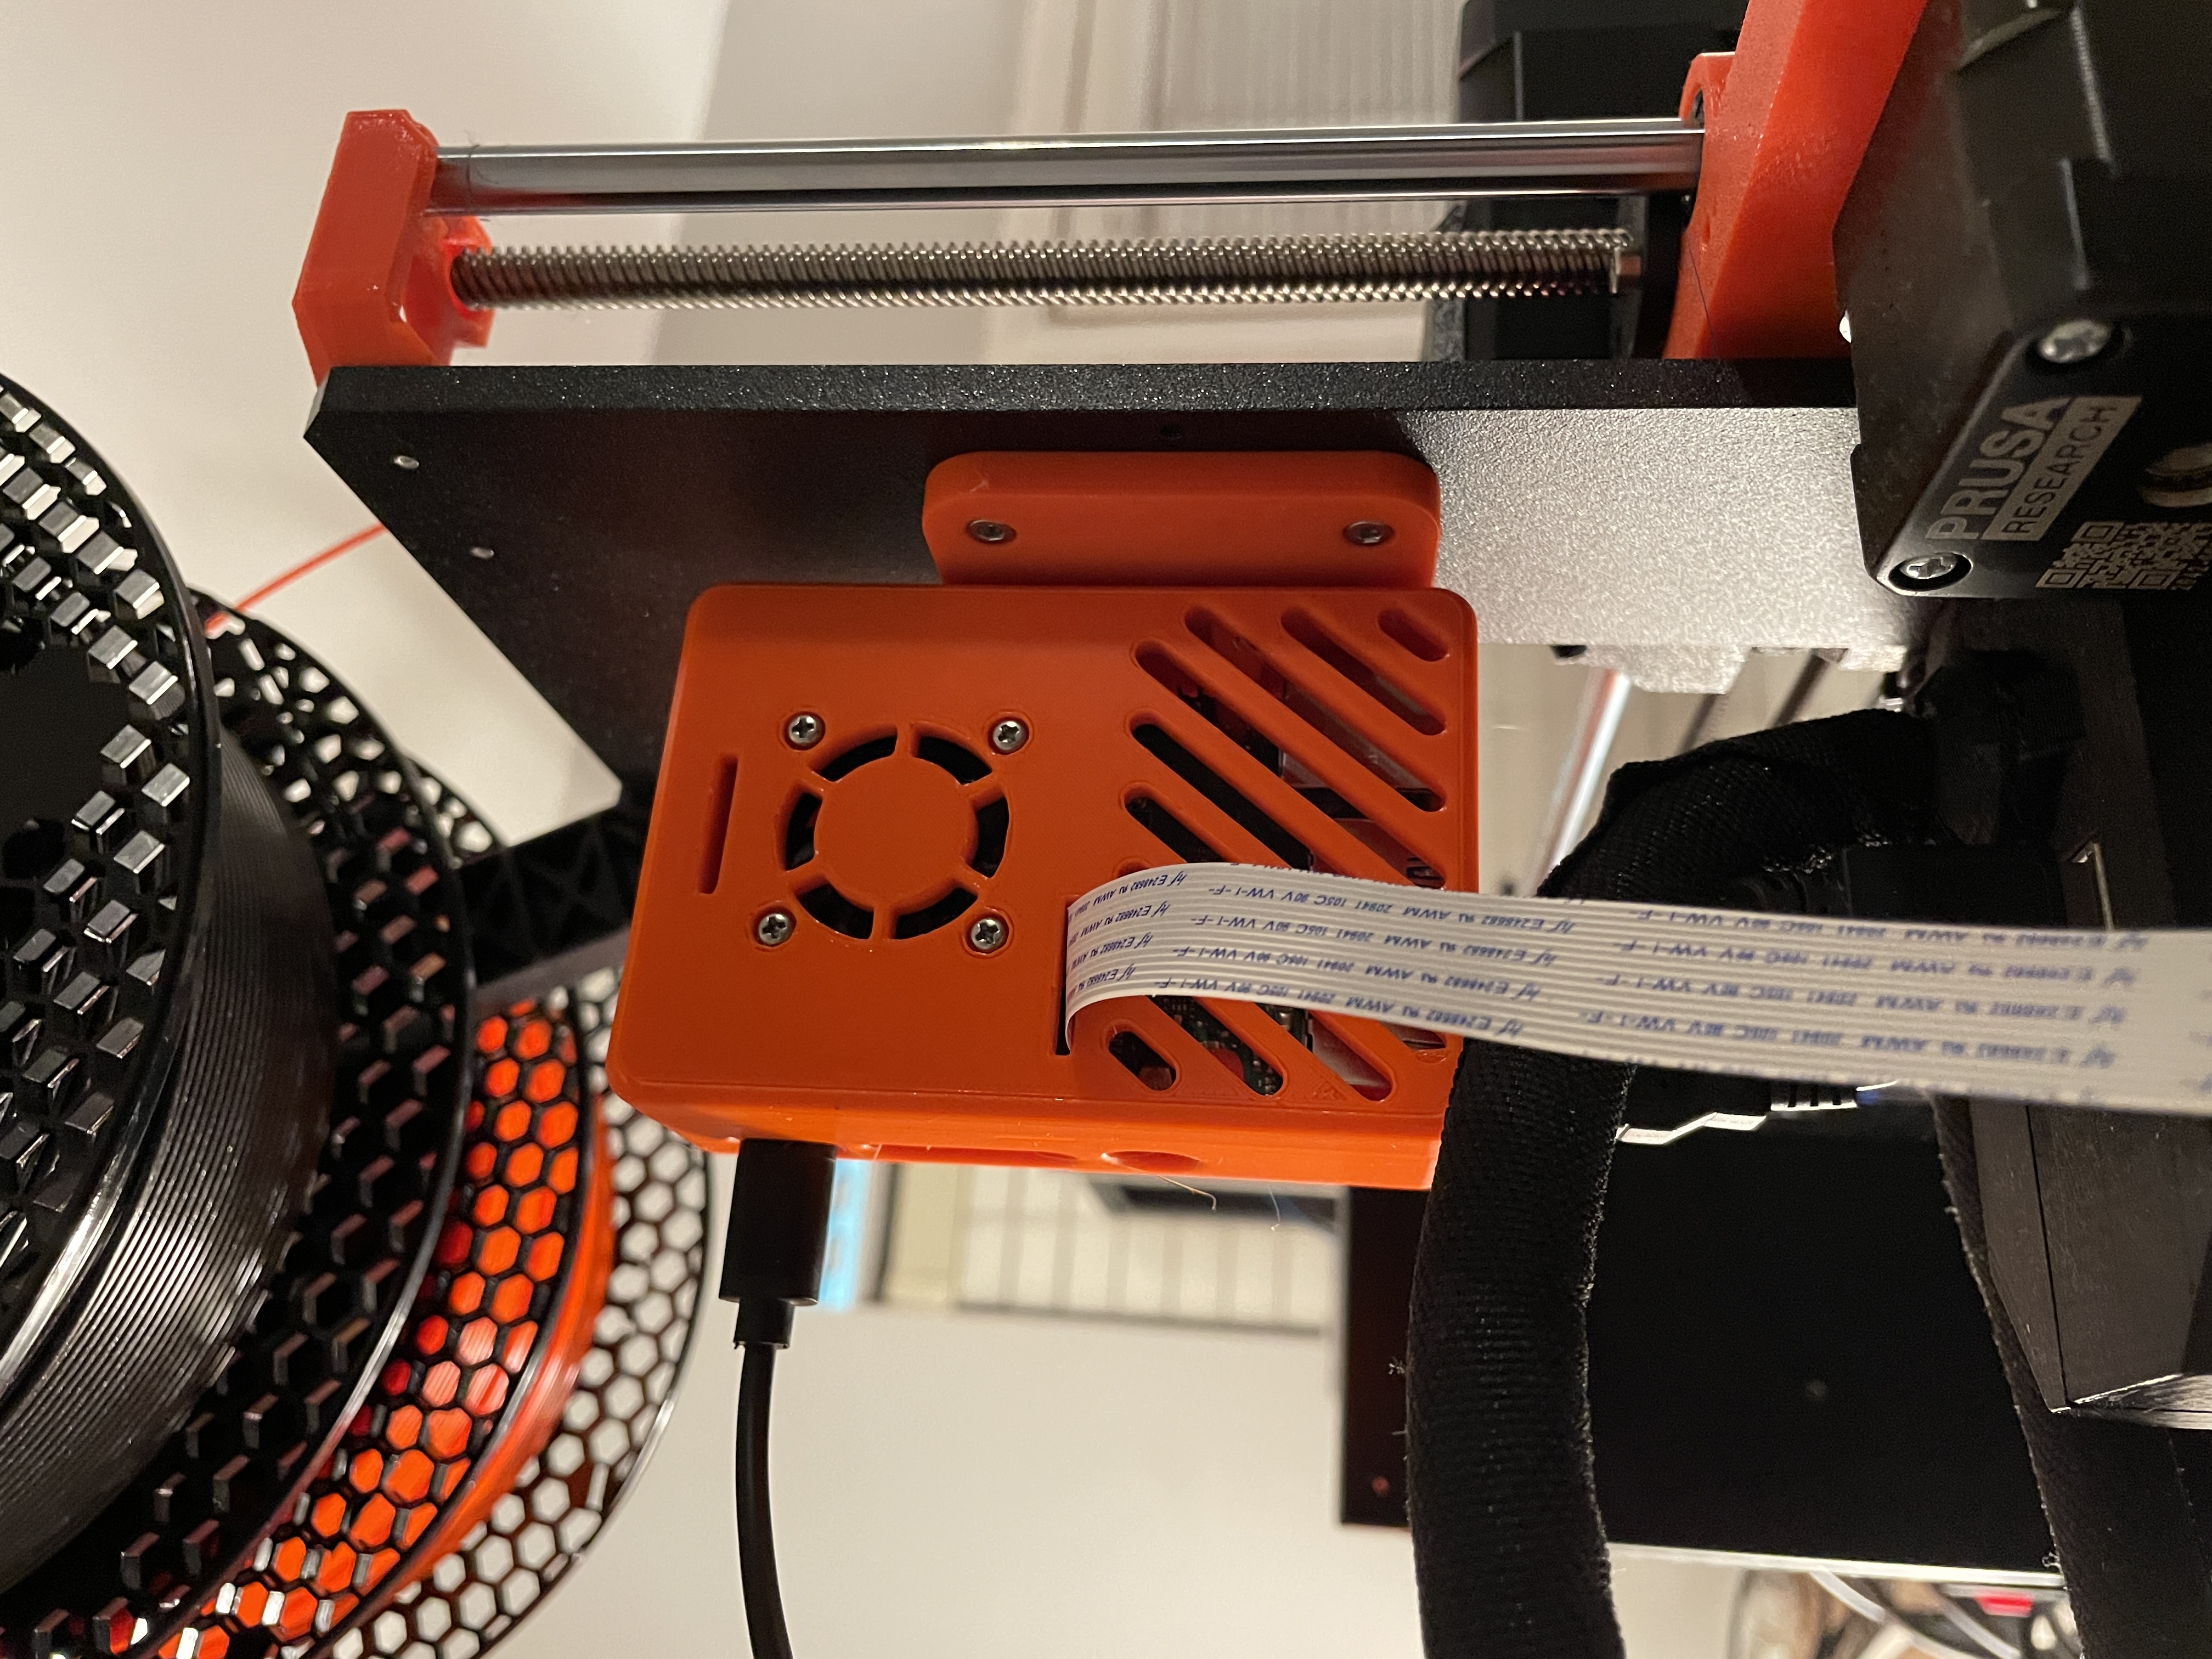
Raspberry Pi 4 Snap Case
prusaprinters
<p>Case snaps together so no fasteners are needed for the case but will need (2) M3x6 bolts for mounting to the Prusa Frame. Case allows for easy access to SD card slot, all USB and Mini HDMI ports, and slot for Camera and Display Ribbons. </p><p>Have 3 Bottom options and all are compatible with the top section</p><p>-Mounting to Prusa MK3s</p><p>-Mounting in 20mm Rails (Ender 3 Pro is what I use mine for)</p><p>-Simple bottom with no mounting </p><p>Top section has holes and vents for a 30mm x 30mm fan to help keep your pi nice and cool! I purchased this from <a href="https://www.amazon.com/gp/product/B076H3TKBP/ref=ppx_yo_dt_b_asin_title_o04_s00?ie=UTF8&psc=1">Amazon</a> and comes with bolts and nuts needed for mounting to the case. For the 4 bolt holes you will need to clean out the single layer of print. This can be done by pushing a bolt through it and some snips with pliers. For powering the fan from the raspberry pi connect Red Wire to GPIO pin 4 [5v] and the black wire to GPIO pin 6 [ground]. (<a href="https://www.raspberrypi.com/documentation/computers/os.html">Heres</a> a page with Raspberry Pi information and Pinouts)</p><p><strong>Tips for placing controller in case</strong></p><ol><li>Tilt the board in with the Mini HDMI ports down<ul><li><img class="image_resized" src="https://media.prusaprinters.org/media/prints/86843/rich_content/330056a7-b23a-4739-8c5d-d4e314ea59e0/img_1775.jpg#%7B%22uuid%22%3A%22588de3df-30e7-46f1-bbcf-5efba0c671fe%22%2C%22w%22%3A2373%2C%22h%22%3A3178%7D" style="width:21.8%;"/></li></ul></li><li>Put in SD card after installing the board in case<ul><li><img class="image_resized" src="https://media.prusaprinters.org/media/prints/86843/rich_content/cbbe0b3a-69e1-4d43-9801-cd000f15d970/img_1776.jpg#%7B%22uuid%22%3A%226d564cc2-0c2a-44a9-b072-f6ab32ea6ade%22%2C%22w%22%3A3024%2C%22h%22%3A4032%7D" style="width:22.89%;"/></li></ul></li><li>Make sure you can see the sticker of the fan so air is blowing into case. </li><li>Dont forgot to install camera ribbon cable! (Speaking from experience)</li><li>Need to get back in the case? Dont worry all you need is a flat head screw driver! There are two recessed sections along the seam that allow you to pry the case open. Insert screw driver and slightly twist in either direction and then using the screw driver work your way around the case.<ul><li><img class="image_resized" src="https://media.prusaprinters.org/media/prints/86843/rich_content/4d2cc575-16b4-46a9-9e68-07de18cf90a0/img_1774.jpg#%7B%22uuid%22%3A%22ef6380f4-1e26-43fb-8a60-bb79a6d513cd%22%2C%22w%22%3A2217%2C%22h%22%3A3151%7D" style="width:23.12%;"/></li></ul></li></ol><p> </p><p>Wanting to set up OctoPrint and need some help? Prusa has a wonderful blog post for getting everything set up and can be found <a href="https://help.prusa3d.com/en/article/octoprint-configuration-and-install_2182#required-parts">here</a></p>
With this file you will be able to print Raspberry Pi 4 Snap Case with your 3D printer. Click on the button and save the file on your computer to work, edit or customize your design. You can also find more 3D designs for printers on Raspberry Pi 4 Snap Case.
