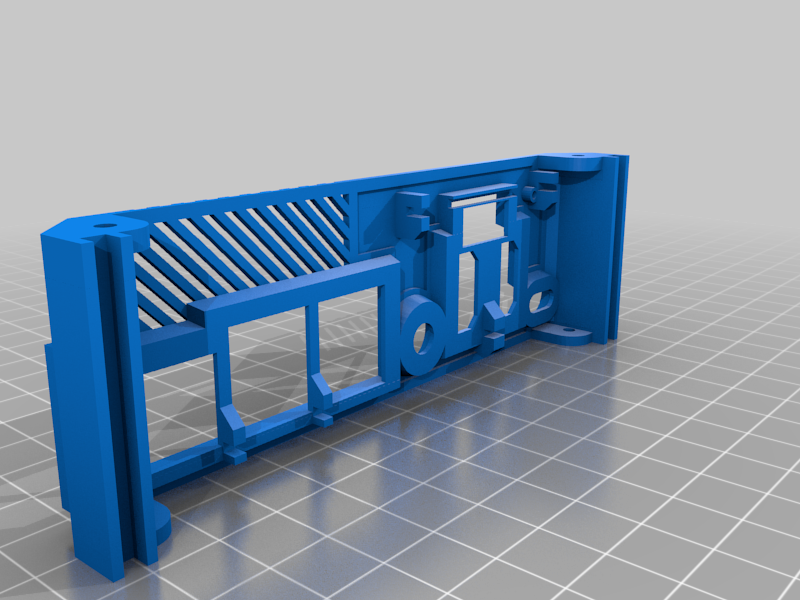
Raspberry Pi 4 SLIM Set Top Box
thingiverse
EDIT: Corrected screw sizes and counts I remixed the awesome case by JISpal01, but decided to move the Geekworm SSD board to the open space next to the Ice Tower. This saves a lot of space and balances the weight better when upright. Of course, you can't use the connector that comes with the Geekworm board, so you need to make sure you get a short USB-A to USB-A cable that supports full USB3 bandwidth. I'm personally using the x857 board that uses mSATA SSDs because I had spare ones and also because I think nvme is a waste when you're going to be limited to the speed of the USB port speed anyway. But if you're using the X862, I believe it should still work as I think they're the same size with the same mounting holes. No guarantees though. Fair warning that these files are set up to work with my printer. Tolerances are next to nothing and everything is very tight due to trying to get the overall height (when laying flat) to 45mm. Actually I was going for less to fit in a 1U slot of my networking rack, but couldn't get it to work... but that's besides the point... I never got around to learning Fusion 360 so all I have to remix is Tinkercad :| So if there's funkiness in the files where it looks like someone just copy-pasted chunks of the original files, it's because I copy-pasted chunks of the original files :) Anyway, you will need: (1) Raspberry Pi 4 (1) GeeekPi Low Profile Ice Tower Cooler (B07ZV1LLWK) (1) Geekworm x857 mSATA (B085HG7ZLJ) or x862 NVME board (1) GeeekPi Set Top adapter (B08FLVJ19C) (8) M3x4mm countersunk machine screws for the lid and bottom (3) M2.5x4mm machine screws (panhead or countersunk, doesn't matter) to attach the shims together (4) M2.5x4mm machine screws (panhead or countersunk, doesn't matter) to attach the shim to the set top adapter Trickiest part of assembly is the Ice Tower fan. It clips into the inside of the lid. It SHOULD be able to close without putting a lot of pressure onto the heatsink (you'll know if that side bows out that it's not fitting right). I found that the black fan that comes with the Ice Tower works better than the clear LED fan because it's SLIGHTLY smaller. Again, that tiny bit matters due to low tolerances. It should work either way, but YMMV. Lastly, I planned to have this case sit horizonal so the bottom has the indents for pads. I did include a side piece with the same indents in case you wanted it to sit vertical, but did not include a version of the bottom without the indents. My plan was to add thin pads on both so I can change the orientation whenever I wanted.
With this file you will be able to print Raspberry Pi 4 SLIM Set Top Box with your 3D printer. Click on the button and save the file on your computer to work, edit or customize your design. You can also find more 3D designs for printers on Raspberry Pi 4 SLIM Set Top Box.
