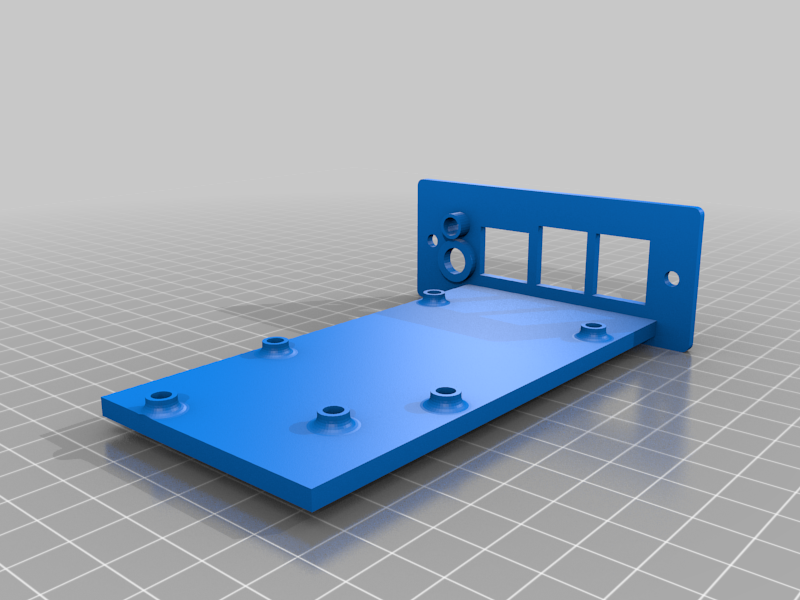
Raspberry Pi 4 Panel Mount
thingiverse
A thing to enable a Raspberry Pi 4 to be mounted to a panel, originally designed for my Anycubic Mega S but can be used to mount to any panel. Also has a space for: 1. a LM2596 based DC-DC converter to enable a 12V supply to be used to supply to 5V to the Pi, like this one: https://www.ebay.co.uk/itm/LM2596-DC-DC-Buck-Converter-Step-Down-Adjustable-Power-Supply-Module-UK/193591375232?hash=item2d12f1f580:g:uH4AAOSwYHZfGZDM 2. a standard 5mm LED, 3. a 5.5mm DC socket like this: https://www.ebay.co.uk/itm/Power-Jack-DC-Socket-metal-5-5-x-2-1-or-2-5-mm-Female-panel-mount-PRO-ref-A03/283732297430?ssPageName=STRK%3AMEBIDX%3AIT&var=585138997818&_trksid=p2057872.m2749.l2649 4. a push button like this: https://www.ebay.co.uk/itm/5-x-Black-Off-On-Miniature-Push-to-Make-Switch-SPST/252832700076?hash=item3ade00d6ac:g:TDwAAOSwarlb2Dpm The button and LED are intended to be used with the GPIO Shutdown plugin for Octoprint: https://plugins.octoprint.org/plugins/GPIOShutdown/ The Raspberry Pi 4 is fixed with four M2.5 X 8mm screws, the DC-DC converter requires two of the same. The mount has hexagonal holes on the underside to hold the nuts flush with the surface. The mount is intended to be held to the panel with two M3 screws which will need to be a minimum of 6mm long but this will depend on the holes you drill in the panel and if you put a thread in them.
With this file you will be able to print Raspberry Pi 4 Panel Mount with your 3D printer. Click on the button and save the file on your computer to work, edit or customize your design. You can also find more 3D designs for printers on Raspberry Pi 4 Panel Mount.
