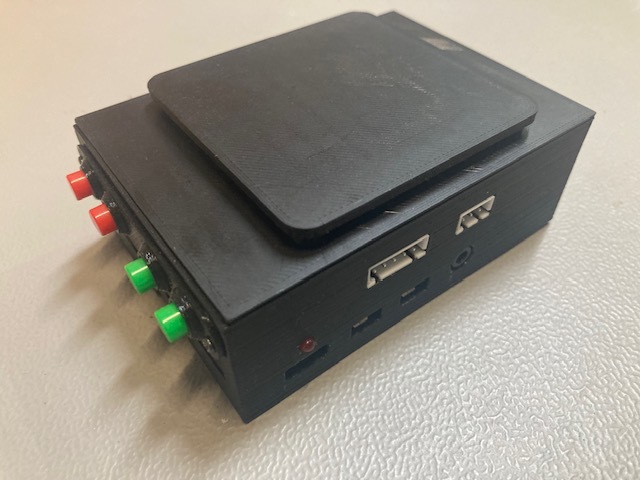
Raspberry Pi 4 case with JST connector and physical buttons for 3D printer
thingiverse
### Description Raspberry Pi 4 case with four physical buttons, two JST connectors and a power status LED Added as many vent holes for the cooling, On top there is a cover plate, to keep out dust and dirt falling on top of the case. I am running [Octoprint](https://octoprint.org) on my Pi4, connected to a Creality Ender 3 v2. Connected a filament runout sensor, humidity and temperature sensors via the JST connectors. For the physical buttons I use the [physical button](https://plugins.octoprint.org/plugins/physicalbutton/) plugin. To get the power LED working, I used [this](https://howchoo.com/g/ytzjyzy4m2e/build-a-simple-raspberry-pi-led-power-status-indicator) guide. ### Parts 1x [3 pin JST connector](https://a.aliexpress.com/_EHeBG0n) 1x [5 pin JST connector](https://a.aliexpress.com/_EHeBG0n) 4x [momentary push buttons](https://a.aliexpress.com/_EJCtir5) 1x LED (3mm) 4x Clear self adhesive pads (8mm) ### Print settings Nothing special. Only used support for the base part and 100% infill on all the parts.
With this file you will be able to print Raspberry Pi 4 case with JST connector and physical buttons for 3D printer with your 3D printer. Click on the button and save the file on your computer to work, edit or customize your design. You can also find more 3D designs for printers on Raspberry Pi 4 case with JST connector and physical buttons for 3D printer.
