Raspberry Pi 4 Case 2600
thingiverse
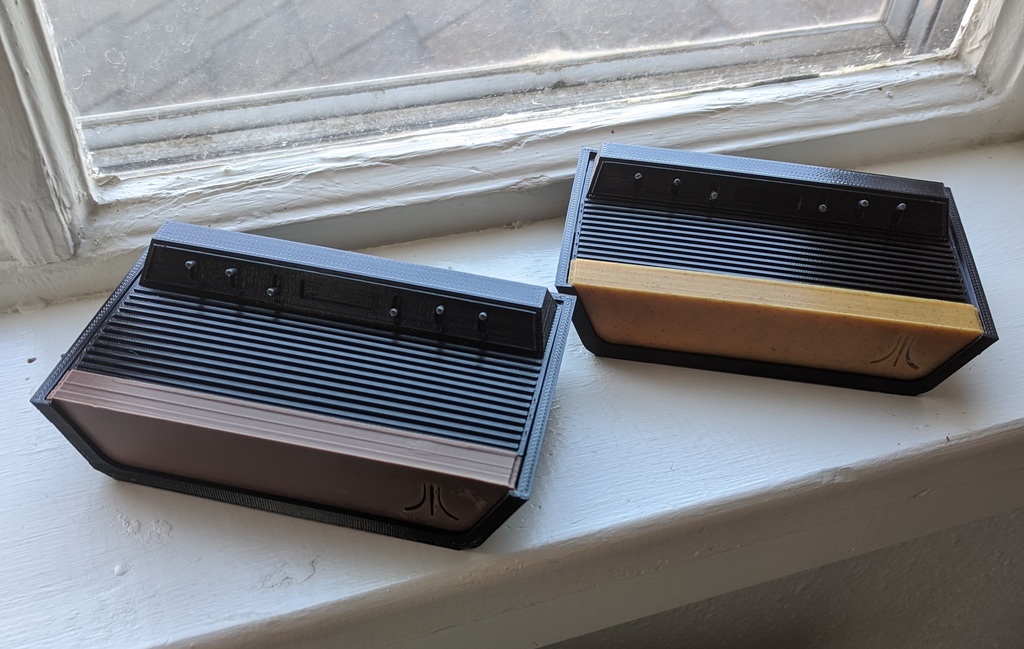
I Decided to Build My Own RetroPie 4 Case, a Tribute to the Atari 2600 After struggling to find a cool RetroPie 4 case, I took matters into my own hands and decided to build one myself. The result is a sleek case that pays homage to the iconic six-switch design of the original Atari 2600. This custom case uses standard filament for the switches and was printed on a Prusa Mk2 3D printer, making it accessible to anyone with a decent printer. Even if you have a better printer than mine, you shouldn't encounter any issues printing this case. To ensure that the proportions of the case are accurate, I kept the tolerance tight. As a result, you'll need short screws to mount the board or some spacers above the case to compensate for the narrow tolerances. Here are the key features of my custom RetroPie 4 case: Removable covers provide easy access to the USB and network ports. A top vent ensures that your Raspberry Pi stays cool while in operation. The SD card slot is easily accessible, making it a breeze to swap out games or update the system. No screws are required to assemble the case, making it a snap to put together.
With this file you will be able to print Raspberry Pi 4 Case 2600 with your 3D printer. Click on the button and save the file on your computer to work, edit or customize your design. You can also find more 3D designs for printers on Raspberry Pi 4 Case 2600.
