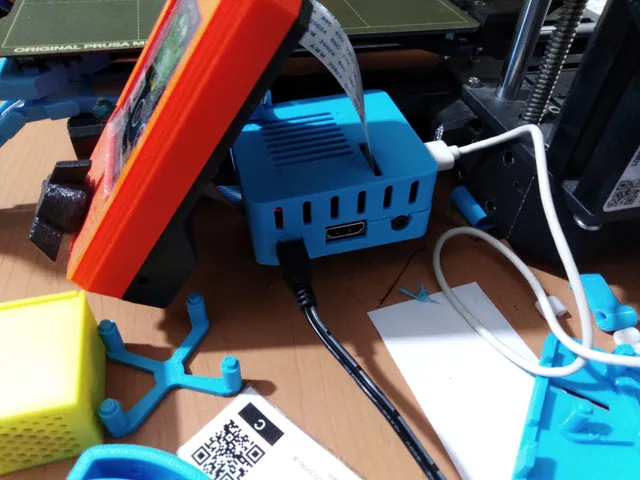
Raspberry Pi 3A+ case with fan
prusaprinters
Housing for installing a Raspberry Pi3A+ to a 3D printer. On the shown pictures it is mounted to a Prusa Mini. Although the documentation for Octoprint does not explicitly recommend the A model, it is quite capable of doing the job and requires less space than the B model.The Model consists of two main pieces that are held together when the case is mounted on the Y-axis extrusion and an optional third piece that snaps into the lid and allows mounting a 30mm fan. The height of the lid also allows mounting a 6mm heatsink on top of the processor.Notes for printing:Both the Bottom and Lid parts require supports on the outside to hold the section that holds them in place when mounted on the extrusion.Notes for assembly:It is important to note that the optional fanHolder piece must be inserted in a specific orientation into the Lid and the fan should be positioned and placed on it BEFORE snapping it into place. For mounting the case to the printer, join the top and bottom pieces, insert them into the extrusion, and rotate them 90 degrees to lock them into place.
With this file you will be able to print Raspberry Pi 3A+ case with fan with your 3D printer. Click on the button and save the file on your computer to work, edit or customize your design. You can also find more 3D designs for printers on Raspberry Pi 3A+ case with fan.
