Raspberry 3 UMPC 4"
thingiverse
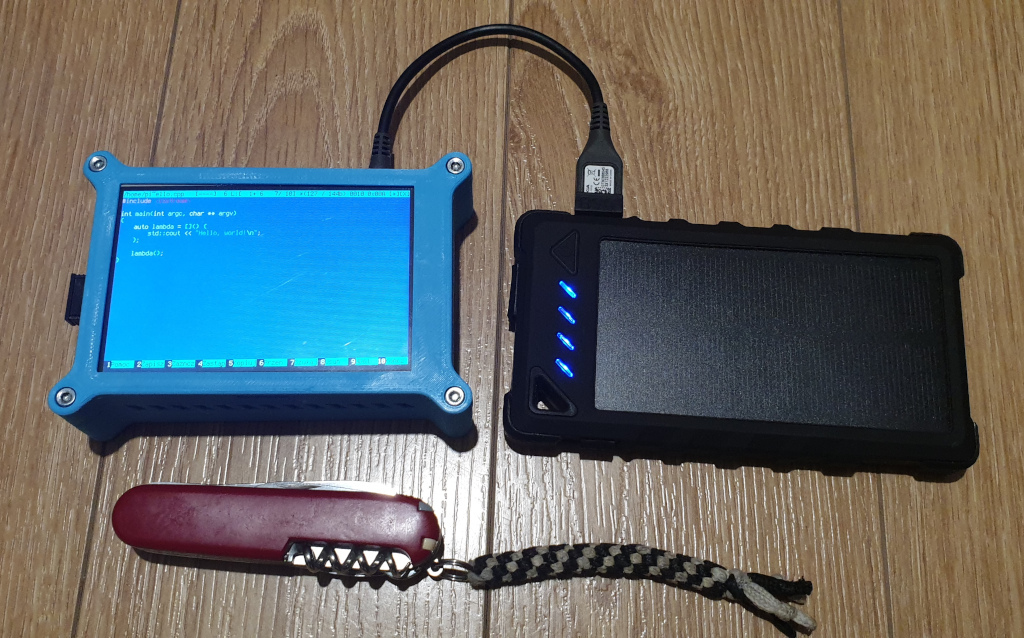
My first attempt at creating a Raspberry Pi UMPC has begun, and I've designed the case to be as compact as possible while still ensuring it's reliably held together with M3 screws. The project also features a stylish cover that protects the touchscreen when not in use. To get started, you'll need the following parts: * A Raspberry 3B or 3B+ * A Waveshare LCD 4" GPIO screen * A printed case * Four M3x30 screws and four nuts to assemble the case * Four M2.5x5 screws to secure the Raspberry in place To print all parts, make sure they're oriented on their flattest surfaces and use supports when necessary - most prints require just a few simple supports that are easy to remove after printing. One crucial note: print the cover vertically, with its shorter edge facing up. This ensures the hinge is durable enough for repeated use. Keep in mind that this project will yield a functional computer, but it's not exactly practical. The screen is impressive, connecting only via GPIO pins, but the SPI connection limits performance to around 5 frames per second - no video or games are possible with this setup. However, console functionality works remarkably well.
With this file you will be able to print Raspberry 3 UMPC 4" with your 3D printer. Click on the button and save the file on your computer to work, edit or customize your design. You can also find more 3D designs for printers on Raspberry 3 UMPC 4".
