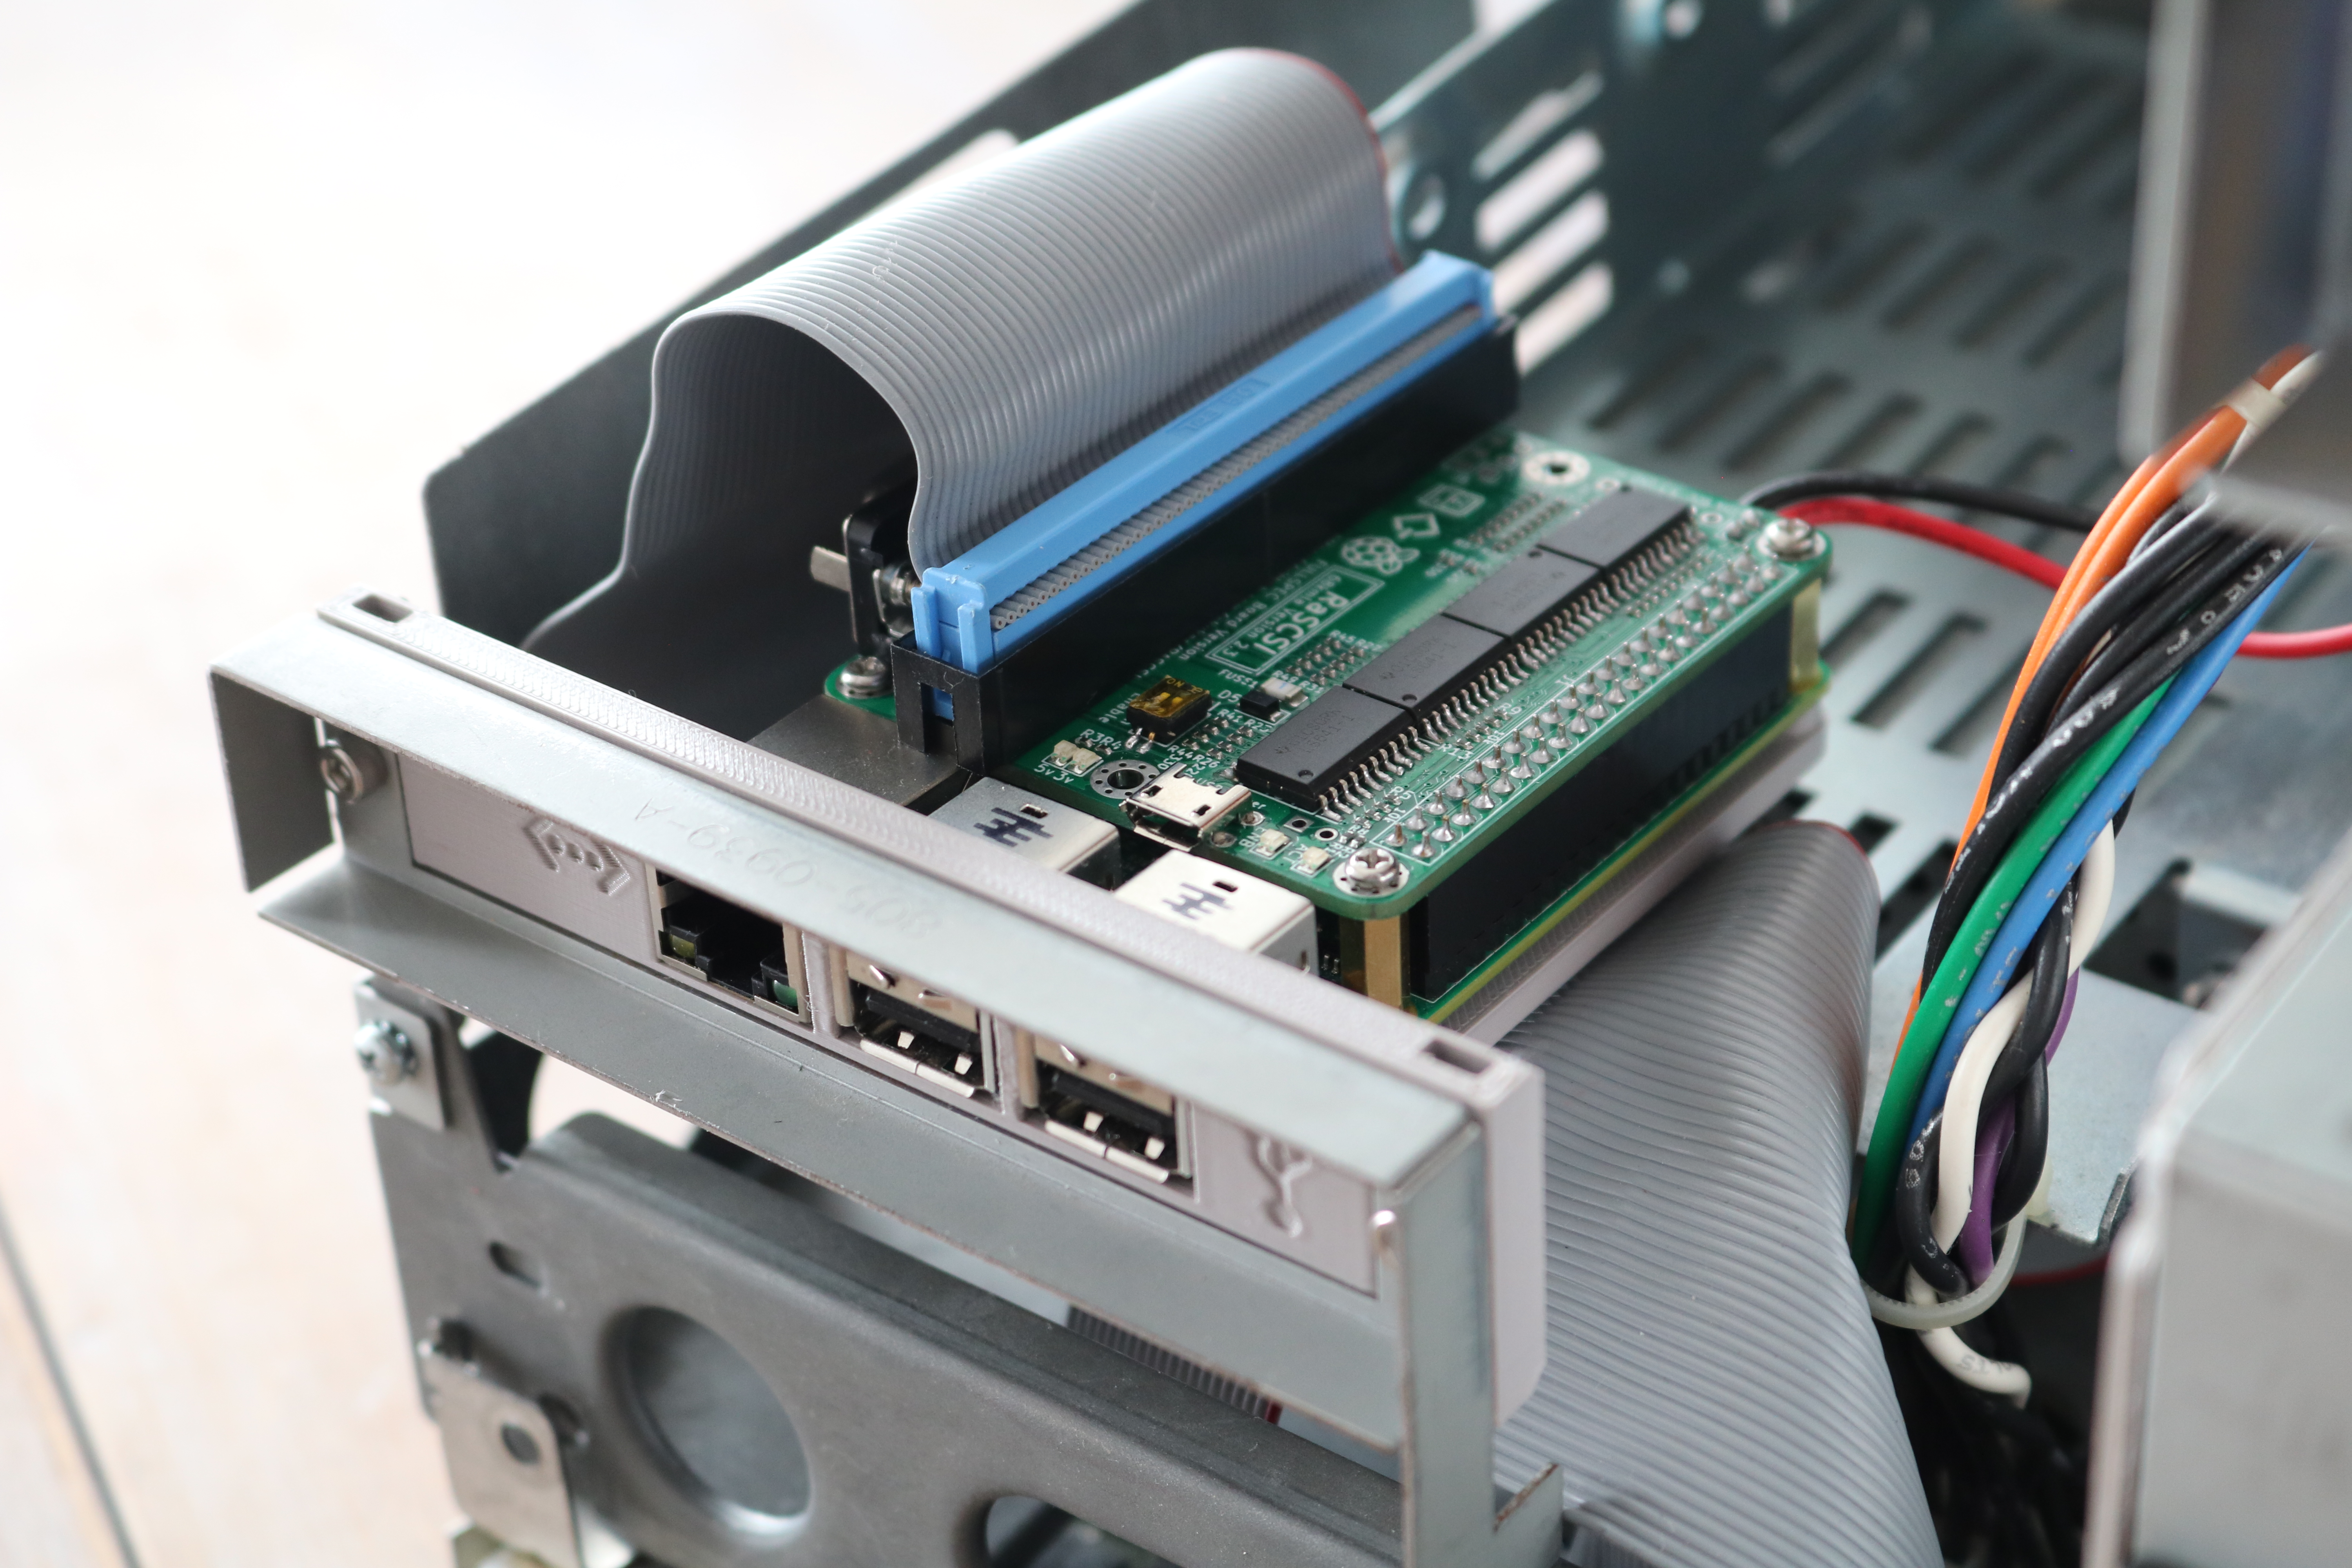
RaSCSI Macintosh SE and SE/30 Expansion Slot Bracket
prusaprinters
<p>The RaSCSI is an exciting project by the retro Mac community, which turns a Raspberry Pi into a virtual SCSI device. It can host virtual hard drives and CD-ROM drives, which can all be attached and detached through a web interface hosted on the Raspberry Pi itself. Soon, the RaSCSI might also function as a virtual Ethernet adapter, simultaneously solving the storage and connectivity problems of 68k Macs!<br/><br/>This bracket mounts your Raspberry Pi and RaSCSI in the expansion slot on your Macintosh SE or SE/30, so your RaSCSI can be permanently installed inside your Mac. You can use the RaSCSI for hosting virtual hard disks, hosting virtual CD-ROM drives, and for network connectivity through the emulated Ethernet adapter. Power can be provided by the power supply on the Macintosh. The RaSCSI is controlled via web browser on another device (another computer, phone, or tablet).</p><h3>Buy a Kit</h3><p>If you don't have a 3D printer, you can <a href="https://www.etsy.com/listing/983512236/macintosh-rascsi-expansion-slot-bracket">buy a complete expansion bracket kit</a> from my Etsy shop.</p><h3>Parts</h3><p>To install your Raspberry Pi and RaSCSI in your Macintosh SE or SE/30, you'll need:</p><ul><li>x2 M3 screws (at least 6mm long)</li><li>x2 M3 nuts</li><li>x4 M2.5 11mm standoffs</li><li>x4 M2.5 screws</li><li>x1 Molex power cable (<a href="https://amzn.to/2QcEOdK">recommended cable</a>)</li><li>x1 SCSI ribbon cable (unfortunately, the original cable is too short)</li></ul><h3>Installation</h3><p>If you build your own RaSCSI, you can omit the microUSB port, as well as the DB-25 port to streamline the assembly process (or you can leave them installed).</p><p>To power the RaSCSI, I recommend cutting the end off a <a href="https://amzn.to/2QcEOdK">Molex power cable</a> (leaving the male plug/female pins side), removing the +12v (yellow) wire and adjacent ground (black) wire, leaving just the +5v (red) and ground (black). Then, solder the red wire to the the 5v through-hole on the RaSCSI, and the black wire to the GND through-hole.</p><figure class="image image_resized" style="width:50%;"><img src="https://media.prusaprinters.org/media/prints/62912/rich_content/30589992-ca31-4468-86b8-a483b0baf1ed/img_1535.jpg#%7B%22uuid%22%3A%2247b910e8-bab5-40c7-bf21-0e5c7a9a50c8%22%2C%22w%22%3A2500%2C%22h%22%3A1667%7D"/></figure><p>You can plug the Molex connector into the hard drive power connector on your Mac.</p><figure class="image image_resized" style="width:50%;"><img src="https://media.prusaprinters.org/media/prints/62912/rich_content/66bc2b79-d764-46a3-881c-0200dad1fa22/img_1516.jpg#%7B%22uuid%22%3A%221488ec35-e9f8-476a-b59d-6f09033c15fd%22%2C%22w%22%3A2500%2C%22h%22%3A1667%7D"/></figure>
With this file you will be able to print RaSCSI Macintosh SE and SE/30 Expansion Slot Bracket with your 3D printer. Click on the button and save the file on your computer to work, edit or customize your design. You can also find more 3D designs for printers on RaSCSI Macintosh SE and SE/30 Expansion Slot Bracket.
