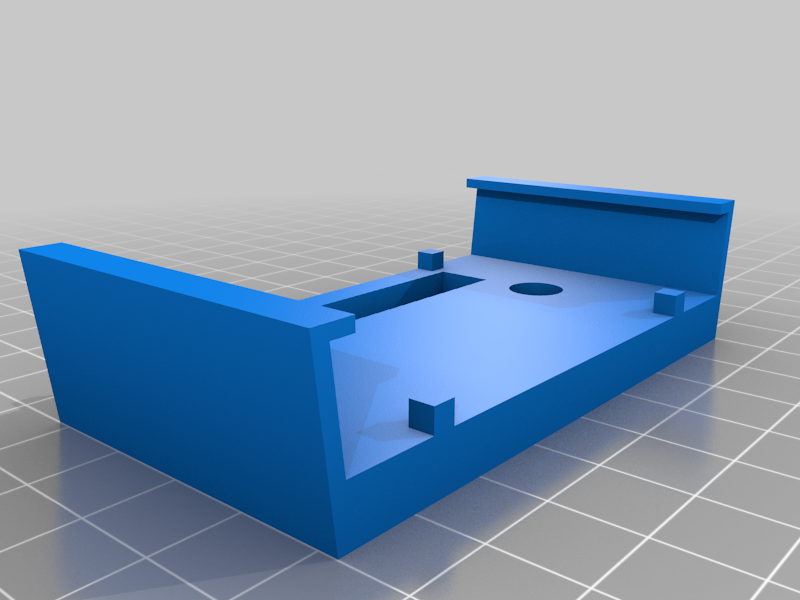
Rasberry PI W wall mount
thingiverse
Mounting the Raspberry PI W on a wall is a straightforward process that requires some basic tools and knowledge of electronics. The design of the mount takes into account the unique features of the Raspberry PI W, including its rear cable entry screw holes and rear cable outlet. To begin, locate the mounting bracket specifically designed for the Raspberry PI W doorbell cam setup. This bracket has been crafted to provide a secure and stable base for your camera, ensuring that it remains firmly in place even during windy conditions or when faced with potential tampering attempts. Carefully examine the back of the Raspberry PI W device, where you will find two screw holes designed for cable entry and exit. These holes play a crucial role in keeping your setup organized and tidy, allowing you to route cables neatly through them. Next, use a pair of cutters or wire strippers to carefully open up the rear cable outlet on the mounting bracket. This step is essential for connecting your Raspberry PI W device properly and ensuring that all cables are securely fastened within the bracket. Once the cable outlet is open, proceed to connect your Raspberry PI W to the mounting bracket using the provided screws. Make sure they are tightened firmly but avoid overtightening, which can damage the device or strip the screw heads. With the connection secure, you're ready to mount the Raspberry PI W doorbell cam on your wall. Locate a spot that offers clear visibility of the area you want to monitor and mark the wall with a pencil, taking into account any electrical outlets or pipes that may interfere with your setup. Using a drill bit, carefully create pilot holes for the screws in the marked spots on your wall. Then, insert the mounting bracket's screws into the pilot holes and screw them into place firmly but not too tightly. Place the Raspberry PI W device onto the mounting bracket, ensuring it is securely seated and all cables are properly routed through the cable entry and exit points. Once you've confirmed everything is in order, tighten the screws to secure the device firmly to the wall. Congratulations! You have now successfully mounted your Raspberry PI W doorbell cam on the wall.
With this file you will be able to print Rasberry PI W wall mount with your 3D printer. Click on the button and save the file on your computer to work, edit or customize your design. You can also find more 3D designs for printers on Rasberry PI W wall mount.
