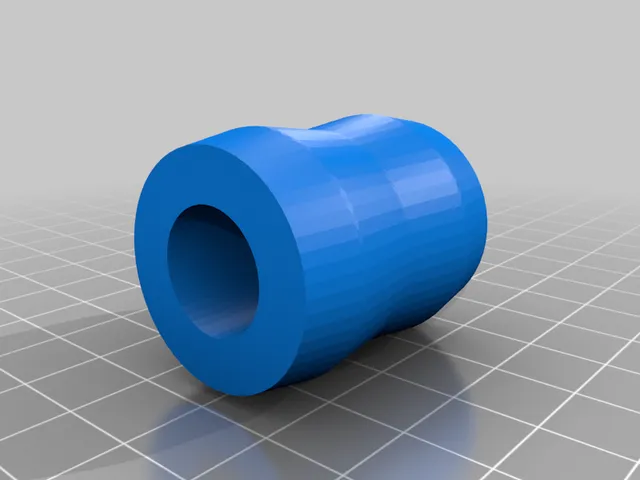
Rancho L1/EB1 Shock Eye Bushing
prusaprinters
I run Rancho shocks on my 1985 Toyota 4Runner in a custom long travel setup. As such, I needed to use a 3/4" (19mm) dia. upper mount and had to open up the ID of the 5/8"/16mm Rancho bushings to fit. That took a lot of time with a burr and die grinder, hogging out the polyurethane. When those bushings started falling apart with age, I decided to try replacing them with 3D printer TPU parts. First, I could make them to the custom size needed. Second, I figured this would be a good place to test out the durability of a TPU bushing, since this is a somewhat non-critical part. If the bushings fail, the vehicle is still safe to drive, the shocks just make noise. Details: https://www.4crawler.com/4x4/4R_suspension-III.shtml#LongTravelShocks You'll want a soft filament as these bushings need to be pressed into the shock eye. Soak in hot water for 15 minutes before pressing them in. The standard "hourglass" bushing is 5/8" or 16mm ID, that's the unlabelled file or the one with "062" (0.625") in the name. The other files are for 1/2" (050 or 0.50"), 9/16" (056 or 0.5625") and 3/4" (075 or 0.75") ID. I run a custom shock setup on my Toyota 4Runner and needed an L1 shock eye bushing with a 3/4" ID. I could use an L3 bushing, but it's too long. I sized these to print 1.4" long. I figured while I had the parametric file open, I would export versions in different IDs to fit different size mounting studs or bolts. If you need a longer or shorter bushing, scale the length in your slicer. I think the L3 bushings are about 1/4" longer. The L1 eye is 1-5/16", L3 is 1-9/16" with the bushing protruding from each side for clearance. Not sure how long these bushings will last. The original urethane bushings lasted around 20 years. So this will be an ongoing test to see how a 3D printed TPU bushing will hold up. If you make some of these bushings, add a comment about the filament you used and the how they've worked for you. You can purchase the original bushings from Rancho (RS978): https://www.gorancho.com/products/accessories-components/urethane-shock-bushings/rancho-replacement-urethane-shock-bushing-rs978.html Print Settings Printer Brand: Type A Machines Printer: Type A Machines 2015 Series 1 Rafts: No Supports: No Resolution: 0.4mm Infill: 100% Filament: ZYLtech TPU Black Notes: I print on a BuildTak Flex Plate with a PEI print sheet, dusted with talcum powder at around 60C bed temperature. The ZYLtech TPU is firmer than the original cast urethane material Rancho uses. I used concentric infill for this round part. Also, unless you have very dialed in retraction settings, best to print one bushing at a time to minimize stringing. How I Designed This Parametric model in Fusion 360, using the basic dimensions of a new L1 bushing. Category: Automotive
With this file you will be able to print Rancho L1/EB1 Shock Eye Bushing with your 3D printer. Click on the button and save the file on your computer to work, edit or customize your design. You can also find more 3D designs for printers on Rancho L1/EB1 Shock Eye Bushing.
