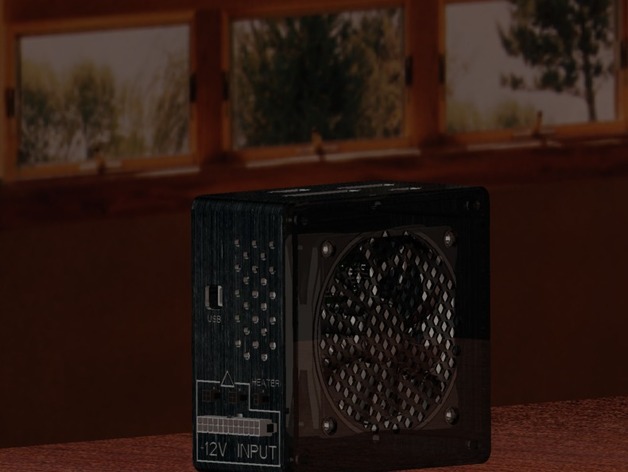
RAMPS 1.4 Enclosure with 120mm fan
thingiverse
You place your RAMPS 1.4 board securely into it. It boasts a convenient feature - multiple cut outs for 37, 25, 15, and 9 pin sockets, ensuring effortless connections. Additionally, on its side is a 24-pin receptacle designed to mate perfectly with an ATX power supply unit. Furthermore, it offers ample room for two 4-pin and one 2-pin power outlets. Moreover, this board supports installation of a single 120mm fan through precise mounting holes found at the back and a designated spot for your power switch on the front. 11/13 - Essential updates have been included in these supplementary files, which now feature supportive materials that hold the corners firmly during printing operations. You'll find clear step-by-step Instructions below to assist you with assembly. When attaching the lid to the board, 5 and 3 mm screws should be used respectively for optimal support. For your RAMPS setup, note the following: you must replace its power connector with new solder leads attached directly to either the two external 4-pin receptacles or the standard ATX power socket.
With this file you will be able to print RAMPS 1.4 Enclosure with 120mm fan with your 3D printer. Click on the button and save the file on your computer to work, edit or customize your design. You can also find more 3D designs for printers on RAMPS 1.4 Enclosure with 120mm fan.
