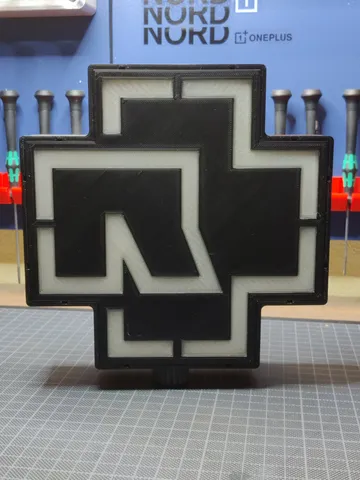
RAMMSTEIN LED LOGO LIGHT
prusaprinters
About printing:Everything is printed in PLA.The parts printed in clear PLA are snug fitted in the “INLAY_FRONT”, and secured with super glue. The complete front has sufficient tension so that it does not need to be glued. The “LED_WALL” is secured with the M3 bolts, and serves to separate the red light from the white. To put everything together, look at the pictures it's easy.A little explanation about the use of the LEDs:Because I wanted to use my current 5V power supply I used the step-UP to be able to place several LEDs in series (and avoid the use of series resistors) NOTE: Vf_max red led = 2.1 V, Vf_max white led = 3.8V. I had a good result with 5 white LEDs in series and 7 red LEDs in series at a voltage of +/- 11.8 V. So 4 circuits for the white LEDs and 2 circuits for the red LEDs. You'll have to experience this yourself, but measure the voltage across a single LED and make sure you don't exceed the max. VfWhat do you need:straw hat led 5mmRED: 14xWHITE: 20x DC Power Supply Adapter Metal Jack Socket: 5.5mm X 2.1mm DC-DC step-UP converter SX1308(or series resistors if you don't want to use the step-UP) M3 bolts and nuts: 4x M3x102.9mm self tapping screws: 8x 2.9x9.5 // 8x 2.9x12.7 super glue / hot glue1 meter single (thin) wire for electronicsPower Supply adapter (300mA or higher...)
With this file you will be able to print RAMMSTEIN LED LOGO LIGHT with your 3D printer. Click on the button and save the file on your computer to work, edit or customize your design. You can also find more 3D designs for printers on RAMMSTEIN LED LOGO LIGHT.
