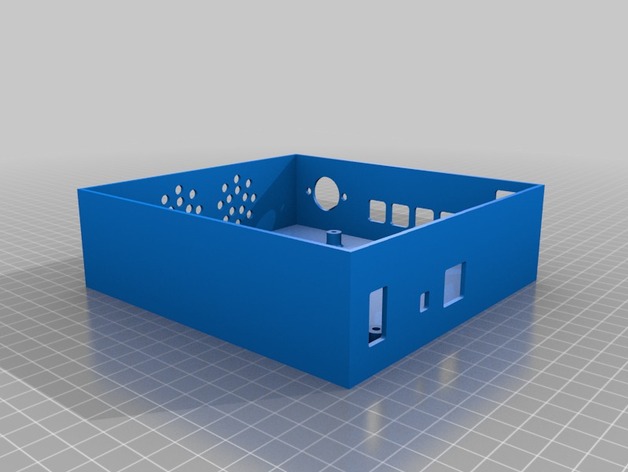
Rambox
thingiverse
A compartment for the RAMBO controller board. http://www.reprap.org/wiki/rambo My power supply arrived with an XLR Neutrik plug, so the socket is on the front. Spacers are designed for M3 screws and may fit without drilling. This box was conceptualized in Autodesk 123D Design. Final version includes rectangular openings at the front rather than circular ones. **Instructions** The compartment has a base size of 145mm x 155mm, so make sure to check for warping issues. I printed this using PLA and adjusted settings accordingly. Although it failed on my first attempts (mainly due to some not-so-bright moments), here's how I did it: Because the print time is considerable, adjust your speeds as needed. Initially, when printing at these speeds, I experienced a nozzle temperature stall. This was caused by pushing filament through too quickly for it to melt efficiently. However, this works with my ReprapPro Mendel setup and should not pose any issues if using a different configuration. Keep in mind that PLA is prone to degrading rapidly; some of your filament may be contaminated with residue chemicals. For the build plate's surface (usually coated with Capton Tape), it's advisable to wipe away the chemical buildup using acetone, otherwise, it could lead to the part detaching during printing. First layer settings for a print feedrate as slow as 10 mm/s are: Bed Temperature at 45 C Hotend Temperature of 190 C First Layer Speed of 10 mm/s The first extrusion modifier is set to 98% (using Slic3r) The Infill modifier stands at 102%. Moving forward, for subsequent layers and using a much faster speed: **Feed Rate Adjustments:** Bed temp remains 45°C. Hotend stays the same at 210°C. Infill depth of 50% covers only the bottom of the box (due to design necessity). For perimeter print outs: I recommend leaving walls uninfilled to maintain printer balance. Exterior perimeter speed = 40mm/s Inner wall print rate: 50 mm/s Filling Speeds (Infill Speed): 50 mm/s Overhead connections: Use bridges to reach these parts faster. For any additional solid shell top and bottom: include Horizontal Shells: three at the very top. A solid bottom for it - one at the bottom (I was missing other information here but will correct if necessary).
With this file you will be able to print Rambox with your 3D printer. Click on the button and save the file on your computer to work, edit or customize your design. You can also find more 3D designs for printers on Rambox.
