RAM Mount 1.5 inch Ball
thingiverse
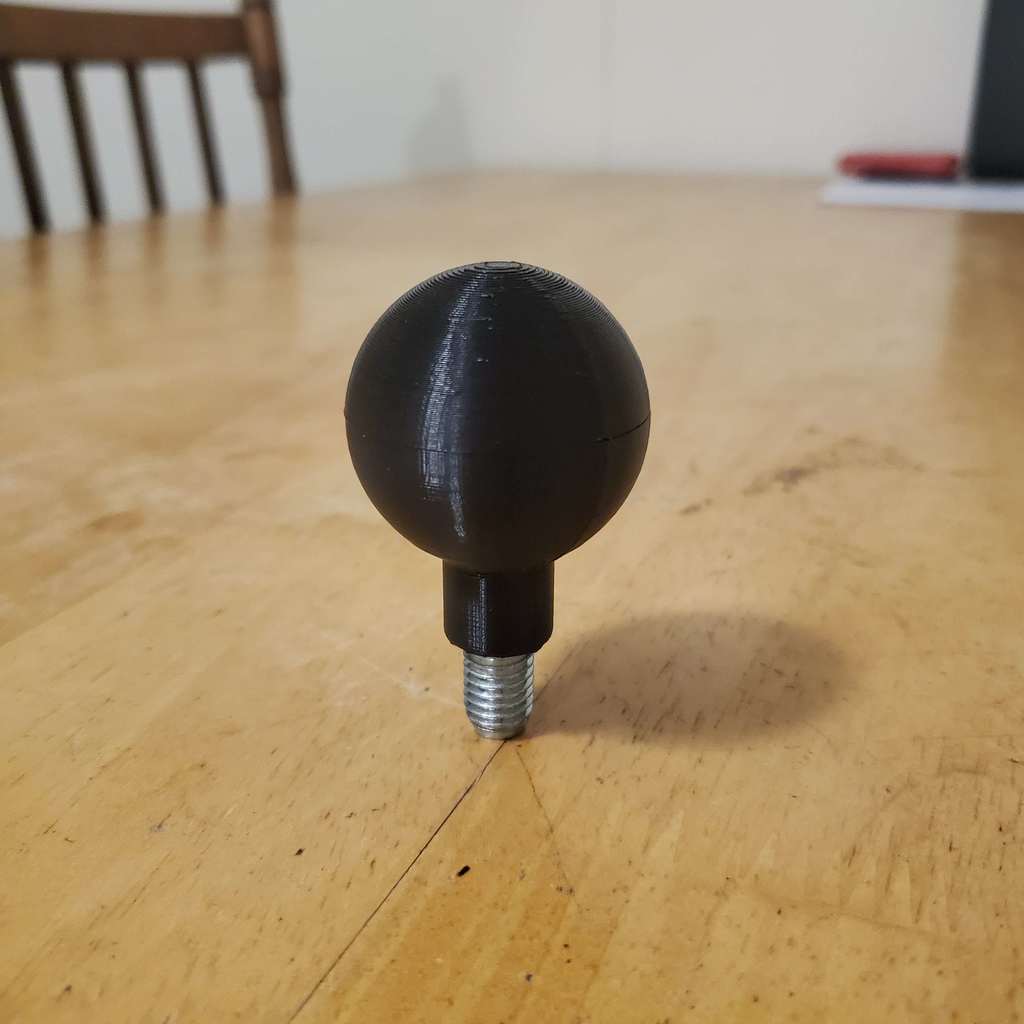
The human uses a 1.5 inch Ram Mount Ball that screws into the corner post of a John Deere tractor on a 10 mm bolt. The ball is designed so it can be screwed in with ease. To ensure the ball doesn't collapse when clamped onto, I recommend using a high infill percentage. This will give the ball the strength it needs to withstand pressure. The design of this ball allows for the bottom half to be printed first, and then a 40 mm long M10 x 1.5 bolt is dropped into the center. The rest of the ball is finished afterwards. Keep in mind that the tolerances around the bolt may not be perfect, which means it might take some effort to get the bolt to drop in without disturbing the print. But don't worry, it works perfectly on my printer - yours might be a bit different. Slicing Tips: 1. You will need to elevate the model above the print bed by approximately 20 mm to allow for the bolt to stick through the bottom. 2. This model must only have supports touching the print bed. 3. To make room for the bolt, you must block supports in the area directly under the bolt hole. In Cura, I used 4 support blocking cubes located at (0.5x0.5x40), (-0.5x-0.5x40), (0.5x-0.5x40), and (-0.5x0.5x40). 4. Finally, you will need to add a command to pause the print just before it covers the bolt cavity, so you can add the bolt before the print finishes.
With this file you will be able to print RAM Mount 1.5 inch Ball with your 3D printer. Click on the button and save the file on your computer to work, edit or customize your design. You can also find more 3D designs for printers on RAM Mount 1.5 inch Ball .