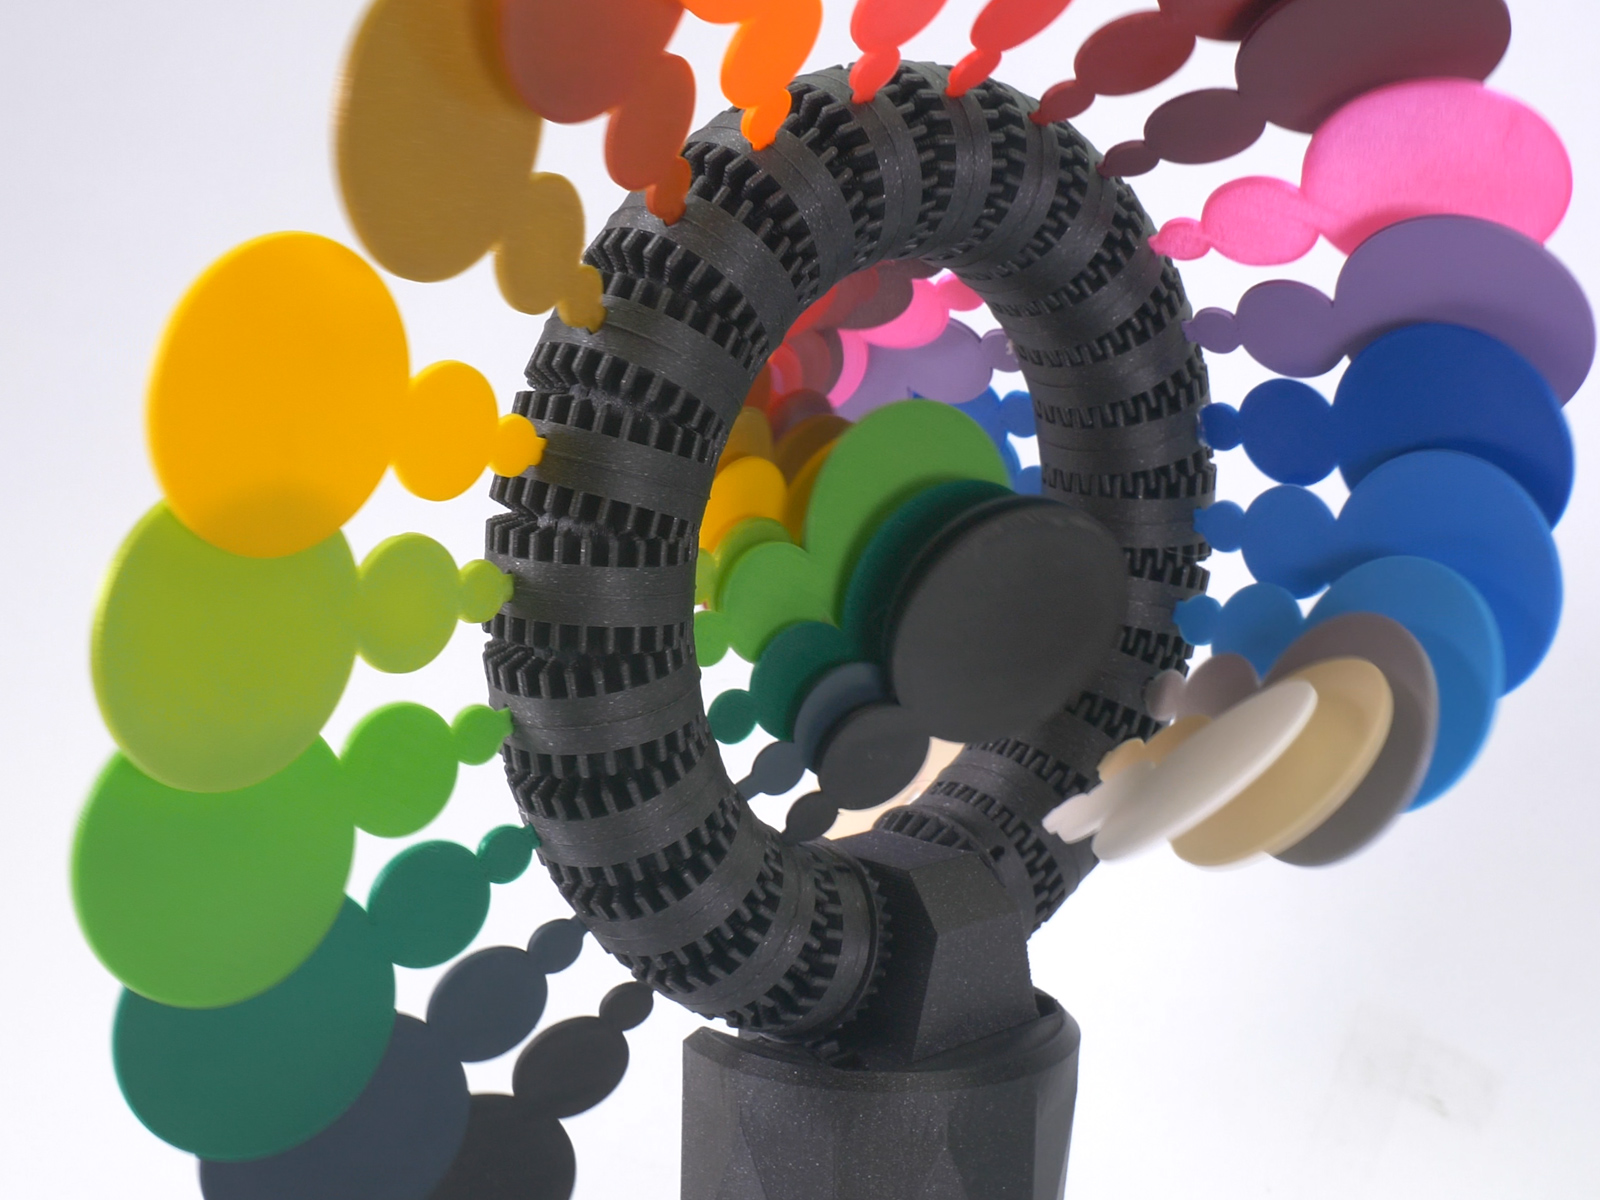
RAINBOW ROLLER-COASTER - KINETIC CIRCLE SCULPTURE
prusaprinters
<p>Light up your bleak autumn days with this kinetic sculpture. RAINBOW ROLLER-COASTER is an addiction making matter. You will not be able to tear your eyes off! Smooth movement is ensured by one motor and the whole assembly is very easy!</p> <p>You will need to print:</p> <p>Circle A - 1x<br/> Circle B - 1x<br/> Start gears - 2x<br/> Blade gear - half - 42x (so get 21 Blade gears after gluing)<br/> Mechanics - 1x (use supports)<br/> Blade - 42x<br/> Stand cover - 1x<br/> Stand - 1x (use supports)</p> <p>Assembly instructions:<br/> 1) Glue the two circles together.<br/> 2) Prepare the gears, glue them together by the flat sides. Make sure, the slots for the blades are matching.<br/> 3) Slide the gears onto the circles one by one. You will have to incline them a bit.<br/> 4) When clustering the gears, make sure every next one is rotated by one teeth.<br/> 5) Last two gears are the start gears. The big circle is ready for now.<br/> 6) Take the Stand and slide in the mechanism, it is a series of gears and shaft. Slide in the Stepper motor and place the motor gear on the shaft.<br/> 7) Carefully slide the big Circle with the gears into the Stand (to the top rails) You do not have to go fully in. The gears must move freely. So once the gear from the stand connects the gears from the Circle, stop sliding in.<br/> 8) Place the stand onto the Stand cover.<br/> 9) Now you are ready to install the Color Blades. Perhaps you will have to secure them with the glue.</p> <p>10) PLUG THE STEPPER MOTORS INTO THE X-MOTOR PLUG ON EINSY RAMBO, CONNECT IT TO THE PSU AND FLASH THE RAMBO WITH ECLOSED CODE.<br/> Controlling the stepper speed with Arduino:<br/> Use the "code examples" already prepared in the Arduino program. <a href="https://www.arduino.cc/en/Main/Software">https://www.arduino.cc/en/Main/Software</a></p> <p>Or try one of these manuals:<br/> <a href="https://www.instructables.com/id/Controlling-a-Stepper-Motor-with-an-Arduino/">https://www.instructables.com/id/Controlling-a-Stepper-Motor-with-an-Arduino/</a></p> <p><a href="https://howtomechatronics.com/tutorials/arduino/how-to-control-stepper-motor-with-a4988-driver-and-arduino/">https://howtomechatronics.com/tutorials/arduino/how-to-control-stepper-motor-with-a4988-driver-and-arduino/</a></p> <p>Good luck! Tell me how it went;)</p> <p>STL:<br/> <a href="https://cults3d.com/en/3d-model/art/rainbow-roller-coaster-kinetic-circle-sculpture">https://cults3d.com/en/3d-model/art/rainbow-roller-coaster-kinetic-circle-sculpture</a><br/> or<br/> <a href="https://www.myminifactory.com/object/3d-print-rainbow-roller-coaster-kinetic-circle-sculpture-80509">https://www.myminifactory.com/object/3d-print-rainbow-roller-coaster-kinetic-circle-sculpture-80509</a></p>
With this file you will be able to print RAINBOW ROLLER-COASTER - KINETIC CIRCLE SCULPTURE with your 3D printer. Click on the button and save the file on your computer to work, edit or customize your design. You can also find more 3D designs for printers on RAINBOW ROLLER-COASTER - KINETIC CIRCLE SCULPTURE.
