Rain Barrel Construction Kit
pinshape
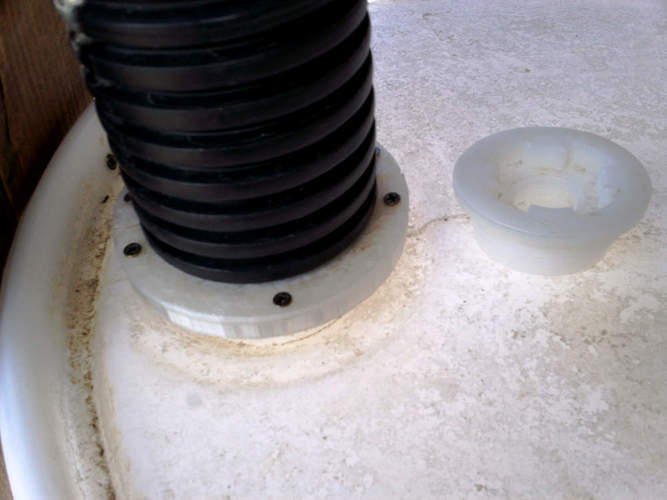
Summary Key Components Needed to Convert a Regular Barrel into a Rainbarrel for Rainwater Recycling. This includes: 1) Installing a 1/2" NPT Spigot on the barrel side for spigot and overflow connector use. 2) Attaching a Downspout to Flat Top Connector. 3) Connecting Corrugated Drainpipe to a Flat Top Connector. 4) Joining Corrugated Drainpipe to an NPS Barrel Bung Adapter. 5) Bonus: Spare NPS Barrel Bung. 6) Bonus: NPS Barrel Bung Wrench. Remaining Tasks: A) Installing Downspout to Flat Barrel Bung Connector. B) Improving Printability of Items 1 and 4 Without Support Material. C) Considering a Barrel Side to 3/4 Barb Fitting for Easier Overflow. D) Adding an Overflow Line to Hose Thread Tee for Connected Hose Drainage. Related Items: Downspout Diverter - http://www.thingiverse.com/thing:79194 Instructions Gather Necessary Pieces and Download Print Files. Notes ABS Material is Recommended Over PLA Due to Potential Degradation Issues. Items 1, 4, and Possibly 5 Require Support Material for Printing. Items 3 and 4 Need Both Their Respective Items and Two Corrugated Top Mount STLs. Item 1 Should Be Printed with Slightly Thicker Walls and May Need Heating and Forming Vertically Near the Bottom. Apply Silicone Sealant to Items 1, 2, and 3 Upon Installation. Source This Design Utilizes Attached Source for 1/2 Inch Threads. If Modifying the Blender File, Note That Items Are Organized on the Top Row of Layers, with Components Below. Exported STL Files Must Be Scaled to 1000%.
With this file you will be able to print Rain Barrel Construction Kit with your 3D printer. Click on the button and save the file on your computer to work, edit or customize your design. You can also find more 3D designs for printers on Rain Barrel Construction Kit.
