Rails for IKEA OMAR shelves.
prusaprinters
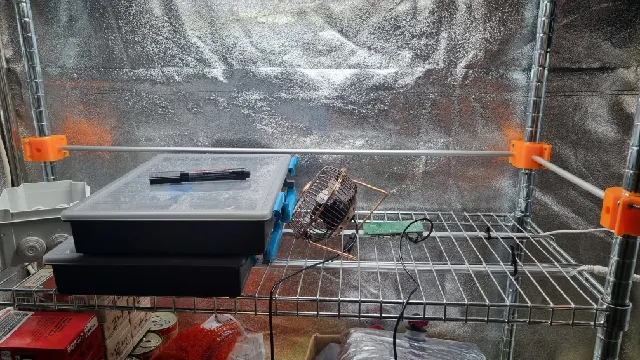
The one negative thing with IKEA OMAR is that the back and sides are open. This is the solution.What you need:M3 nuts and bolts, 2-4 per clamp.Enough 10mm rods / pipes / … for the sides you want to put rails on. I used 10 mm aluminum pipes, which I had lying around in the garage.Tools:ScrewdriverSomething to cut the pipes with. I recommend a pipe cutter.RulerMarkerInstructions:Print enough clamps. I used 20 mm speed, don't remember the infill, but go for something like 20%. Measure, mark, measure, then cut the pipes to size. I recommend going about 5 mm short compared to the distance between the OMAR rods.Mount one clamp on the OMAR. Don't over-tighten, you need to be able to adjust it a bit.Insert the rod in the clamp on the OMAR. Put a clamp piece on the other end of the rod. Mount the second clamp.Check for height, tighten the bolts.You might notice that the clamps look different in the pictures. I iterated the design until I found something I reasonably liked, but since there is nothing fundamentally wrong with the older versions I used them to avoid wasting plastic.The FreeCad file is included, feel free to modify if you wish.
With this file you will be able to print Rails for IKEA OMAR shelves. with your 3D printer. Click on the button and save the file on your computer to work, edit or customize your design. You can also find more 3D designs for printers on Rails for IKEA OMAR shelves..