Rail Fix
thingiverse
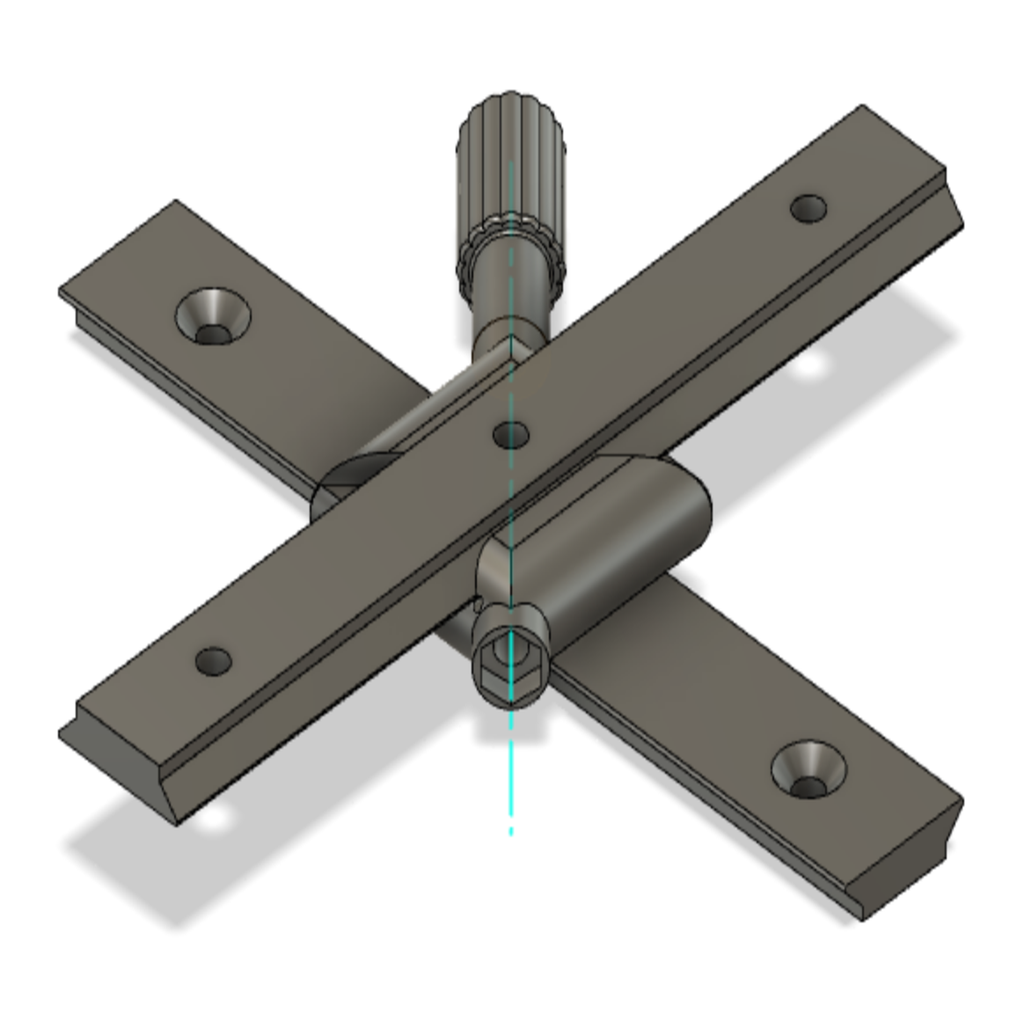
I created this device to integrate a webcam into my 3D printer enclosure, allowing for adjustable camera positioning both vertically and horizontally. The innovative aspect of the design lies in its use of two identical rails secured together by two matching clamps fastened with just one screw. The provided STL files are designed for rails measuring 16mm in width, 4mm in height, and 100mm in length. A 50mm M3 threaded rod is used as the screw, featuring a nut affixed to its end through a process involving hammer strikes to secure it firmly. An additional M3 nut is inserted into the nut knob. The Fusion 360 file is included, enabling users to modify the dimensions of the parts using the Change Parameters command. To print the components, follow these guidelines: Print the rails with their largest flat surface facing downwards, while printing the clamps with their flat side down without any support. The nut knob should be printed with its small round flat surface facing downwards and secured to the printer plate with minimal support from below.
With this file you will be able to print Rail Fix with your 3D printer. Click on the button and save the file on your computer to work, edit or customize your design. You can also find more 3D designs for printers on Rail Fix.
