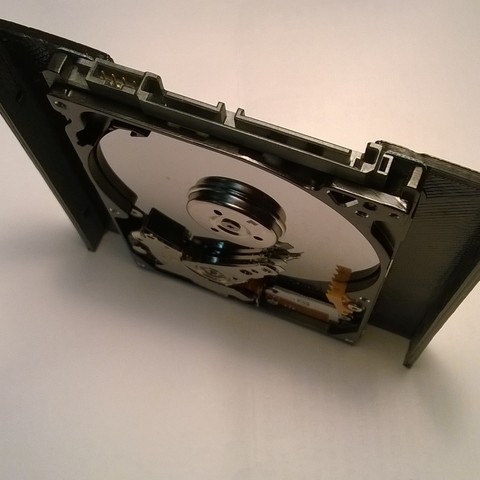
Rail 2.5 3.5 Hard Drive
cults3d
Mounting a Hard Drive in a Server Rack is Easy - Just Follow These Simple Steps. First, locate your server rack and make sure it's securely fastened to the floor or wall. Next, identify the bay where you want to install the hard drive. Typically, these bays are labeled as 2.5" or 3.5", so be sure to choose the correct one for your drive. Now, take the screws that came with the rack and attach them to the sides of the hard drive. These will hold it securely in place once you've installed it in the bay. Once secured, slide the drive into the bay and make sure it clicks into place. The final step is to tighten the screws on either side of the drive until they're snug against the rack's mounting brackets. This will prevent the hard drive from shifting around or falling out over time. With these simple steps, you should now have a securely mounted hard drive in your server rack, ready for use with your computer system.
With this file you will be able to print Rail 2.5 3.5 Hard Drive with your 3D printer. Click on the button and save the file on your computer to work, edit or customize your design. You can also find more 3D designs for printers on Rail 2.5 3.5 Hard Drive.
