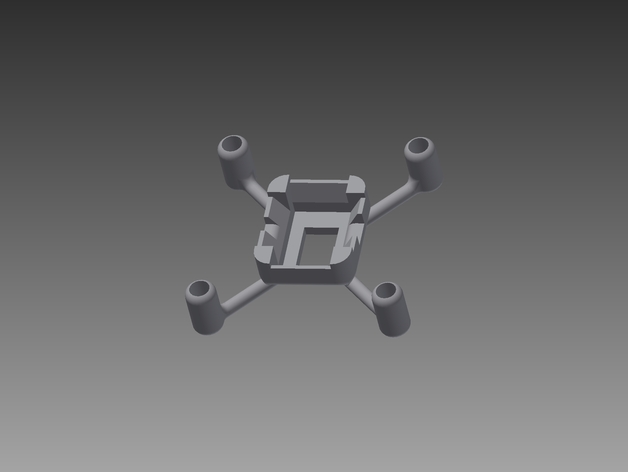
Radio Shack Drone Body
thingiverse
This new DIY drone airframe model was created to replace the Radio Shack kit (https://www.radioshack.com/products/radioshack-diy-drone-starter-kit?variant=21420195781). After a few flights with the original kit, its weak body caused instability in flight. I designed this improved airframe to support all the electronics included in the kit more securely. The battery, printed circuit board (PCB), and motors friction fit into my model perfectly without any issues. However, I did need to bend some of the LED wires slightly so that the PCB could fit snugly within its supports. Fortunately, this adjustment does not affect the drone's function in any way. This new 3D-printed airframe is significantly lighter than the stock plastic one included with the kit. This significant reduction in mass greatly affects flying performance by enabling longer battery life and quicker ascents into the air. The airframe was designed to be small, lightweight, and highly portable. It features a hole at its bottom as well as thin prop support rods that aid in achieving these design goals. To help replicate this project successfully, please refer to the printer settings section below for all necessary information. For more details on this drone project and others like it, visit http://08milluz.com. Print Settings Printer Brand: MakerBot Printer Model: MakerBot Replicator 2X Rafts: Yes Supports: Yes Resolution: .1 mm Infill: 10% Notes: I printed the model with ABS plastic on my Makerbot 2X. The dimensions were carefully crafted to account for slight shrinking during printing. Printing with ABS should result in a secure friction fit. If you choose to use PLA instead, the fit may still be good but you might want to shrink the model by 2% or apply hot glue to hold everything together properly. I printed two shells around the model. The HIPS supports and raft worked perfectly during printing. For more information on post-printing cleanup, please refer to the details below. Post-Printing Remove supports: Most of the HIPS supports broke away easily and the raft came off without any issues at all. To finish the model beautifully, I let it sit overnight in D-Limonene solution. This process removed a few small supports from the corners of the model, greatly improving its final print quality.
With this file you will be able to print Radio Shack Drone Body with your 3D printer. Click on the button and save the file on your computer to work, edit or customize your design. You can also find more 3D designs for printers on Radio Shack Drone Body.
