Radiator Cover
prusaprinters
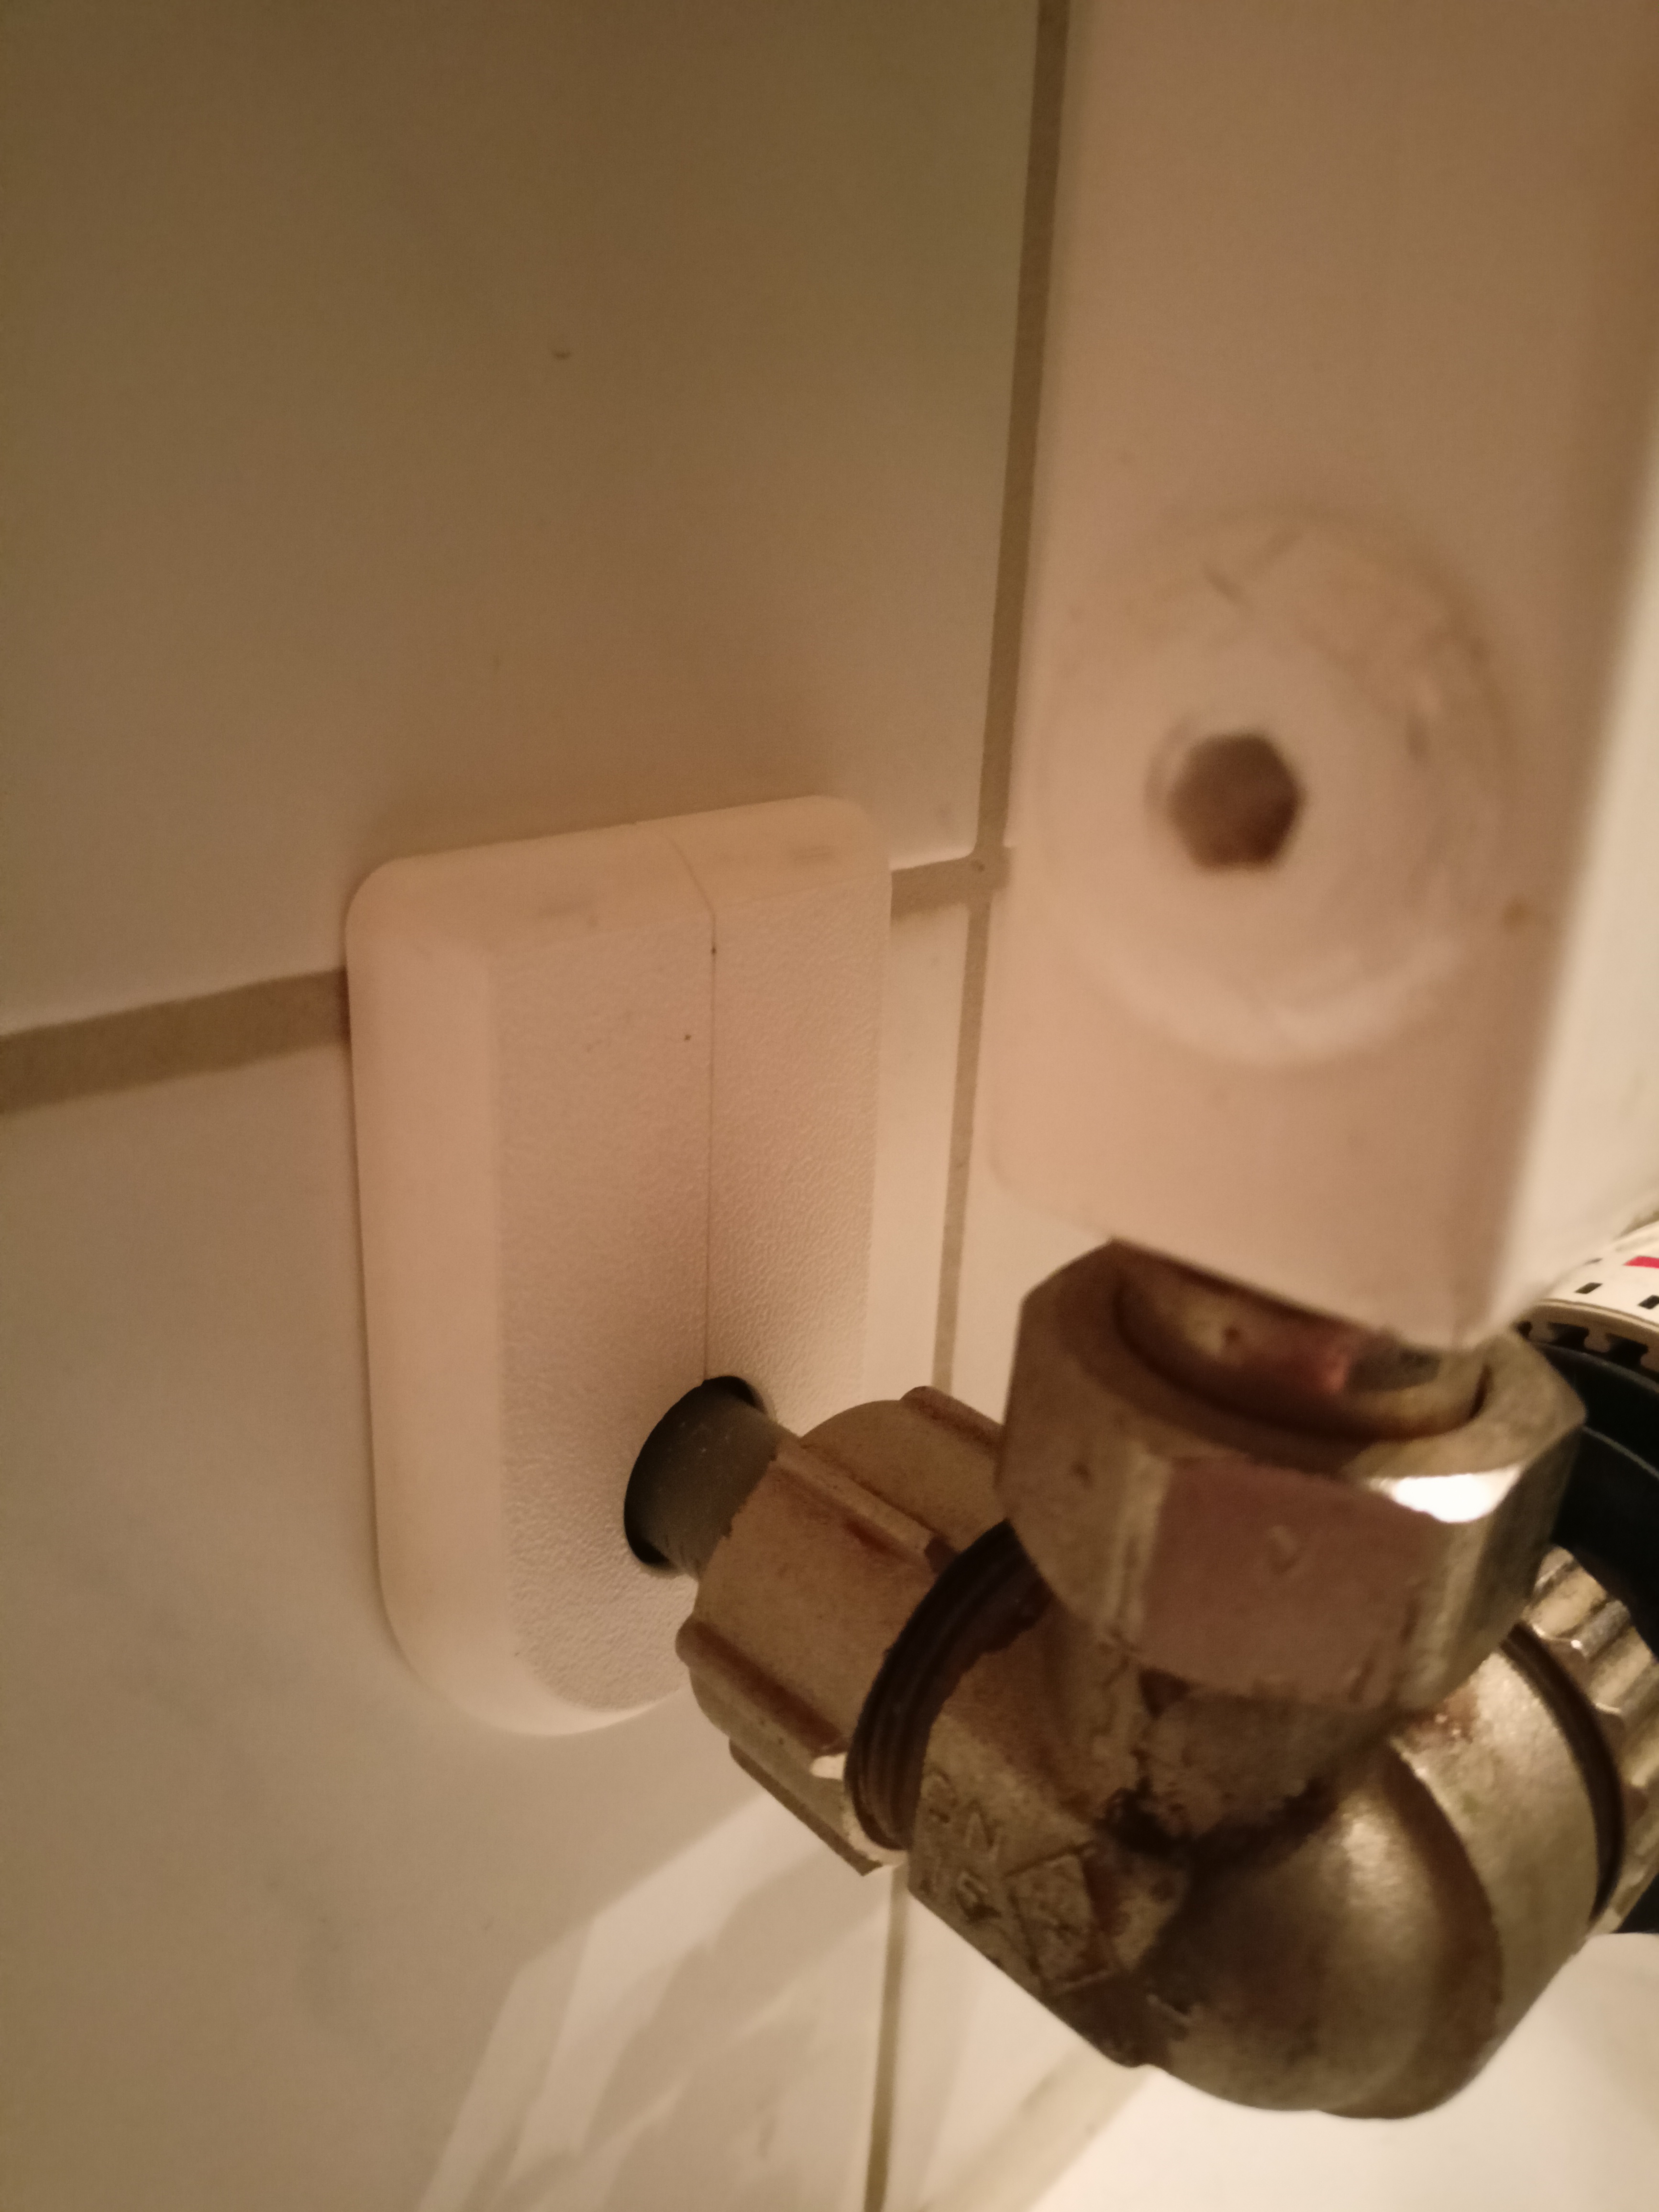
<p>This might be a kind of specialty item as I'm not sure how usefull this might be for others. That is the reaspn why I uploaded the .step und .f3d files if someone needs to make changes to the part.</p><p>The part is just a cover for for a slot in the tile where the pipe enters the radiaotr. I contains of a right and left base part and two extensions for either side. The extensions are totally optinal and get glued to the base pieces. The two half of the base pieces are held together by 3 6mm long pieces of filemant witch are simply glued in with CA-glue in one of the halfs. For a tight fit I used some filament with extruder marks and bend them slightly in oposite direction. To ensure the fit doesn't get loose over time I don't recomend PLA for the three pins. To make sure the covers stay in position I used two pieces of a clear packeging and bend them to a tight fit in the tile. I figured this might work better as if they where printed and it's a bit of ucycleling too. So far I don't noticed deforming or melting of the PLA, but the radioator I used them on doesn't get hotter then 35°C anyways.</p><p><strong>Print setting:</strong></p><p>Material: PLA white (use a textured buildplate for a nice optic) → use PETG, ABS or ASA if the radiator gets hotter then 50°C!<br>Layerhight: 0,2 (but anything between 0,1 and 0,3 should work)</p><p> </p><p><strong>Beschreibung</strong></p><p>Ich bin mir nicht sicher ob die Abdeckung für jemanden anders nützlich ist ode nocht. Aus diesem Grund habe ich eine .step und die .f3d Dateien mit hochgeladen falls jemand Änderungen machen möchte</p><p>Das Teil ist eine einfache Abdeckung für einen Schlitz in einer Fliese durch den ein Heitzkörperrohr geführt wird. Es besteht aus einem linken und rechten Basisteil sowie einer Erweiterung für beide Seiten welche einfach auf das jeweilige Basisteil geklebt wird. Ich persönlich habe die Erweiterungen nicht benutzt. Die beiden Basisteile werden durch drei jeweils 6mm lange Stücke Filament zusammen gehalten. Um einen strammen Sitz zu erhalten habe ich Stücke mit Extrudermarken genommen und leicht in unterschiedliche Richtungen gebogen und einfach in eine Hälfte mit Sekundenkleber eingeklebt. Damit sich der Sitzt nicht über die Zeit lockert kein PLA Filament verwenden. Damit die Abdeckung auf der Fliese bleiben einfahc aus einer Blisterverpackung zwiéi Streifen heraus schneiden und an der Rückseite mit Sekundenkleber ankleben und zurechtbiegen das die Abdeckung leicht spannt wenn sie aufgeschoben wird. Ich habe bisher keine Probleme mit der Verwendung von PLA bei diesem Teil, der Heitzkörper an dem Es verbaut ist wird in der Regel aber auch nicht viel wärmer als 35°C.</p><p><strong>Druckeinstellungen:</strong></p><p>Material: PLA (mit einer texturierten Druckplatte bekommt man eine schöne Optik) → benutzt PETG, ABS oder ASA wenn der Heitzkörper wärmer wird als 50°C!<br>Schichthöhe: 0,2 mm ( alles zwischen 0,1mm und 0,3mm sollte funktionieren)</p>
With this file you will be able to print Radiator Cover with your 3D printer. Click on the button and save the file on your computer to work, edit or customize your design. You can also find more 3D designs for printers on Radiator Cover.
