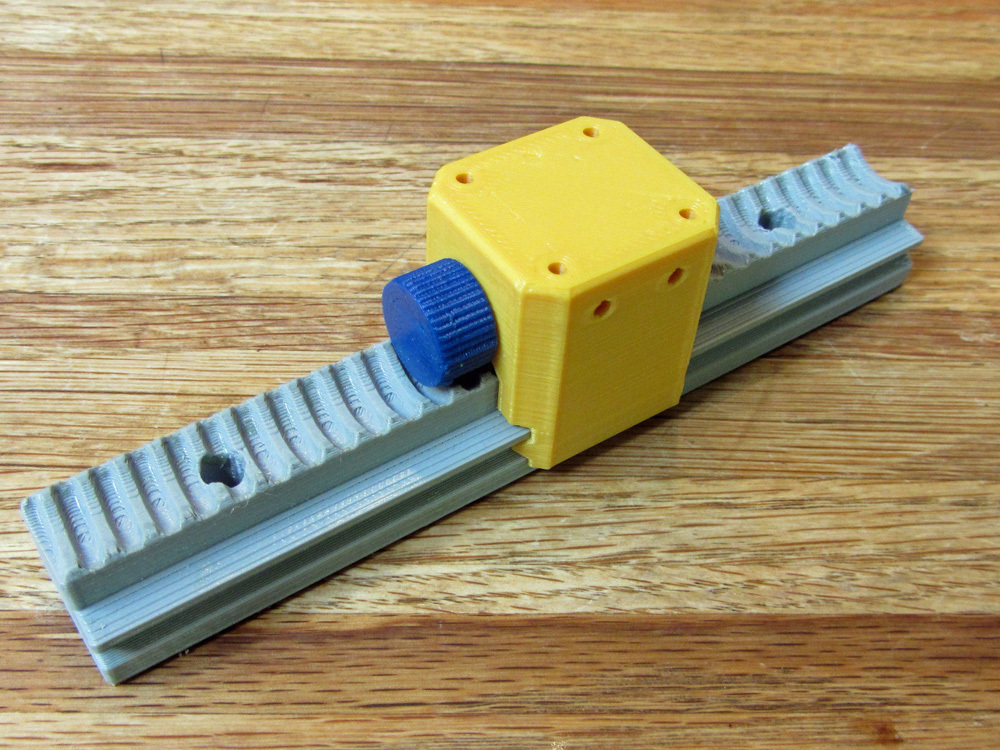
Rack & Worm Linear Slide
prusaprinters
<p>This linear slide could be used for positioning optical elements or the like. The 6" linear rail sections can be mounted end-to-end to create any length rail system. The rails mount with #6 screws on 2" centers, and there are various #6 screw hole patterns on the carriage for attaching fixtures. Please refer to the included STEP file for additional details.</p> <h3>Print Settings</h3> <p><strong>Printer:</strong></p> <p>UDIO</p> <p class="detail-setting rafts"><strong>Rafts: </strong> <div><p>No</p></div> <p><strong>Supports:</strong></p> <p>No</p> <p class="detail-setting resolution"><strong>Resolution: </strong> <div><p>0.2mm</p></div> <p><strong>Infill:</strong></p> <p>20%</p> <p><strong>Filament:</strong></p> Inland PLA <p>Dandelion Yellow</p> <p><br/> <p class="detail-setting notes"><strong>Notes: </strong></p> </p><div><p>The worm piece has an integral breakaway support piece, so you shouldn't need to turn on supports. Just break away the ring that fills the gap between the knob and the worm gear after printing.</p> Once printed, clean everything up, apply a little grease to the worm and bearing surfaces and insert the worm into the carriage as shown. Then slide the carriage onto the rail, turning the knob ass you go. </div></p></p> Category: Engineering
With this file you will be able to print Rack & Worm Linear Slide with your 3D printer. Click on the button and save the file on your computer to work, edit or customize your design. You can also find more 3D designs for printers on Rack & Worm Linear Slide.
